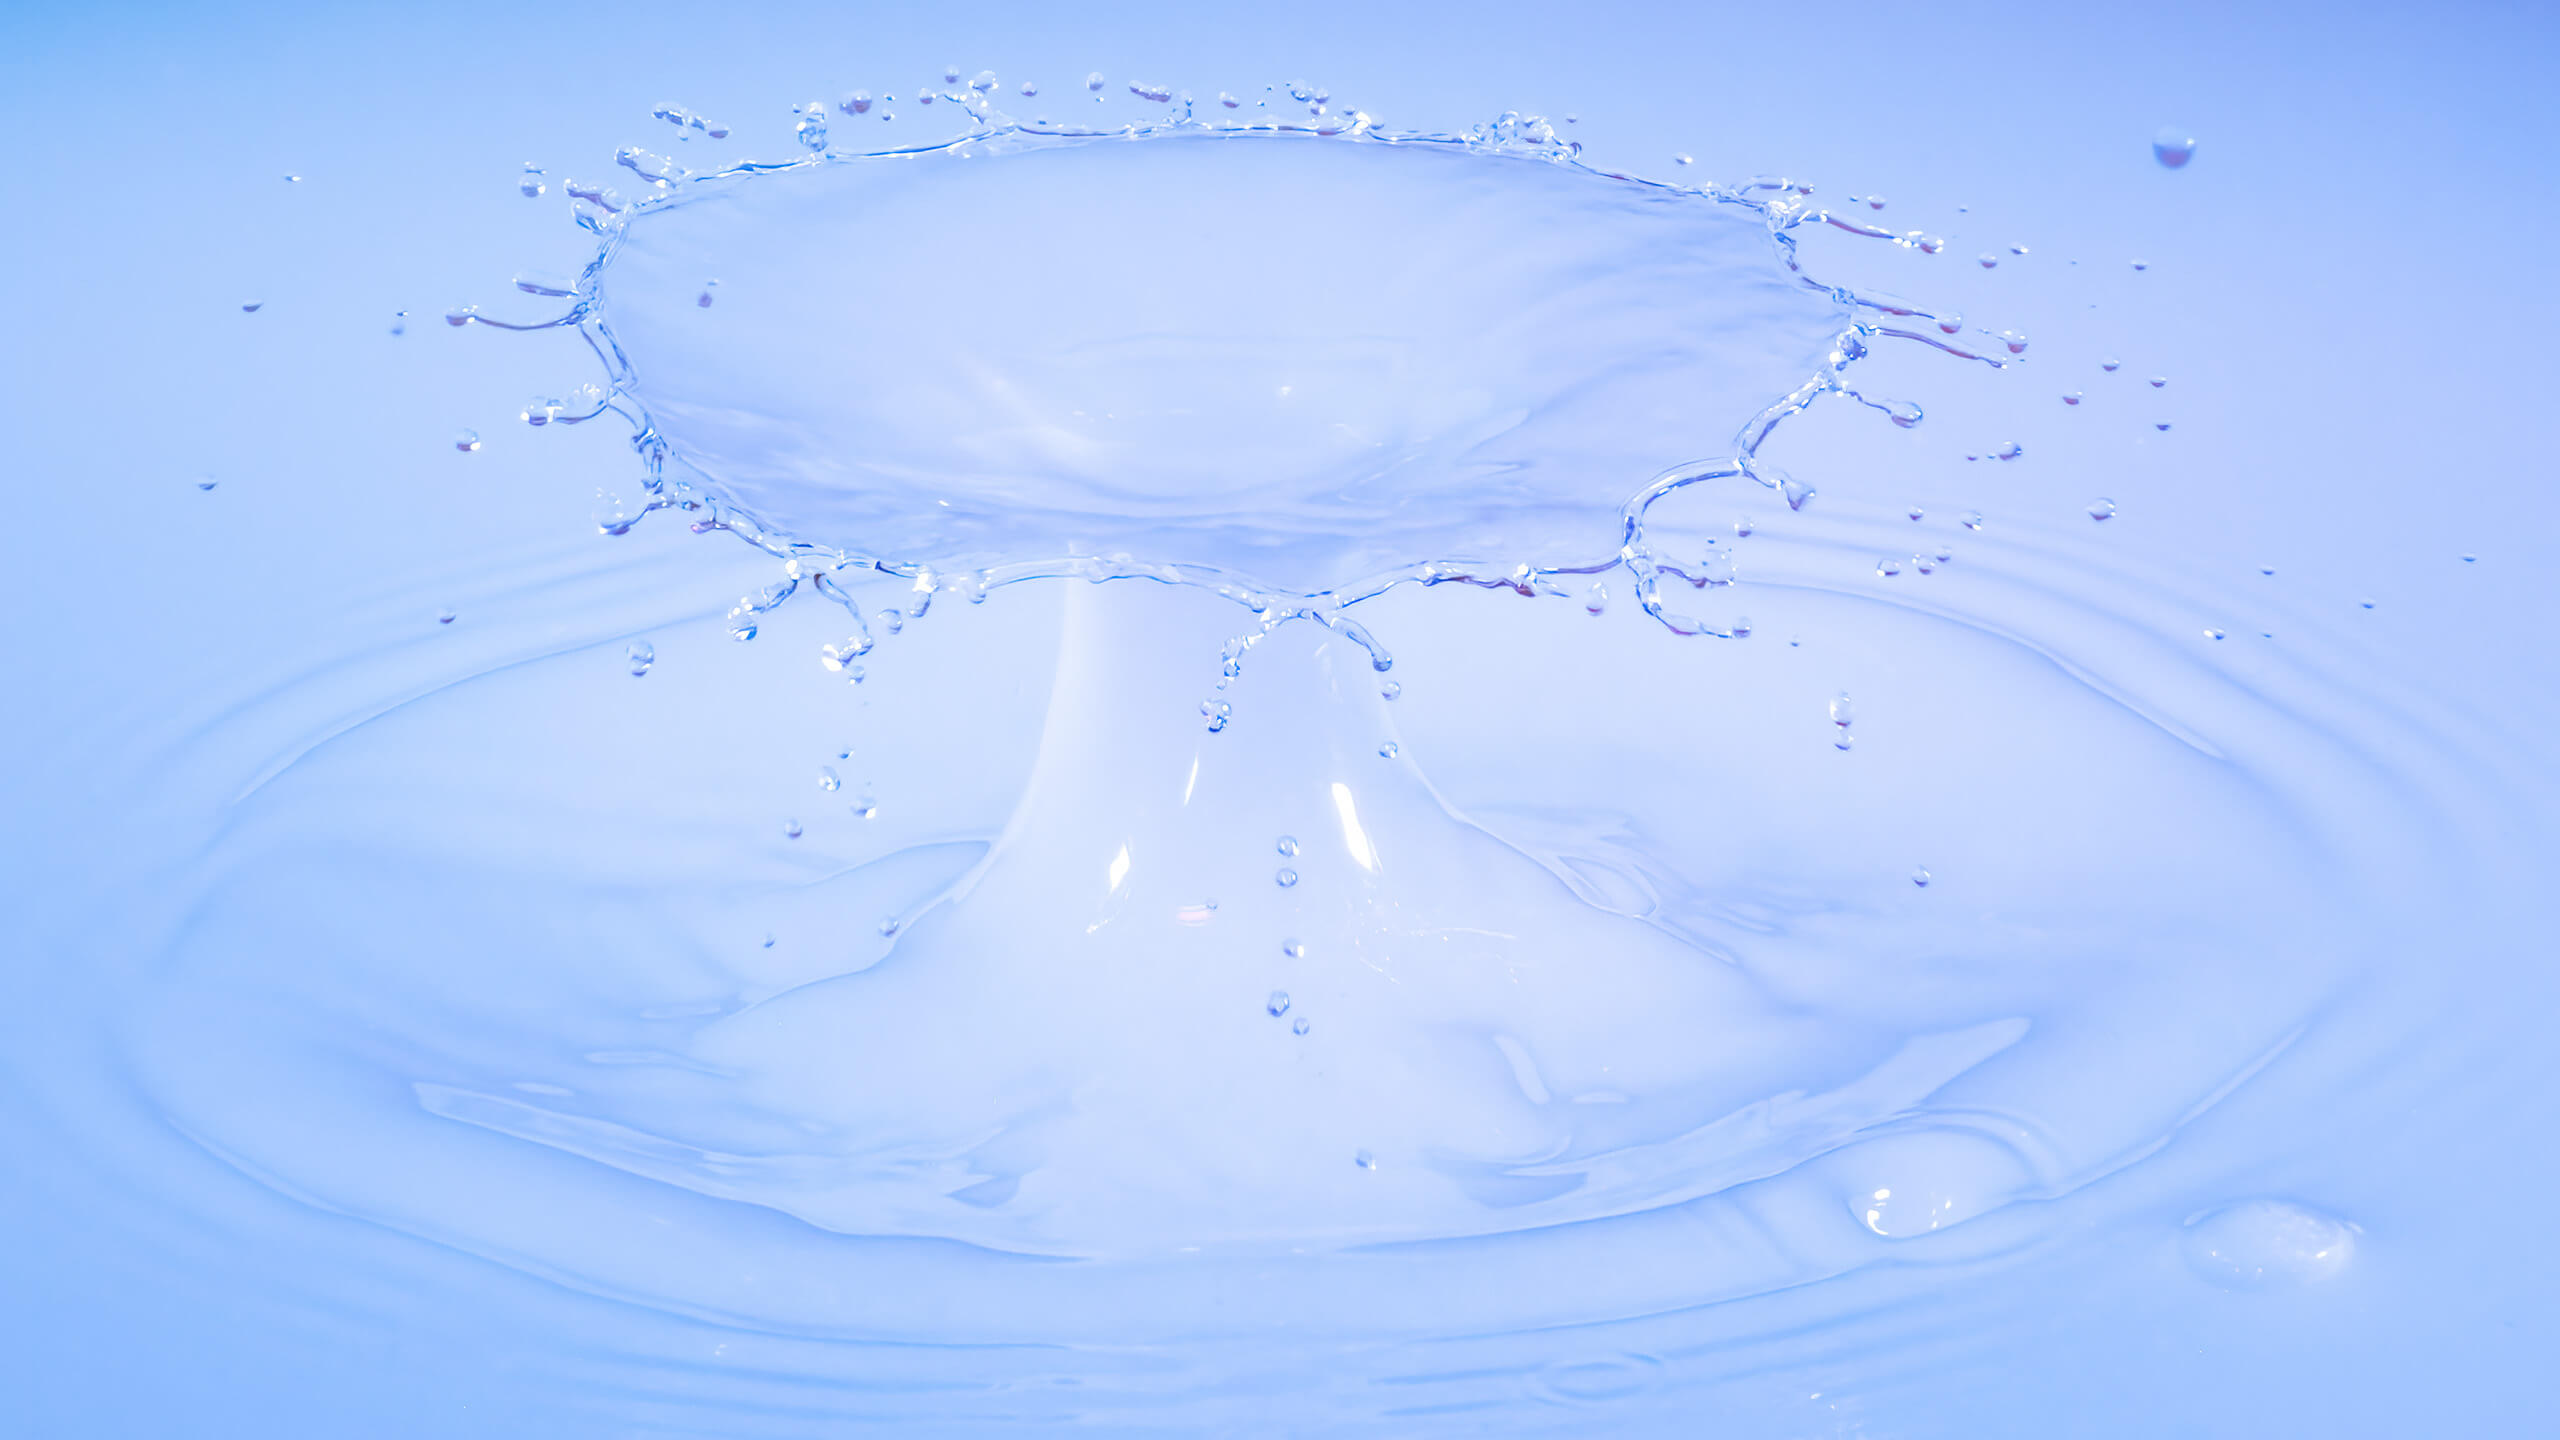
Before you read this article, check out the water drop gear and water drop prep articles. You’ll get all the info you need to get going creating water drop crash photos. Remember that this is an addicting and can suck up a few days of your life!
Water valve
An important part of the water droplet photography equation starts with the Pluto Trigger dropper valve. The height of the dropper above the reservoir will change how high the drops will rise from the surface. I recommend experimentation with setting the height between 18–30 inches.
Insure the dropper is level so the second drop will land atop the rising first drop. This makes the crown or cap of the droplet. Fill the valve with thickened water to get started.
Focus
One way to set focus is to place something in the drop zone and use that to focus. Once in focus set your camera to manual focus to prevent changes. I use a chopstick and place it temporarily just in front of the drop zone. Check focus often, as it is very frustrating to have a great splash configuration that is blurry in the front of the droplet.
Flash settings
Your speedlight(s) are to be controlled by a flash trigger connected to your camera. The speedlight(s) should be set to fire at a short duration. The lower the power setting, the faster the flash.
You should look at 1/64 to 1/128 power which will give you duration up to 1/20,000 of a second or faster freezing your water droplets. Set your ISO to give you enough exposure. If you have too much light in the room, you will end up with ‘electric streaks’ as part of your image. Gel your flashes to experiment with different color.

Note: Set your camera shutter speed to 1/2s to one second, and work in subdued light.
Pluto Trigger

Pluto Trigger‘s valve and your camera are controlled by the trigger and the Pluto phone app. Hook up your camera and the dropper to the trigger.
Once the pieces are in place determine Flash Delay first. Set Drop1 Size to 10ms and Drop2 Size to 0 so only one drop is released. The goal is to trigger the flash when the first drop rebounds from the water and goes up to its highest position.
Click the auto-calibrate button to the right of the Flash Delay setting. Set Step to 5ms and Interval to 5ms, then click the Start Calibration button. Pluto Trigger will now take a photo every five seconds and increase the Flash Delay by 5ms each time. Monitor the screen of your camera. When the droplet reaches its highest point, stop the calibration.


Next set the Drop2 Size to 10ms and calibrate the Drop2 Delay following the same series of steps as above. The procedure is similar to that of the Flash Delay calibration. Once the second drop starts colliding with the first you are just getting started with the collisions. A great place to be!
Tweak settings
At this point it’s time to experiment. Make incremental adjustments of 1ms and fire away. A slight change of the valve being level can cause the crowns to move consistently in a slightly different direction.
Always make your adjustments as small as possible. I find also moving through 1ms at a time from about 10ms under the good setting to about 5ms over to yield lots of interesting results.

Next up processing for the final image in the next article on water drop photography.
Yours in Creative Photography, Bob
Source link


Leave a Reply