Snowflake Photography
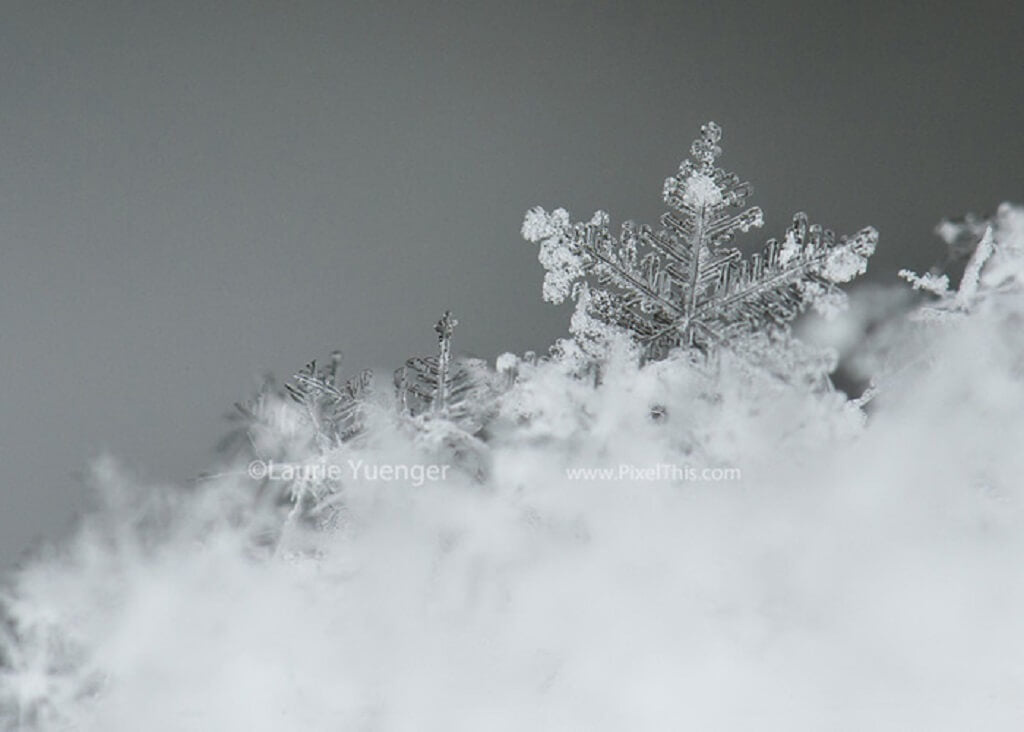
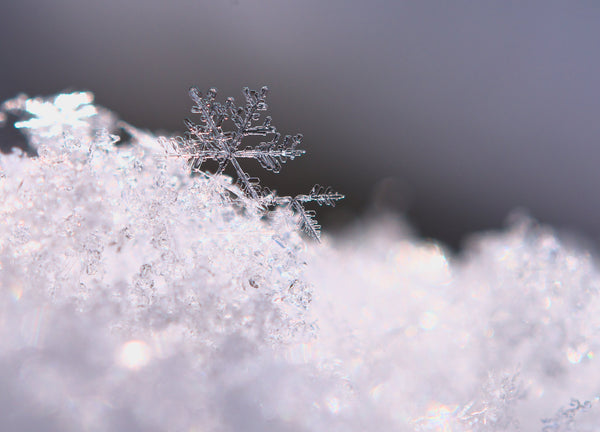
Several areas of the world are buried in snow right now. Some people love it, and some do not. While certain aspects of Winter do not agree with me, one thing I love about snow is getting the chance to capture some unique and magical images of snowflakes.
Here are my top tips to get you started with Snowflake Photography!
1. Photography Gear
Let’s start by reviewing the gear that you will need to capture the beautiful microscopic details of a snowflake:
- Lens: For my most recent work, I used a 105mm macro (some with extension tubes) on the D700. I have also used a “poor man’s macro setup” with a 50mm lens (described below) and a crop sensor camera with a regular lens to give extra zoom!
- Extension Tubes: You can also use extension tubes with standard lenses, but I have had the best results combining extension tubes with a macro lens.
- Lighting: Adding more light, such as a macro ring light, is often helpful. I used a LED ring light for many of the images used in this tutorial.
- Tripod: Some photographers recommend using a tripod which can be helpful for lower light situations, but if the snow is melting fast or blowing away quickly, you may not have time to set up a tripod for your shot!
- Lens Cloth: A lens cloth is essential for cleaning your lens if it gets snow on it, so make sure you have one on hand.
As mentioned above, a “poor man’s macro setup” is an inexpensive way to convert your existing lens into a macro lens by utilizing a cheap reverse adapter ring attachment to put your lens on backward. The meter will not work; you will have to adjust the aperture manually, but you will get macro abilities. This method can be challenging, but it’s cheap and can be a lot of fun!

2. Camera Settings
When photographing snowflakes, I highly recommend shooting in manual mode to allow for complete control over your camera settings. I also recommend shooting in RAW to capture all the exquisite details.
While there is no single camera setting formula that will work perfectly for every photo, there are some generally recommended settings you can start with and then adjust according to your situation:
- Shutter Speed: If you’re hand-holding your camera or if it’s windy out, you will want to keep your shutter speed at 1/200 or higher (especially if you’re cold and shivering!). If you use much longer shutter speeds, use a tripod to avoid blur from camera shake.
- Aperture: Close down your aperture. I suggest closing it to at least f/10. The closer you are to your subject (in this case, snowflakes), the shallower your depth of field will be. So, by closing down the aperture, you can increase the depth of field and help keep your flakes in focus simultaneously.
- ISO: Boost your ISO. You will likely need to increase the ISO to ensure proper exposure when shooting snowflakes. How high you will need to raise it will depend on your other settings and how much light you have. When it’s snowing, it’s cloudy (sometimes very cloudy with very little light). It’s not uncommon for me to shoot at 2500-4000 ISO for snowflake pics!
- Noise: Remember that you will get less noise from proper exposure than you will get if you underexpose your image in-camera and have to compensate for this in post-processing. Extension tubes will also cause you to lose light and require higher ISOs, but the extra reach gives more detail, even when reducing noise in post.

3. How to Find Interesting Snowflakes
You can often see flake patterns with the naked eye. I like to search for individual snowflakes, then work on focus. Not every snowfall will have flakes like these!
Sometimes, snow comes down in clumps or looks more like shaved ice. Sometimes it’s a mix. Sometimes the consistency changes as it snows: it may start as poor-quality flakes, and then 15 minutes later, you may find the most awesome snowflakes ever (yes, I’ve had that happen)!
So if you’re not finding great snowflakes to shoot at a particular time, go inside, warm up, and try again later if it’s still snowing.
To find the best snowflakes, I search fence tops and look for flakes that stick up once the snow builds up. Or, I put out fabric to catch snowflakes as they fall (see the backgrounds section below).
It is helpful to find flakes you can shoot straight on (flat side to you, not at an angle to the camera). This is because the depth of field is so shallow for snowflake macro work that I find when I shoot at an angle, sometimes, the middle of the flake is in focus, and both edges are not! By photographing them straight on, you can get the whole snowflake in focus.
Below is an example photo of a snowflake shot from an angle. You can see that both edges of the flake are slightly out of focus:

Below is the same image, but cropped in close (about 100% crop), so you can really see the out-of-focus edges:

4. Focusing
Cameras tend to need help locking focus when a subject is too close. So switch your lens/camera to manual focus mode and adjust it so it focuses as close as possible while achieving maximum zoom.
Then line up the camera with the flake and use your body to move closer or further until you see the snowflake come into focus (this is like magic when you see it happen).

5. Take Lots of Shots
It can be challenging to tell if you nailed the focus perfectly on a camera’s LCD, so take a lot of shots and spend some extra time to ensure they are. If I REALLY, REALLY like a particular snowflake, I will take 5-10 photos to be sure!

6. Backgrounds
When shooting snowflakes, try experimenting with different backgrounds:
- Using a dark background can help showcase a snowflake’s details.
- Try a colorful and/or textured background for an exciting alternative.
- Soft fabrics are great for snow that is falling fast, as it helps prevent them from breaking apart.
Here are some of my FAVORITE snowflake photos using various backgrounds:
For the image below, I used a fur fabric background (the fur was brown, but I edited it to look blue in post-processing to fit better with the cool color of the snow):

For this next image, I used a blue and white scarf (fleece-type material) for my background:

The next snowflake image was shot on my fence, with a neighbor’s house in the distance as a backdrop. Notice how the shaded areas behind the flakes help to make them pop:

For the following image, I used a black sheet-type fabric background:

For the next image, I used a plexiglass sheet for a background. I keep a ready-to-use sheet in the garage, so it’s already cold and won’t melt the flakes when it catches them.
Then before I start shooting, I place the plexiglass at an angle against the garage over a small bush so the background colors of the bush show through:

7. Have Fun
Feel free to try different snowflake compositions to add interest. There is no right or wrong way to do it, so experiment and have fun!

8. What if You Don’t Have Access to Snow?
Since it doesn’t snow in all areas of the country and world, you may have to use an alternative to add that wintery touch to your images.
If you’re looking for some great Photoshop Snow Actions to add REAL Snow elements to your images, I highly recommend the Let it Snow Winter Photoshop Action and Brush Collection. There’s an excellent tutorial for the set here too.
Do you have any questions or comments about How to Photograph Snowflakes? Leave us a comment below – we would LOVE to hear from you! And PLEASE SHARE our tutorial using the social sharing buttons (we really appreciate it)!
Source link


Leave a Reply