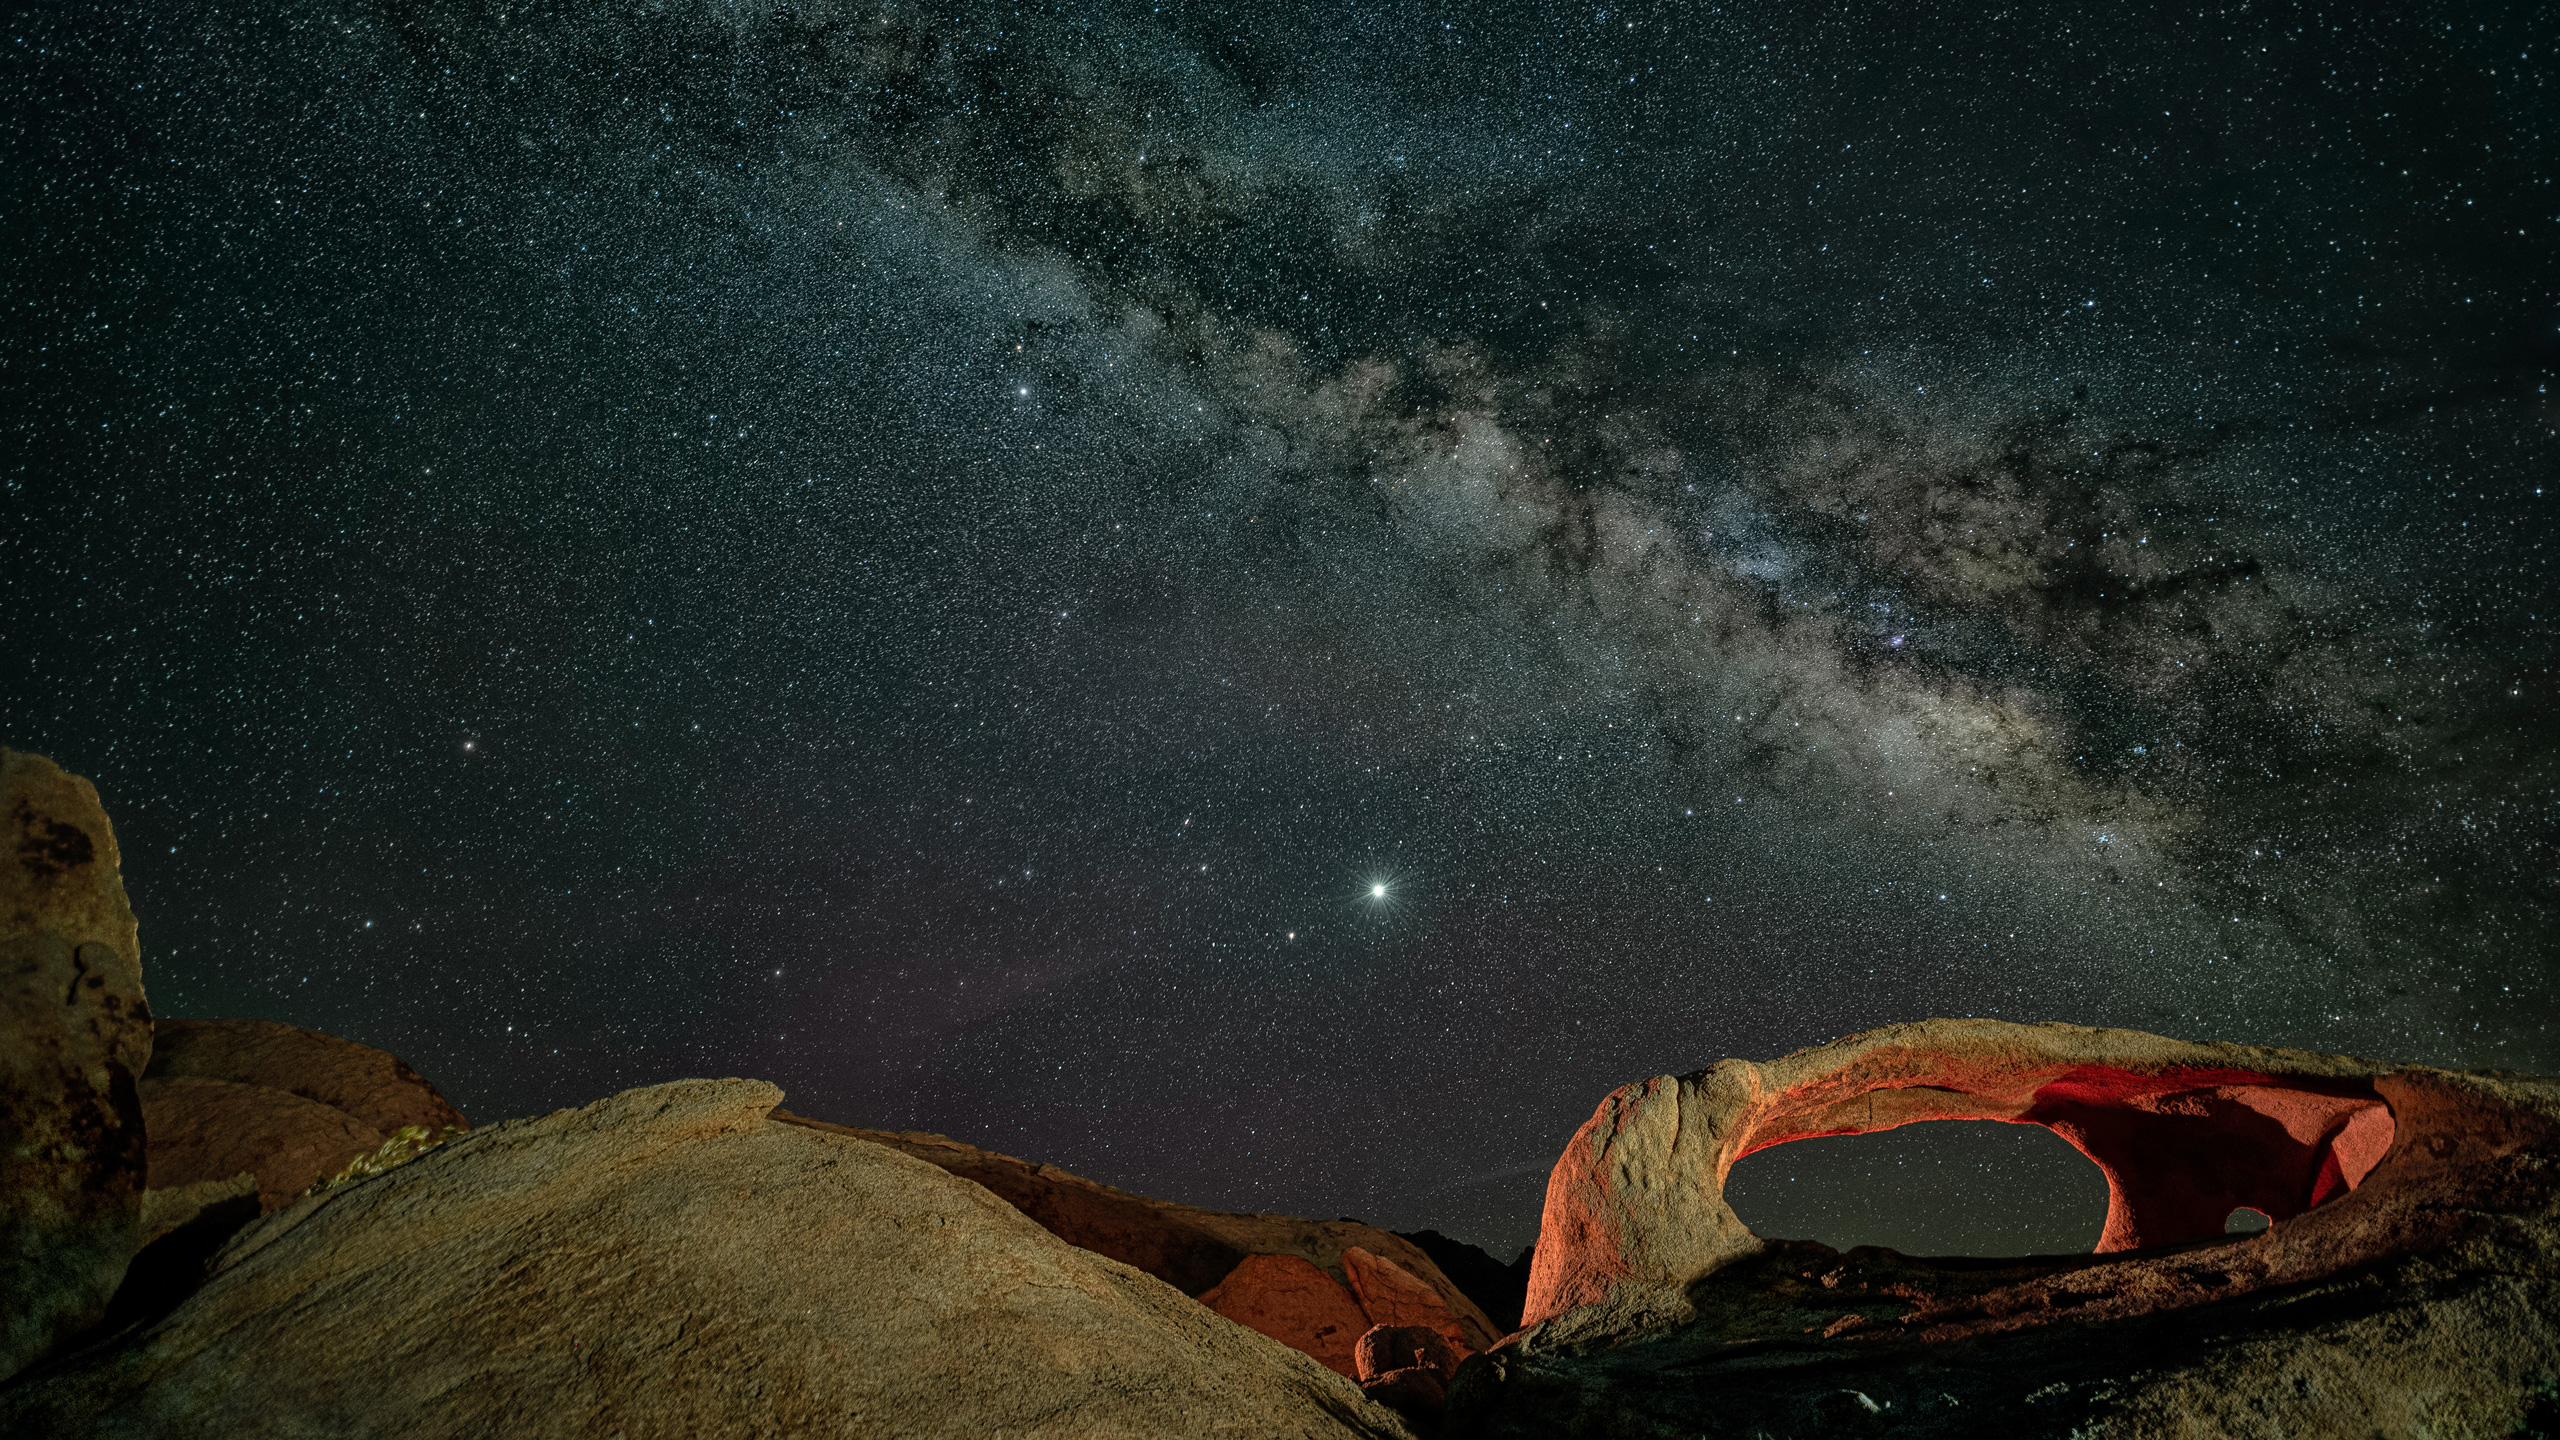
I was instant messaging with a night photographer I had known mostly online for a few years when he extended the invitation: “It’s a secret area that only a few of us know. There are no trails, and we have to hike out really far to some rocky arch formations and very dark skies. We are going to explore out there, take Milky Way photos of Ojo Oro Arch, and sleep overnight under the stars. Would you like to join my friend and me?”
What would you do? Right. Me too. No night photographer would say no.
We met in the middle of the Mojave Desert on a hot but gorgeous late afternoon, parked our cars, grabbed our gear and began walking straight into the heart of nowhere. Bizarre otherworldly rock formations lay in front of us, drawing close as we walked approximately two miles to the hidden arch.
We circled several times before finding it since they were trying to locate it by sight rather than GPS, coming across mysterious alcoves and still unnamed small arches. After a couple of minutes of this, I saw Ojo Oro Arch from the back, seeing the blue sky through the arch.
The desert as a philosopher
We set down our gear, sleeping bags and gallons of water and roamed about, exploring as the sun melted into the mountains. We ate and talked about night photography, gear, life, teaching, the coronavirus, sheltering in place, women, constellations, our place in the universe, philosophy, religion and more. Night photography in the quiet evening desert has a way of drawing out discussions that are increasingly esoteric, after all.
We drank copious amounts of water. I had brought over a gallon and a half for this overnight outing, and I was going to make sure I didn’t carry very much of it on the long walk back to the car.
The mysterious hum of the magic desert
As we rested, the silence of the desert overwhelmed me. Two miles from the closest road, we heard nothing human-made. No cars, no airplanes, nothing. And often, there was no breeze, either. Silence. Or not quite. There’s a certain sort of hum that one can hear when there’s absolute silence, and at times, when there was no whispering of the breeze through the cactus, there was that hum. It was majestic. I found myself smiling.
Setting up the camera for Ojo Oro
We had already set up our cameras and taken “blue hour” photos of the arch in case we wished to blend them with the Milky Way photos later in post-processing. After 11 p.m., we knew that the Milky Way would begin rising out of the southeast. We knew this from experience, although we used apps such as PhotoPills or SkyView Lite to look anyway.
I often will do a low ISO photo of the foreground so I have less noise. For this evening, I determined that I would be photographing with a 15-second exposure at f/2.5 using a relatively high ISO of 4000. Because of this, I could determine the settings that would give me the equivalent exposure but at a much lower, less noisy ISO. I chose ISO 400.
This is ten times less sensitive than ISO 4000. Therefore, I would need to increase the exposure by ten times to compensate. I like simple math. I would keep the aperture constant, so that didn’t need to be adjusted. So, therefore, my low-noise foreground setting would be a 150-second exposure at f/2.5 and ISO 400. Not only would this reduce the noise, but it would also give me 150 seconds to do the “light painting!”
Illuminating the Ojo Oro Arch for the photo
I began “light painting” the arch, walking around with a handheld ProtoMachines LED2 light painting device, illuminating the arch as I went. I prefer to use a handheld device instead of stationary light panels to illuminate foregrounds because I can “light paint” from many angles quickly, and if I wish, also change colors quickly.
Photographing the Milky Way
After creating the low-noise foreground photo, I adjusted my camera settings to 15 seconds at f/2.5 and ISO 4000, and keeping my camera in the same place, began clicking off successive 15-second photos, one right after the other.
Although I most certainly could use one of these, having numerous photos gives me options, including the ability to “stack” them together using Starry Landscape Stacker to reduce the noise and bring out more of the stars.
Wash, rinse, repeat
I mostly did several similar setups with my camera, photographing the same arch from different angles. First the low-noise foreground photo, then the higher ISO photos for the sky. I did do some star trails photos as well.
I stopped photographing at 3:30 a.m., one last check for scorpions by shining a black light around me, looking to see any glowing scorpions. Thankfully, none. I lay in my sleeping bag looking up at the sky. The Milky Way arched directly overhead. Again, that magical hum of complete desert silence. I found myself smiling.
I used a Nikon D750 and Irix 15mm f/2.4 Blackstone lens for these photos.
Source link


Leave a Reply