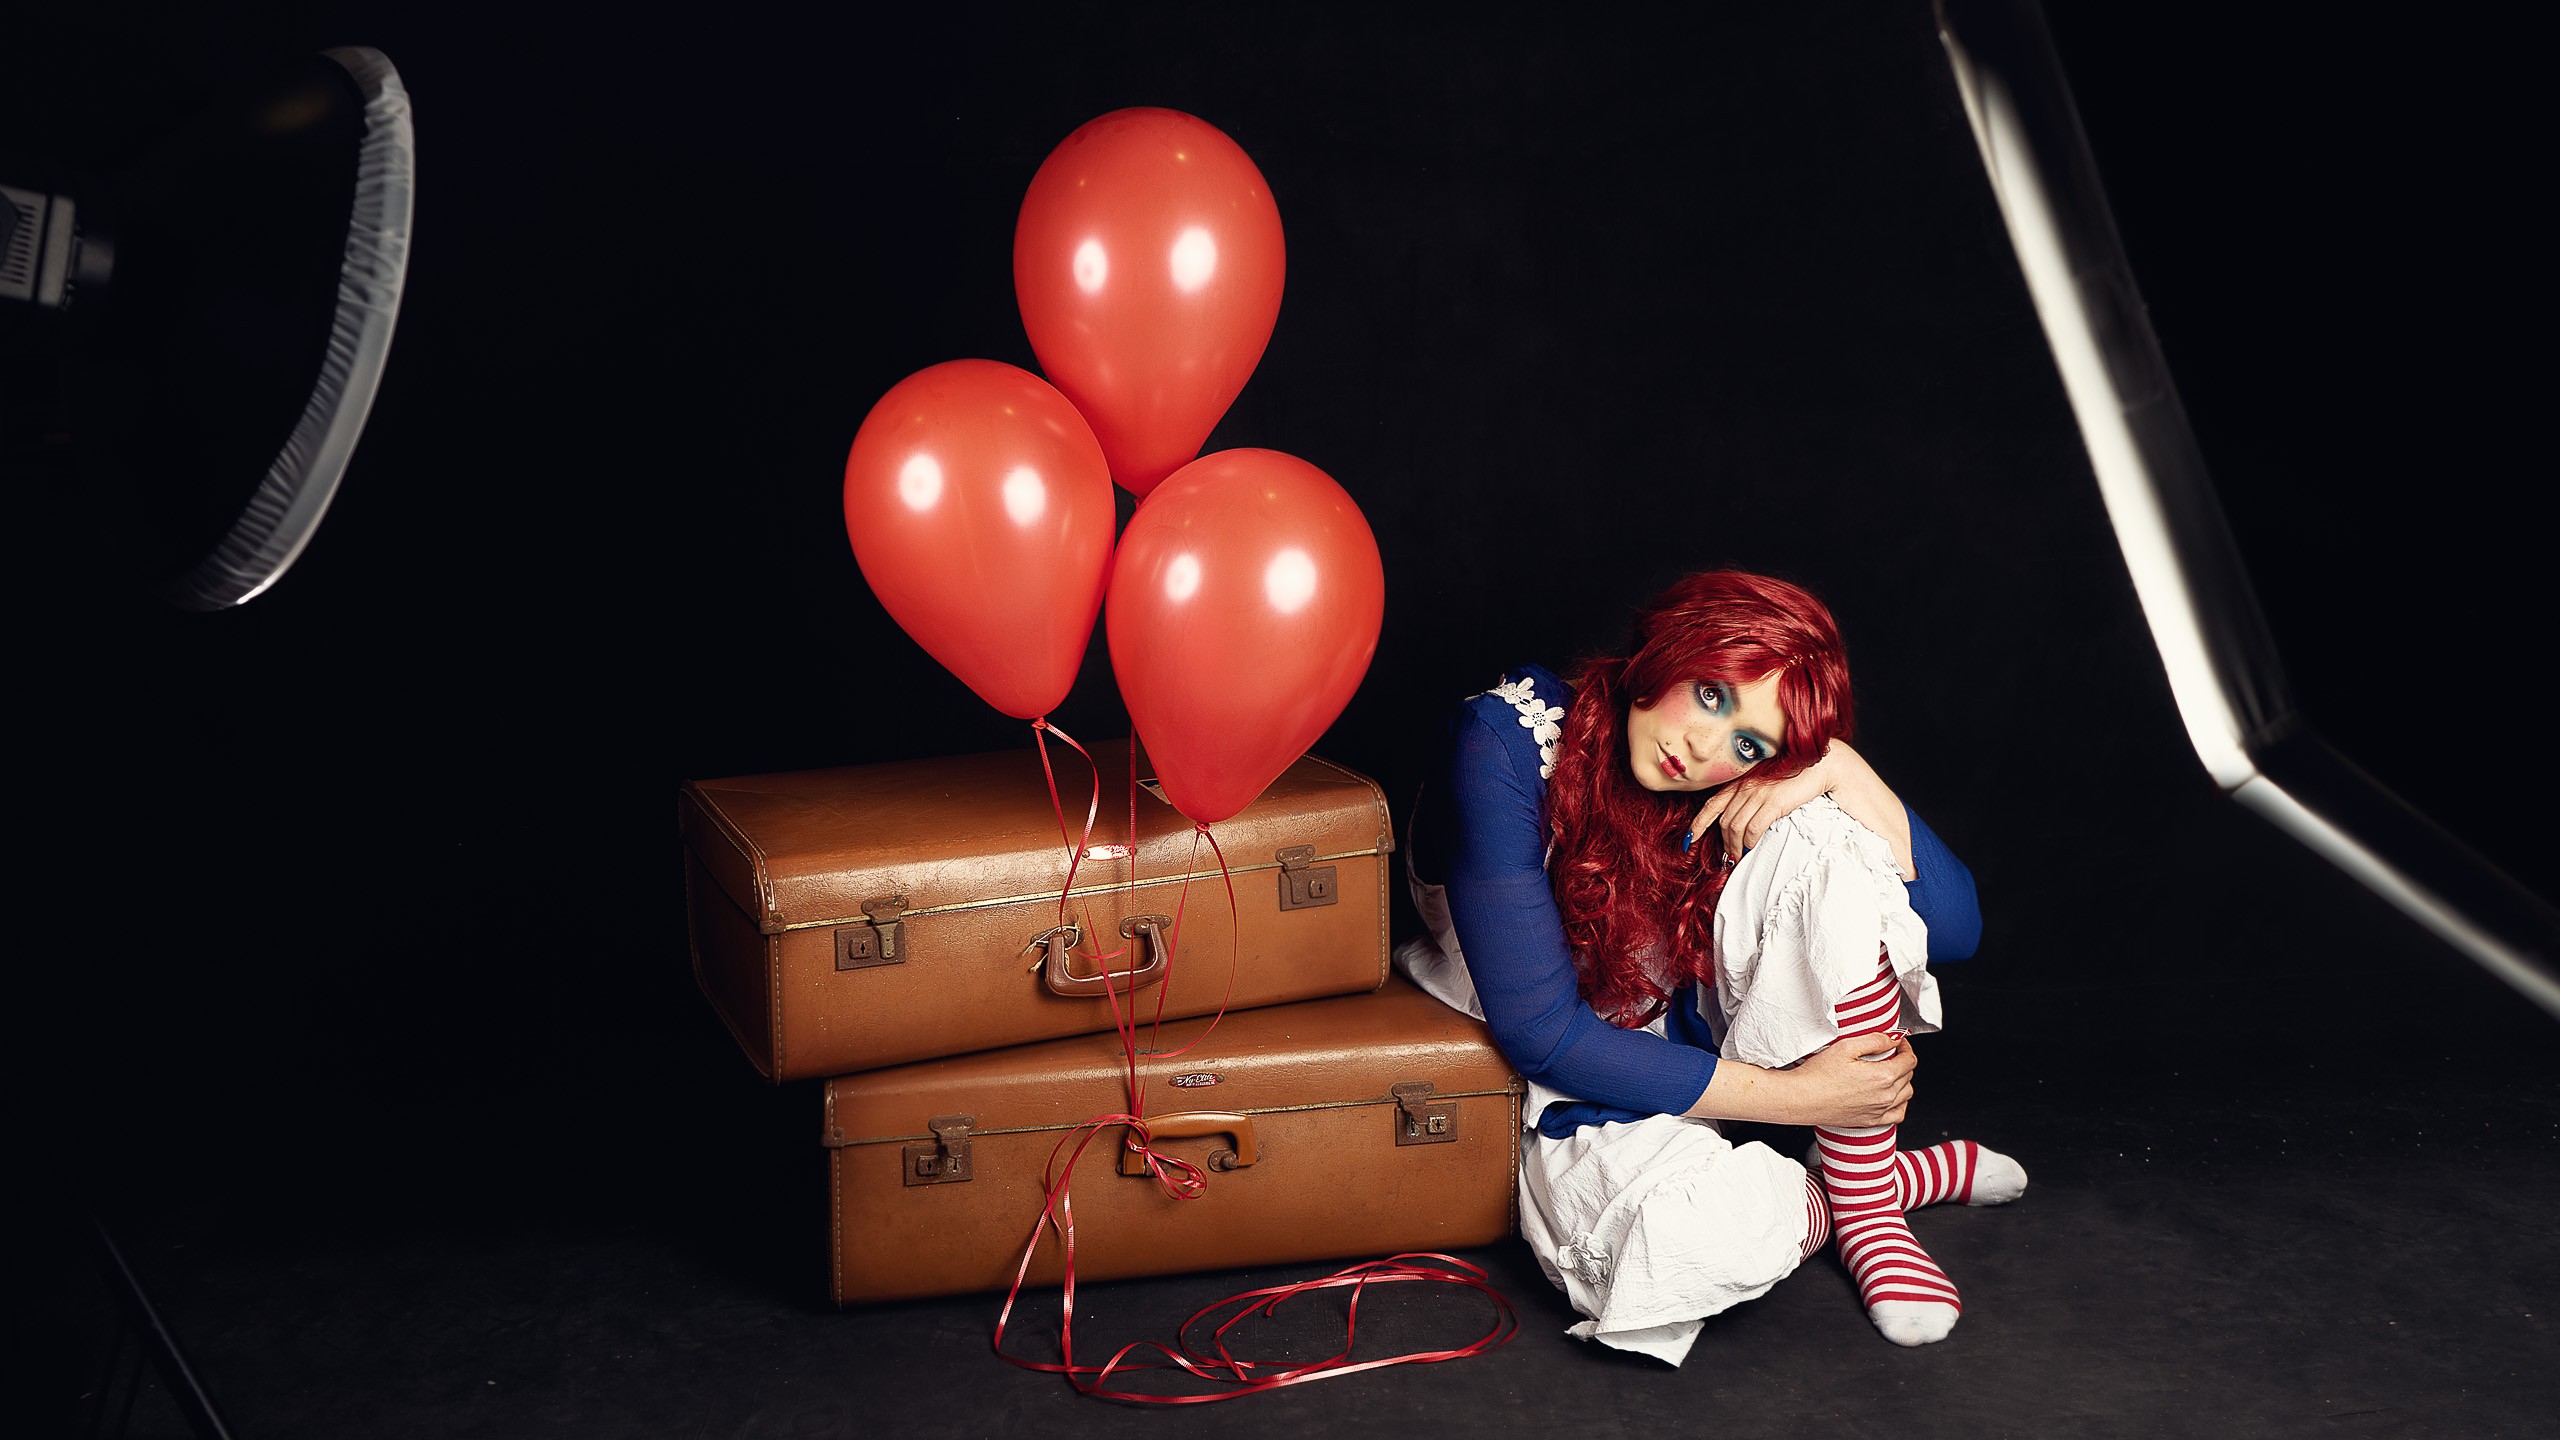
I must confess that I do prefer to work with natural light for still life photography, even bad light can be beautiful. However, it is not always possible to work during daylight hours during some parts of the year.
Sometimes due to a hectic work schedule, I am forced to shoot in the evenings and that’s where studio light comes in. When it comes to portraits in the studio, I often prefer studio light for crisp images as well. Just because they are big bright studio lights, it does not mean you have harsh light on your subject. I still work with beautiful soft light. It’s not that difficult to get comfortable with studio lighting.
Learning to feather the light
One of the best things I’ve learned with studio lights was feathering. This means that the light is NOT pointed directly at your subject. Instead, it is pointed slightly away and your subject is bathed in the outer edges of the light coming from the source. This ‘feathered’ light is much softer and complimentary, especially for portraits.
What lights to use
There is no easy answer to this. Studio strobes or speedlights offer fast action and higher speed shooting, especially if they allow for High-Speed Sync. This is terrific for everything from action shots of water drops, to dancers. These do take a bit of time and patience to learn and can even be a little intimidating and frustrating to start with. But taking the time to get comfortable with them is worth it.
I have recently purchased a set of Neewer LED panel lights, and while they can serve adequately as a fill light for portraits, I have found they are excellent for still life. The battery pack means they are portable and they are lightweight.
Get comfortable with your lights
A little while ago I wrote a post on getting to know your natural light. Some of that is relevant for artificial light as well. Instead of setting up a scene and waiting for your natural light to move, try setting up a simple scene and moving your lights around it, from either side, from the back and the front. Cover as many angles as you can. Start with one single light until you are comfortable with it. Move it closer to your subject and further away, see the difference it makes to how much light and how soft or harsh it is. Once you feel comfortable with a single light you can add another.
How many lights should you use?
For still life and macro photography, generally, I only use one source of light, regardless of whether it is a ring light, LED, strobe, speedlight or natural light. It is more natural and easier to work with. For portraits, I usually use two to three lights.
There are different styles and setups for lighting; paramount light, clamshell lighting, Rembrandt lighting and more. I use a mix of styles, mostly short light (facing toward the light) and Rembrandt, however for a more dramatic effect I will use broad light (facing away from the light) and paramount or clamshell lighting. I also like to add a speedlight to create rim light or a slight halo behind my subject. But not always.

Source link


Leave a Reply