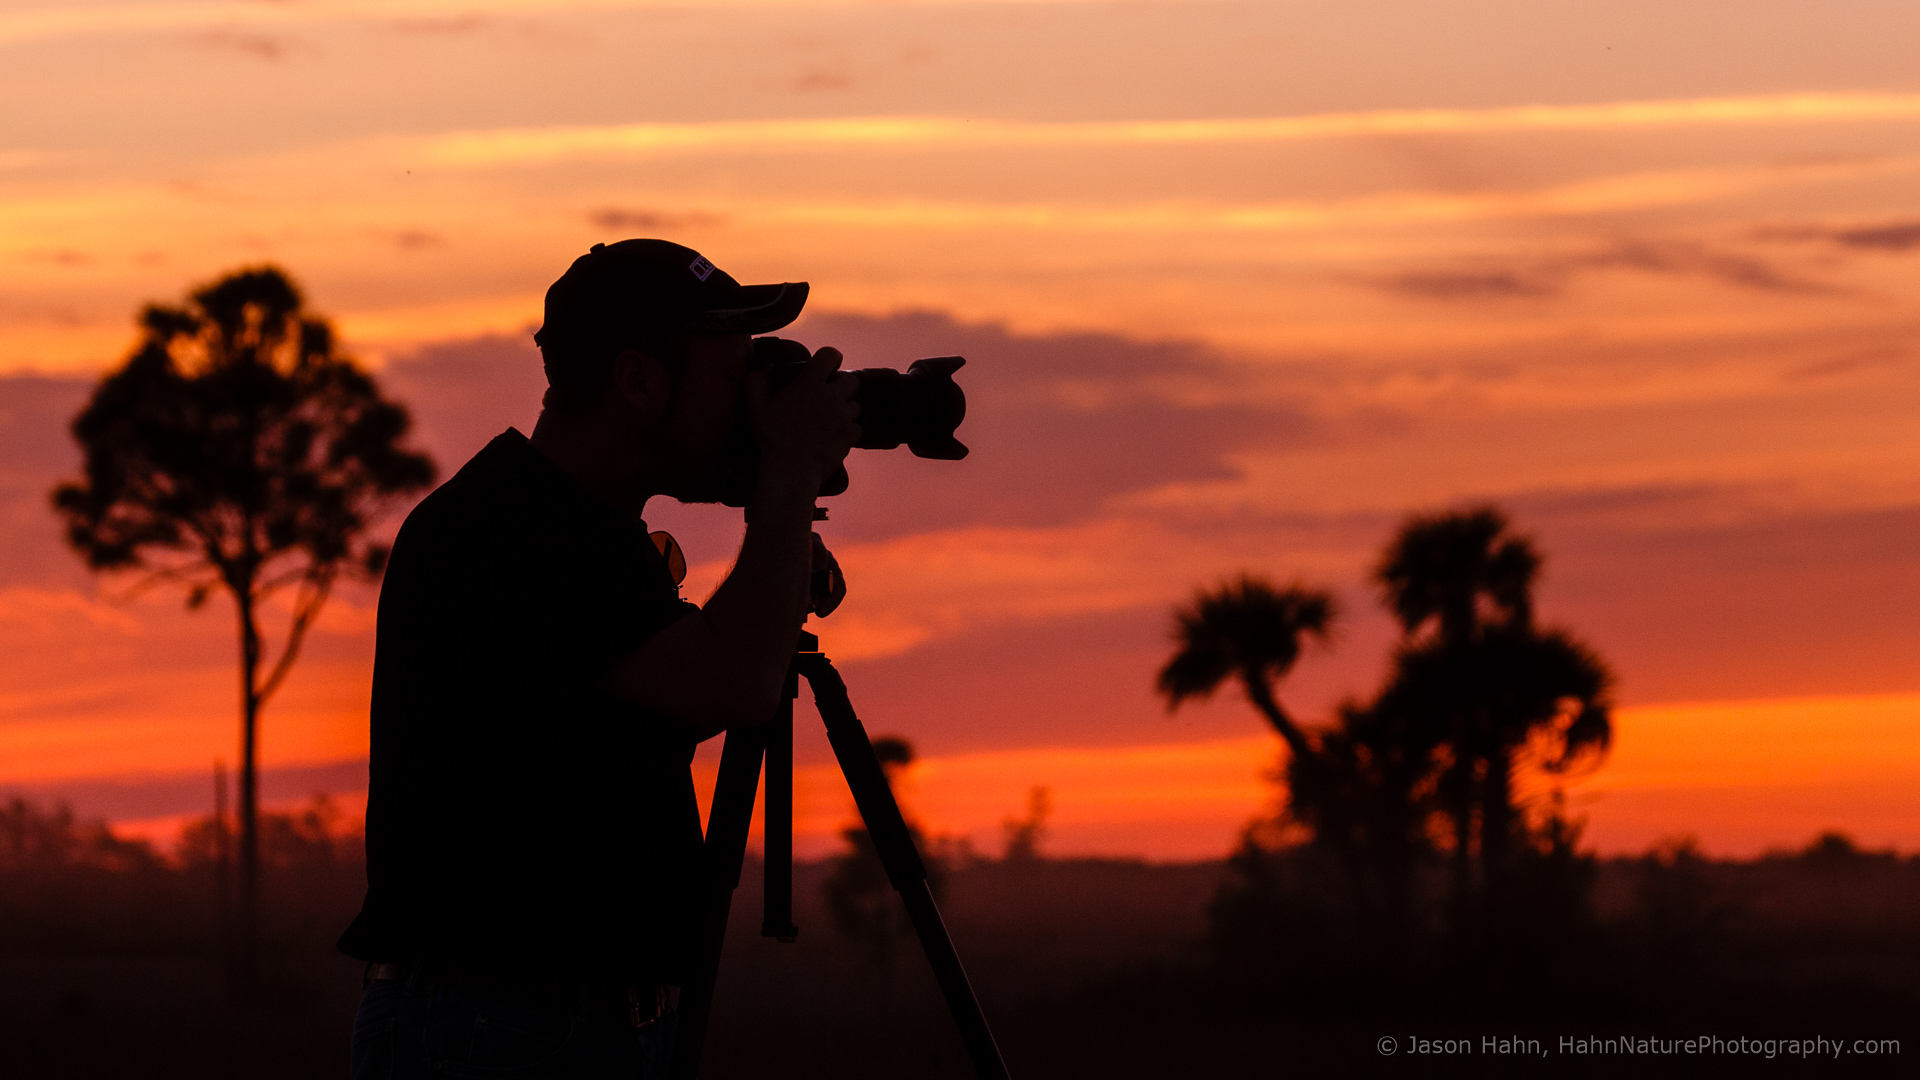
Most photographers will tell you that a good tripod is one of the most important equipment investments you can make for your photography. But, just owning one isn’t enough to give you better pictures. You have to have the right one to fit your photography, as well as know how to use it properly.
For as much time as we spend discussing and dissecting our settings, we often don’t think about the physical mechanics of how we take pictures. Over the years of running photo workshops and pursuing my own photos, I have seen many mistakes and mishaps with tripods, some resulting in pretty serious damage to pricey gear. These are some of the most common I’ve encountered (or accidentally committed), so you can avoid not only the pain of a missed shot, but worse, a toppled tripod and a crashed camera.

This diagram shows the names for the different parts of a typical tripod. Terminology does vary between manufacturer’s, but this will help you speak the language if you need to replace a part.
The Most Common Tripod Trip-Ups
“Wrong Tool for the Job” – Tripods come in all different shapes, sizes, and styles to fit not only different people but, different tasks. You wouldn’t want to lug a heavy studio tripod on a five-mile hike or balance your big wildlife lens and camera on a tiny travel tripod. If you only want to own one tripod, pick one that fits the type of photography you like to do. For example, if you expect to travel with it a lot, opt for a lighter-weight one that collapses to a smaller size so it can fit in checked luggage. The more sections a tripod has, generally the shorter it will collapse.
“The Hunch” – Consistently using a tripod not tall enough for you is ergonomically one of the worst things you can do to yourself as a photographer. You will have sore everything if you shoot for long periods with a tripod that doesn’t fit you. Certainly, some subjects and situations demand you hunch, sit, squat, or kneel to use your tripod. But, my general rule is to get a tripod that, when fully extended, has its top base at or above your eye level. While you may not use it all the time at this height, more often than not you will.

“The Skinny” – Tripods work because their wide base forms a triangle on the ground, the most stable shape in geometry. But when we add the third dimension of height and turn that tripod into a pyramid, not having a wide enough base in contact with the ground can lead to it toppling. When you don’t spread out the legs all the way, your top-heavy tripod is more vulnerable to tipping due to accidental bumps, wind, or just gravity alone.

“The Leaning Tower of Pixels” – When one tripod leg is way shorter or longer than the others, on level ground, in this shifts the tripod’s center of gravity, creating the conditions for a likely tip-over. The multiple-leg sections on most tripods allow you to adjust for uneven ground, but you still have to keep the weight of your camera centered above the tripod, as much as possible.

“The Amazing Shrinking Tripod” – I am probably most often guilty of this trip up. This occurs when you set up your tripod, and don’t completely tighten down one of the locking collars or secure the levers on one or more of the legs. This results in your tripod starting to slowly (or quickly) collapse on that one leg, often leading to “The Leaning Tower of Pixels” above.

“The Flex” – When your tripod noticeably flexes under the weight of your equipment, you have the potential to break its legs and dump your camera. Generally, your tripod should support 2-3 times as much weight as the heaviest combination of equipment you expect to put on it. With most carbon fiber tripods, the legs can flex slightly. But, flexing noticeably under a load is a sign it is not sturdy enough for your intended use.

“The Wide Leg Wreck” – A useful feature of many tripods is the angle adjustment at the top of the leg. This allows you to spread your tripod’s legs, lowering its height while widening its base. This creates an inherent weakness, though. With the legs spread, they are no longer supporting the weight of your tripod head and camera vertically. The tubes your tripod’s legs are constructed of are strong lengthwise, but they are hollow and can be bent or crushed if not careful. If you spread the legs, collapse them first. This will give the leg extra strength, and less length to flex.
NOTE: Never, ever, ever use your tripod when in the fully spread position as a brace to get off the ground! If you accidentally push down on the legs at this point, you are essentially turning the leg into a lever. This will transfer your weight to the locks, legs, leg braces, or worse the main casing, and crack them.

Think About Your Photo Taking
Remember, a tripod is one of your most valuable tools as a photographer. But, only if used the right way. Otherwise, it can become a hindrance, if not a liability. With these tips in mind, take a moment to look at the way you photograph and use your tripod. Think through your photo-taking process, it may just save you from one of these tripod trip-ups!
Source link


Leave a Reply