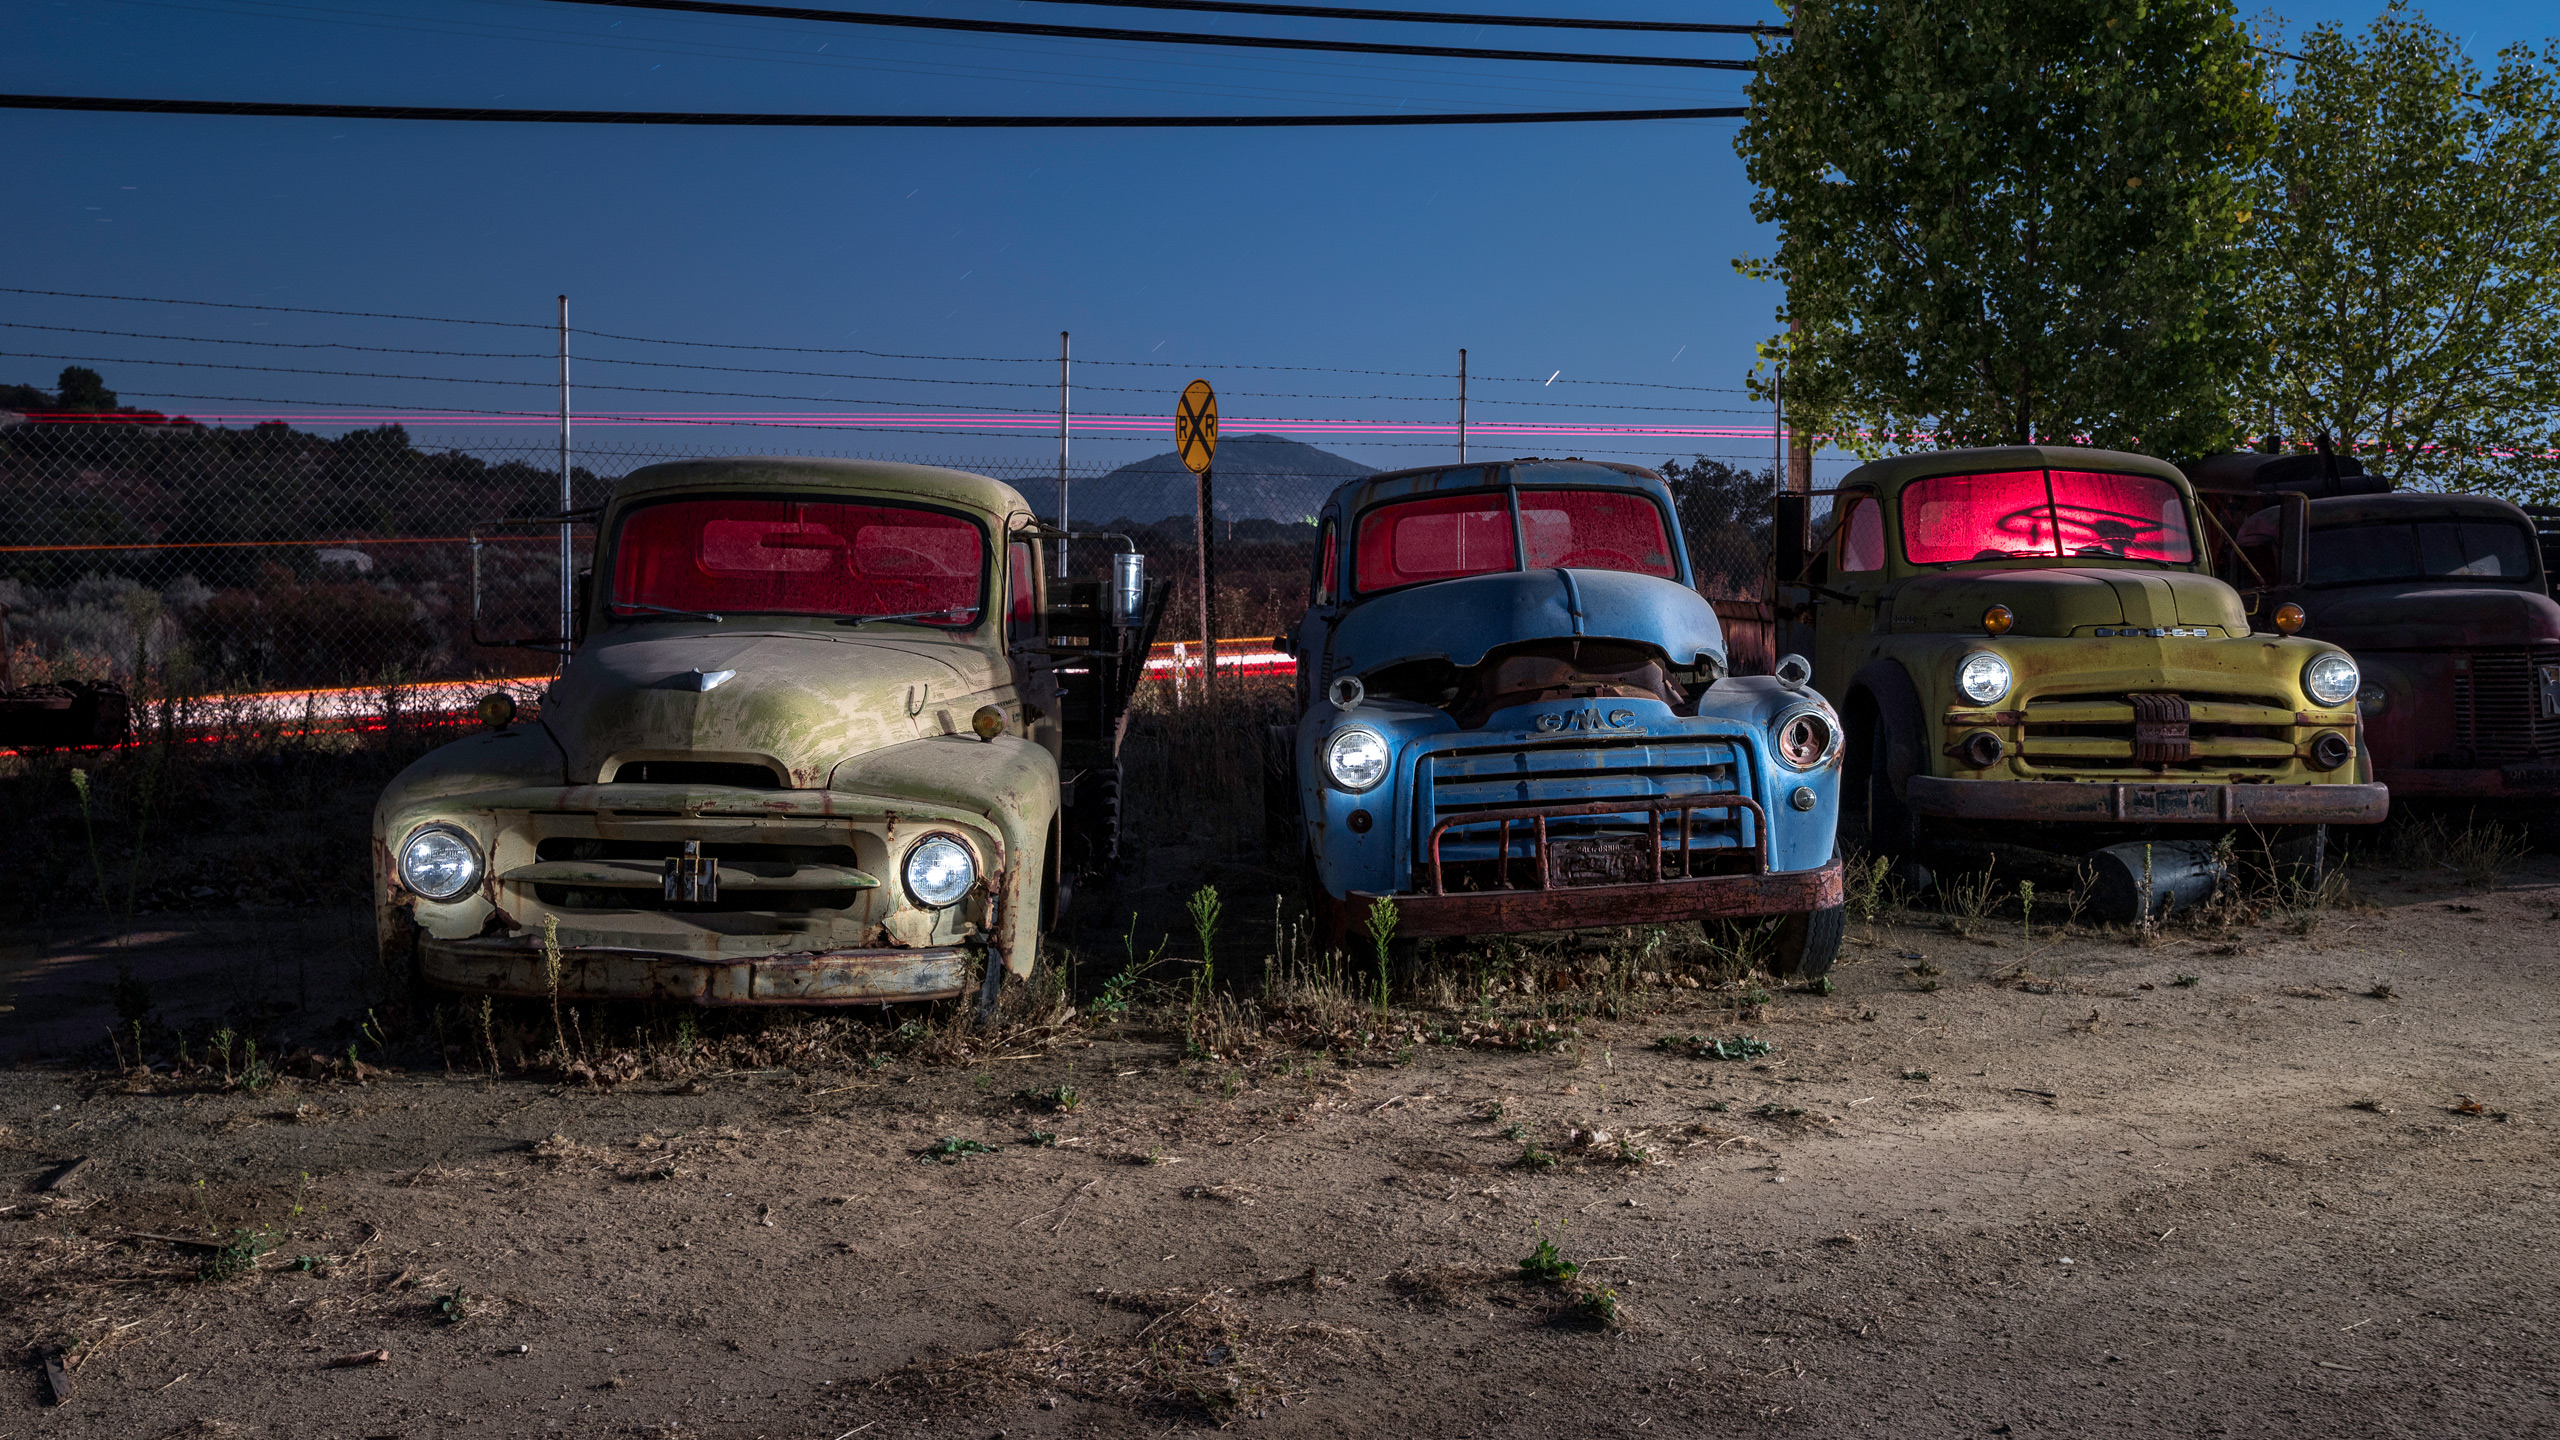
This is admittedly a rather specific DIY project, but hopefully, it fills a niche, however small that might be. I can’t take credit for this fine design. Night photographer Tyler Heibeck told me how to do this, showing this to me when we were traveling in Iceland.
But it’s easy to do — it’s simply sanding and gluing. If I can do it, you can do it. And probably better.
The specific design I’ll describe is for a ProtoMachines LED2 handheld light painting device. It has threads so you can screw them on. And so do a lot of lights. But even if they don’t, as long as you have a piece that attaches to your light source and you can glue modifiers onto that, you can run with this idea.
If you don’t have a ProtoMachines LED2, check out this article by Erin Holmstead for a DIY snoot … for the rest of us.
What’s a snoot and how do you use one?
In photography, a snoot is a tube or something similar that allows you to direct light. You can fit one over a studio light, portable flash or flashlight.
Here, it’s most similar to a flashlight. This allows you to control the direction and radius of the light beam. I’ve done that with the above photo of the bus.
I use this for various reasons. The most common for me is to light paint a headlight so it looks like it’s on. This is great fun.
What you need
Sanding and gluing
1) Sanding
First, sand all the surfaces that you will be gluing. Roughen them up and then wipe off the dust.
You really only need to glue the aluminum step-up ring to the bushing (shown above after it was sanded). That’s what I did for my first snoot, and that lasted without incident for four years before I left it in an airplane hangar. However, if you wish to glue everything else as I’ve done this time, sand all the surfaces first.
2) Gluing
Take the J-B Weld and add the steel to one side and the hardener to the other side. Apply this with Q-tips or something similar.
You can also mix them together on one surface, but I found it was easier and less messy to apply them separately.
3) More gluing (optional)
Remember, you don’t have to glue the other pieces if you don’t want to. Here, from the bottom up, you can see the step-up ring glued to the bushing, and then the coupling has been inserted into the bushing.
I really didn’t need to glue the coupling into the bushing. It is a tight fit and doesn’t come apart. But when you have extra glue, why not?

Does it have to be black?
No, absolutely not. But people who light paint frequently walk through the frame. We like to use dark things to minimize the chance of it showing in the photo or reflecting something. We wear dark clothes and use dark things. So it is with this snoot.
But if you wanted, you could get most of these parts in white. That would certainly make getting the pipe easier, as you could use PVC pipe, which is generally found in white. ABS pipe is black. It also tends to be a little more solid and can withstand more shock, which probably isn’t that crucial unless you slam the car door on it or something. Well, OK, that sounds like something I might do … so maybe that is more crucial!
An even easier, cheaper snoot
Although this takes only about 10 minutes to do, you can certainly use a cruder, simpler snoot. For instance, you can use a heavy-duty cardboard packing tube, available just about anywhere. The advantage is that it is cheap.
However, one disadvantage is that it “leaks” light slightly between the tube and the flashlight and can show up if you walk across the frame or otherwise need to get close to the headlight. This was the case in the photo of the bus above.
The other disadvantage is that you have to use both hands. In reality, this second point isn’t really that big of a deal, but it bears mentioning.
Wrapping it up
I want to emphasize that if you can find one piece that attaches to your light, you can simply modify this light modifier to suit your needs. I hope this helps!
Source link


Leave a Reply