Adobe added Generative Fill to Photoshop (Beta) for desktop this week. I had a play with how this new addition to Photoshop’s capabilities functions with a few quick explorations.
If your computer can run it, then the Generative Fill tool in Photoshop (Beta) gives you a way to integrate AI text generation into your Photoshop workflow. Like Dall-E 2 outpainting and infilling, you can extend your canvas boundaries with auto-generated content. You can remove objects, and you can insert generated objects within the image too.
Generating a rainbow with Photoshop (Beta) Generative Fill
My first pass using Generative Fill was not impressive. The first few attempts got me some creepy AI abominations around my sons who featured in the photo, including my son’s arm turning long and tentacle-like and becoming part of the swing, because reasons?
Anyway, I tried again with more of a blocky selection that included the sky (and not my kids). Hmm.


I think I like how it was before better.
Using Photoshop (Beta) Generative Fill to extend a MidJourney image
Generative Fill definitely did a better job on this image (don’t worry – I’m going to get back to photos in a minute). I used one my MidJourney creations as a base. I then extended the canvas to generate more of the character’s hair, and then the sides of the image to fill it out.
Perhaps because it’s already an illustrative style, the addition blends in well. It doesn’t look out of place to me, and I can believe that it was meant to be there all along.


As a comparison, here’s a similar effort created with Dall-E 2 Outpainting. I find it harder in Dall-E 2 to generate because it wants to “make” something there in the blank spaces. Photoshop (Beta) lets me leave it blank if I just want the background extended.
Has a very 1980s vibe, doesn’t it?
Adding objects to the sky with Generative Fill in Photoshop (Beta)
We’re more interested in photos here, so let’s dig a bit deeper into what we can do with photos and Generative Fill. Choosing an image with more wriggle room to create something in, I started with this night portrait.
Using the Generative Fill text prompt I added the aurora first, and then the moon.


It has the sense of adding overlays or sky replacements, but it was a lot faster. My videos are speeded up here, but only by about double. It was a matter of a few minutes to add the moon and aurora to my photo.
Does it look real? I don’t know. Probably not realistic that someone would be wearing just a sheet in the middle of the night somewhere it’s cold enough to see the aurora.
Matching the style of the image using Generative Fill
This example I used a drawing I’ve been playing with, tracing black lines over an image underneath. I asked for a fairy with rainbow wings sitting on the mushroom. It didn’t deliver, but I do think that what I did get at least matched the style of the underlying image fine.


I kind of liked the first not-fairy that I got, so I added another one.
Removing objects using Generative Fill in Photoshop (Beta)
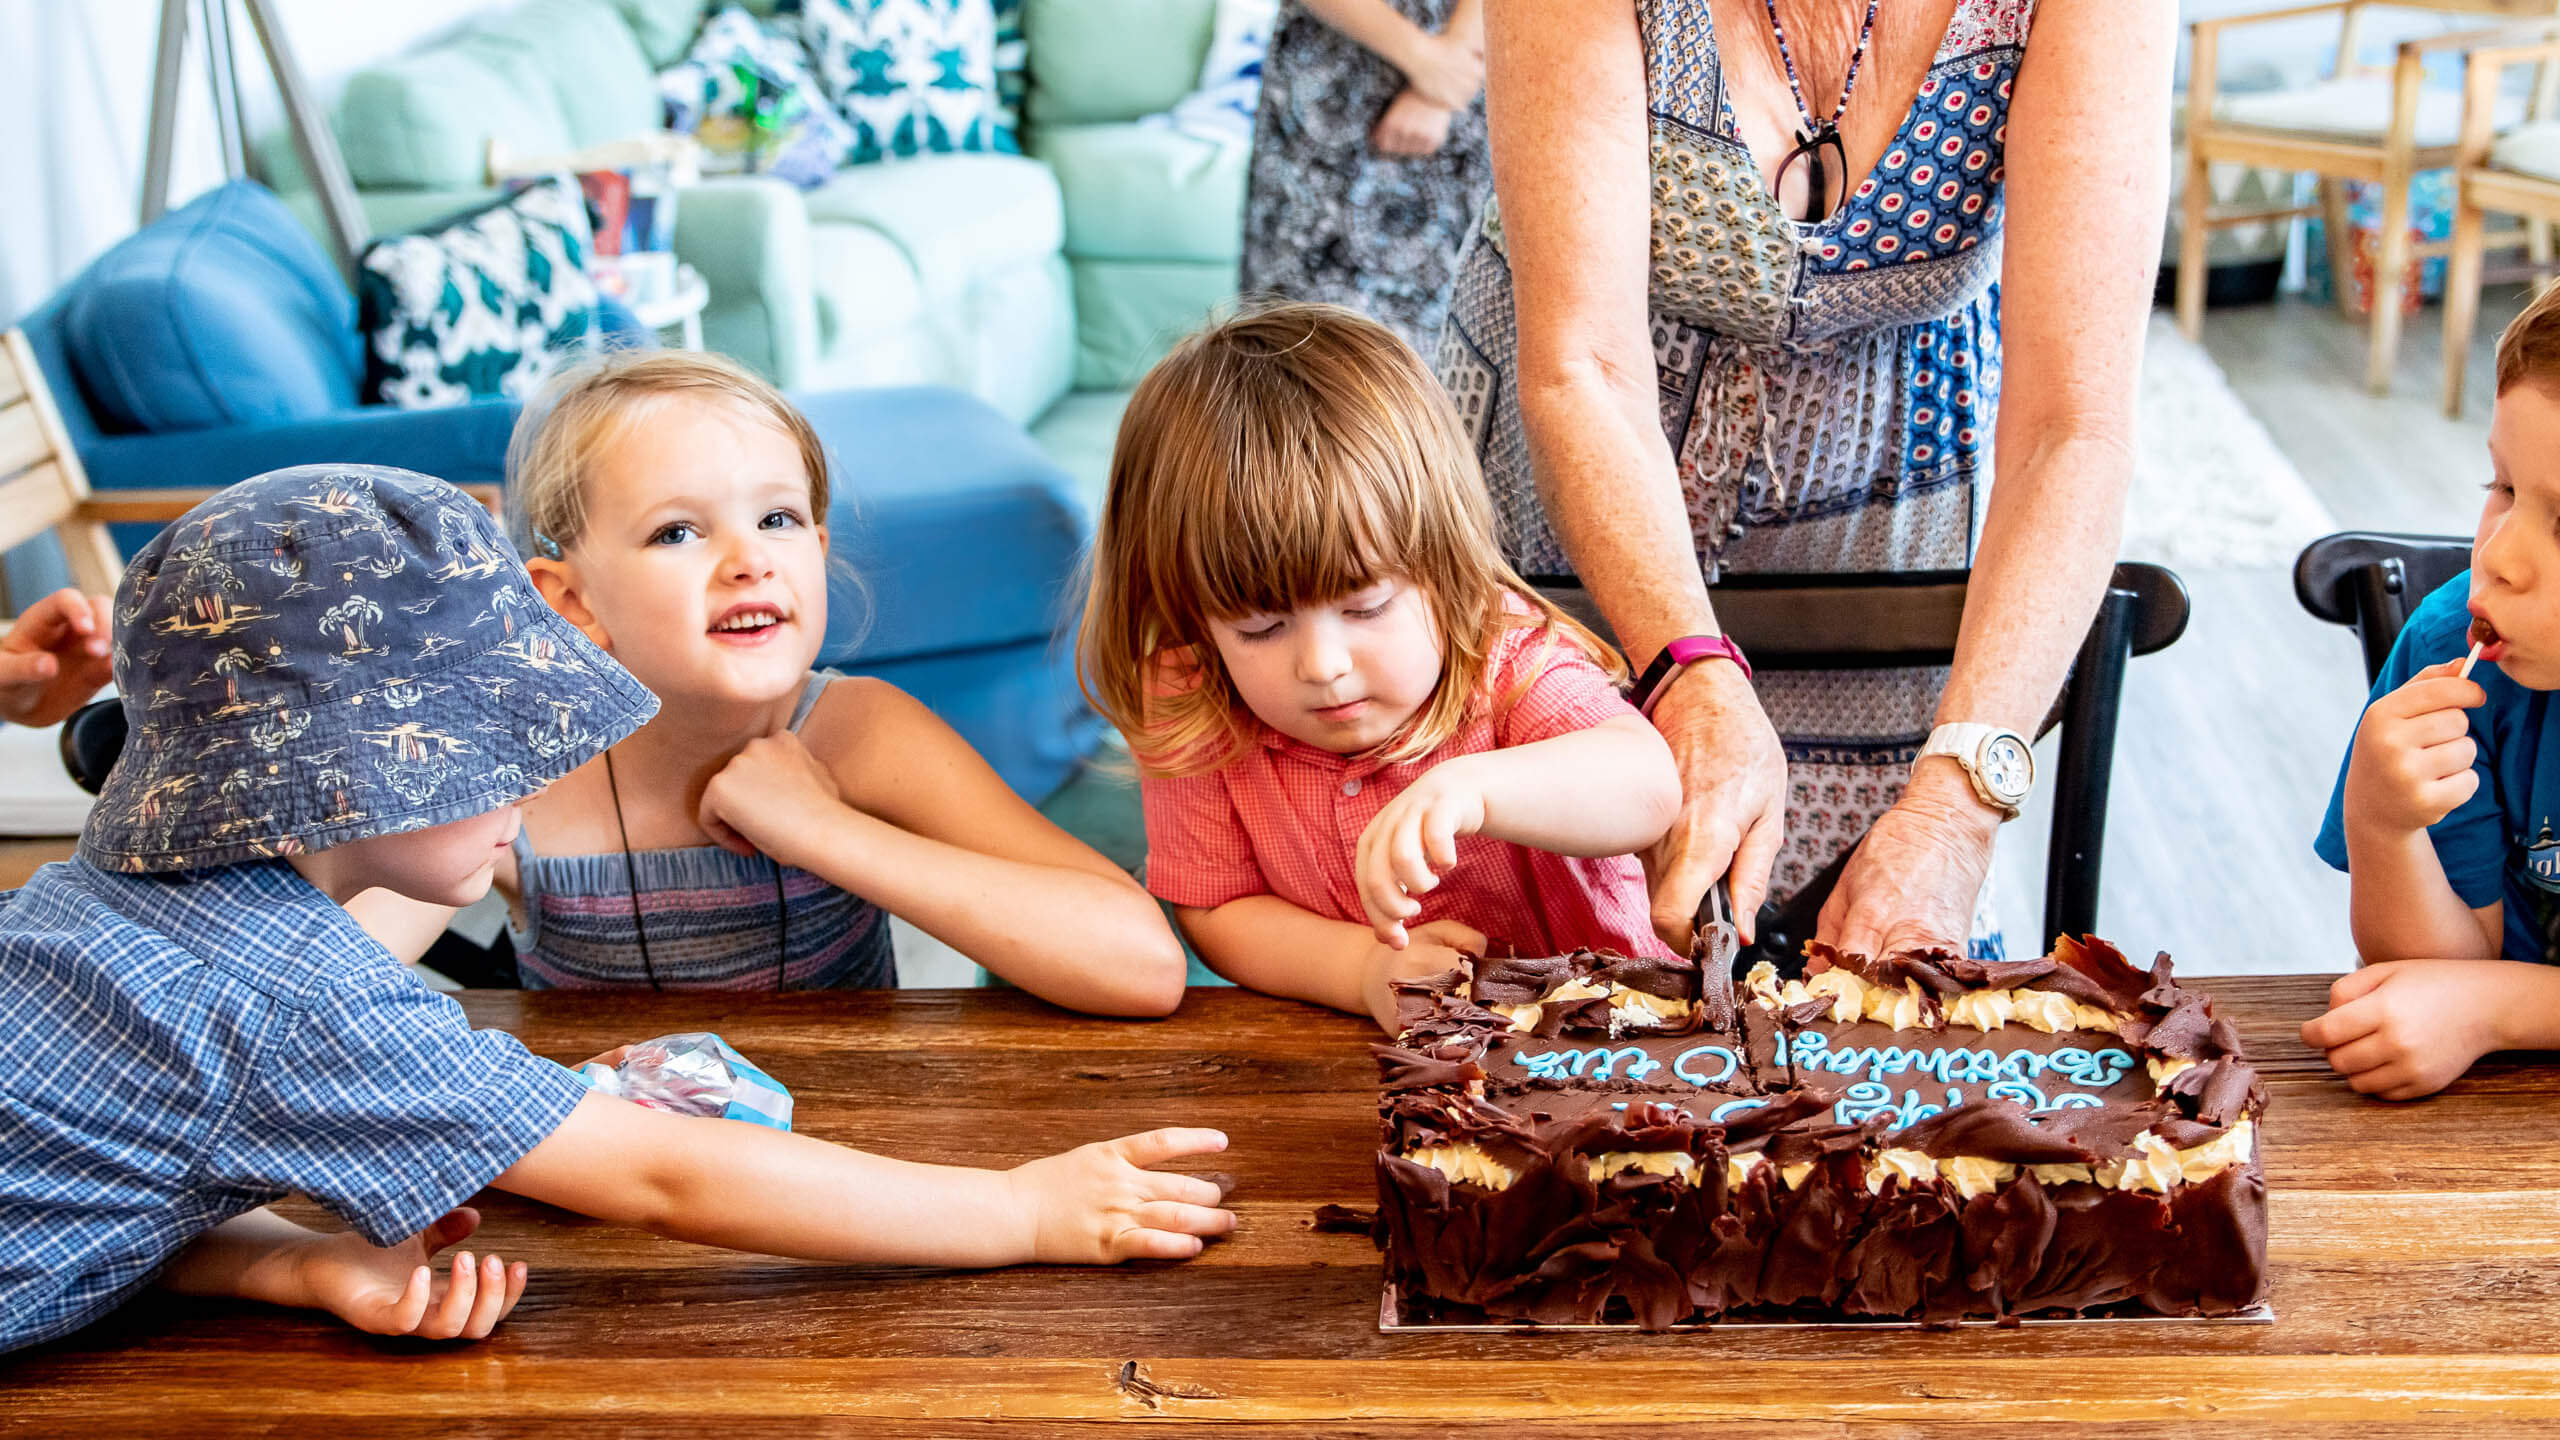
Okay, now I’m actually impressed. I used the Generative Fill tool to remove someone from my photo, and the results were very convincing. It actually looks like my sister’s couch (which is where this photo was taken).


I also selected the eyes and mouth (separately, doing an individual generation for each) for the child who’s not looking at the camera. Now, this worked, in that it looks fine. It looks like a child. But it’s clearly not the same child. So to fix a photo for commercial purposes where the actual person doesn’t matter, this works. To fix a photo of an actual person, then you still need to do a face swap, the good ol’ fashioned way.
Generative Fill, so far, works better in some situations than others
From results that look indistinguishable from a real photo, to things best left in the realms of 1990s-era clipart, Generative Fill in Photoshop (Beta) is hit and miss. I’m keen to see how this develops as the beta gets feedback from the community.
Source link


Leave a Reply