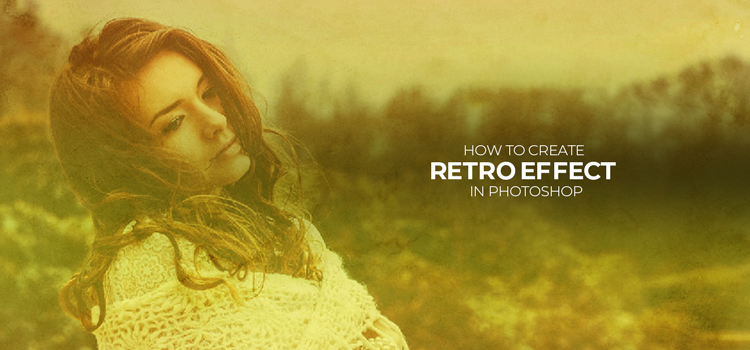
Retro or vintage images are always reminiscing, aren’t they? But in this digital age, you are unlikely to have retro images in your collection. Even if you have, chances are high that they got botched or partially torn losing their original appeal.
But that doesn’t mean you can’t enjoy the charm of retro images. With the help of Photoshop, you can create retro effects on any type of image, including of human beings, architectures, vehicles, and objects.
Suggested Article– Best Vintage & Retro Photoshop Actions.
This write-up is all about how to create retro effects on images in Photoshop. Without further ado, let’s dive deep into the point straightaway —
How to Create Retro Effect in Photoshop
Photoshop has the magical power to make many editing tasks easier for you. Like many other actions, you can apply retro effects on your image easily through this advanced professional editing tool.
1. Open your Image and Select Solid Color:
Right at the beginning, open an image in Photoshop on which you want to create retro or vintage effect. Unlock the background layer thereafter.

Now, move to the Adjustment Layer icon and click it and a drop-up menu will show up immediately. Select “Solid Color” from the menu at first.
2. Apply the Solid Color:
Immediately after selecting the Solid Color, color picker will appear. All you have to do is choose an appropriate solid color for your image. After choosing the color, apply it and hit the “Ok” button.

3. Set the Blending Mode:
The chosen solid color will show up in the Photoshop canvas. To make your image visible, you have to set the blending mode to “Soft Light”. Click the “Blending Mode” and a drop-up menu will surface.

Suggested Article– Photoshop Layer Blending Modes.
4. Select Gradient from the Adjustment Layer:
Now, click the adjustment layer icon again in the Layer panel and choose “Gradient” this time to pick a gradient color for your image.

5. Choose a Gradient Color:
Instantly after that, a dialog box will show up with Gradient colors. Choose a fitting gradient color in relation to your image. After that, apply it by hitting the “Ok” button.

6. Adjust the Opacity and Set the Blending Mode:
At this point, you need to adjust the opacity and set your blending mode to Hard Light. Go ahead to execute both actions one by one.

7. Select Solid Color Again:
As shown before, once again open your adjustment layer from the Layer panel. From the drop-up menu, select “Solid Color” again.

8. Set an Appropriate Solid Color:
Once again, the job is to pick a befitting solid color for your image from the color picker. After that, apply it to your image by clicking the “Ok” button.

9. Adjust the Opacity and Set the Blending Mode Again:
To bring the proper retro effect, adjust the opacity and then move ahead to set the blending mode again. This time, choose “Lighten” as the blending mode to create a retro vibe.

10. Add Paper Texture:
In order to enhance the retro effect, you can add a paper texture to your image. Download a nice and cool paper texture from any stock image website like Pixabay, Freepik, etc. Then, open the image on the same workspace and resize it properly.

Final Output:
Lastly, set your blending mode to “Soft Light” to apply the paper texture to your image. The addition of paper texture will create a realistic retro effect on your image. And that’s your final output.

That’s how easily you can create a retro or vintage effect on any image you have in your arsenal. Just follow the steps sequentially and your job will be as easy as pie.
You may also read– How to Add Cinematic Effect in Photoshop.
Source link


Leave a Reply