As a child, my cousin James had a reputation for taking things apart. I recall one Christmas when he dismantled down to the wiring every gift he was given. Remote-control cars? Give him 20 minutes, and there would be nothing left but a pile of tiny screws, little motors, and the tears of his mother who probably should have known better than to give him such an expensive present.
But the extraordinary thing is, he learned to put them back together again, and it didn’t surprise any of us when he became one of those people who could rebuild or fix anything as an adult.
Taking things apart and figuring out why they work is probably one of the best ways to learn something, and while I don’t recommend it with your cameras since there’s a certain amount of trial and error involved, it’s probably the most powerful way to learn to make photographs.
I was told that the best way to learn to make photographs is to make a lot of them, and that’s impossible to argue with. But I made thousands of photographs for years before they became good photographs. One of the things that turned it around for me was a simple exercise. Now a habit, it’s simple, can be done anywhere, and will change the way you look at—and make—photographs.
Take them apart. Layer by layer, strip them down. And as you do, ask yourself this one big question:
What makes the image work? Maybe you don’t think it works, but you can still ask: what makes it look the way it does?
It’s simple reverse engineering (though not always easy). Begin by just looking at an image for a bit. Let your eyes wander the frame. Be aware of what you think or feel. Are there hidden surprises the longer you look? Most images can’t be fully enjoyed with the kind of quick glance we give them. Where does your eye go? What’s it about?
Now ask what decisions the photographer made that lead to it looking like this? Did the shutter speed contribute anything to the image? What about the chosen aperture or where the focus was placed? Did the overall choice of exposure, either brighter or darker, make the image feel a certain way? Where was the camera when the image was made? Does that contribute something? Can you tell which kind of focal length was used? What does that choice add to the image?
Just a few simple questions, but asking them can help us become more visually literate. And the more deeply you go with it, the more you’ll learn. Now ask why: Why did the photographer make those choices and not others? Sometimes they won’t matter; sometimes it’s one big decision that makes the image work. Other times it’s a combination of choices without which the photograph would fall apart.
And you can do this with darkroom work too, though there is a bit more guesswork involved. What do you think the photographer might have chosen to do with brightness or contrast? Is it bright or dark? High contrast or low? What about saturation or the way the colours work? If it’s black and white, why do you think that decision was made? Do you think it would be as powerful in colour? Where does your eye go in the frame?
I want to try an interactive exercise with you, and there’s a $400 prize on the line.
I’m going to show you one of my photographs, and for the darkroom portion, I’ll make it easier by showing you what my RAW file looks like. You can choose to do the exercise on your own, or you can play along with the rest of us in the comments below, where you can leave your answers and look at the answers of others.
I’ll play as well, and on Wednesday, I’ll post a link to a video of me unpacking the image from start to finish. And to give you a little motivation, I’ll put a prize on the line and draw the name of one person who plays along to give it to. I’ll tell you more about that on Wednesday.
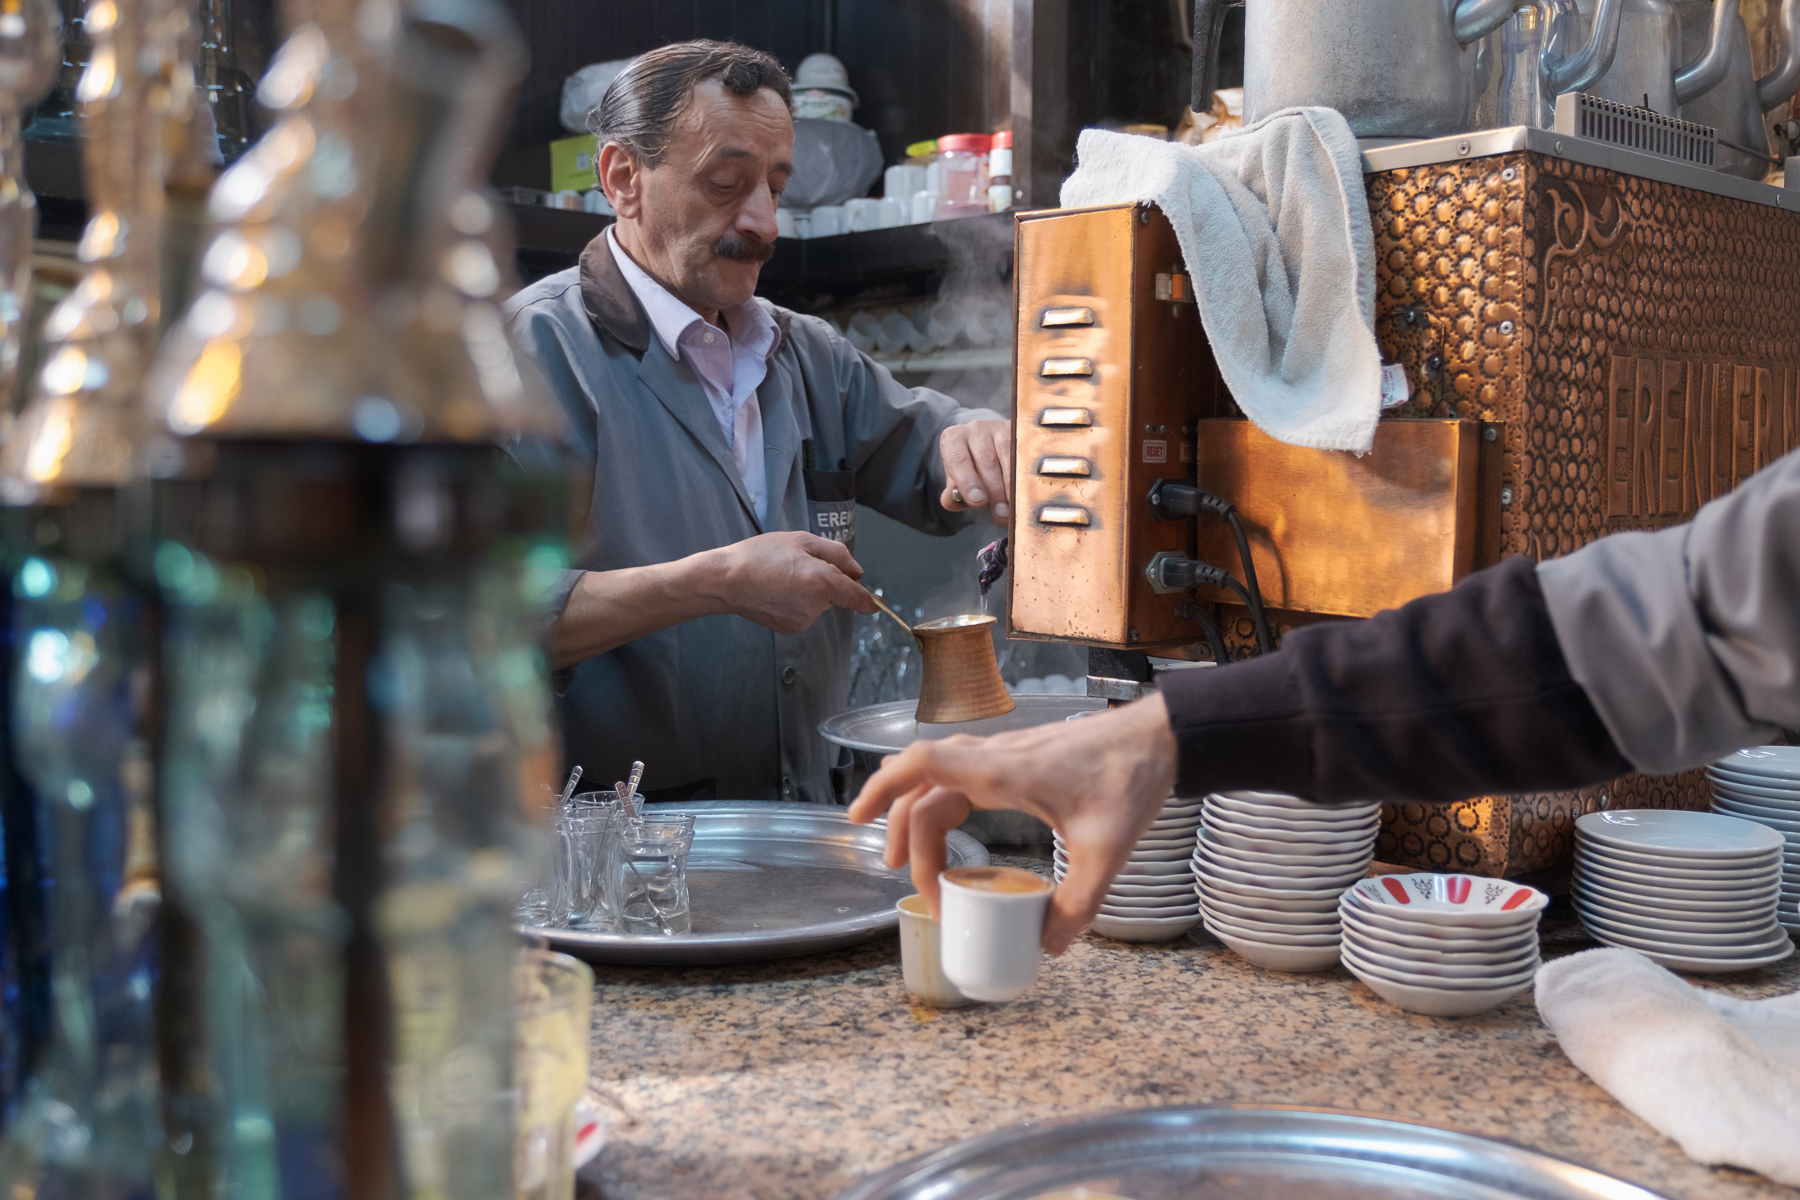
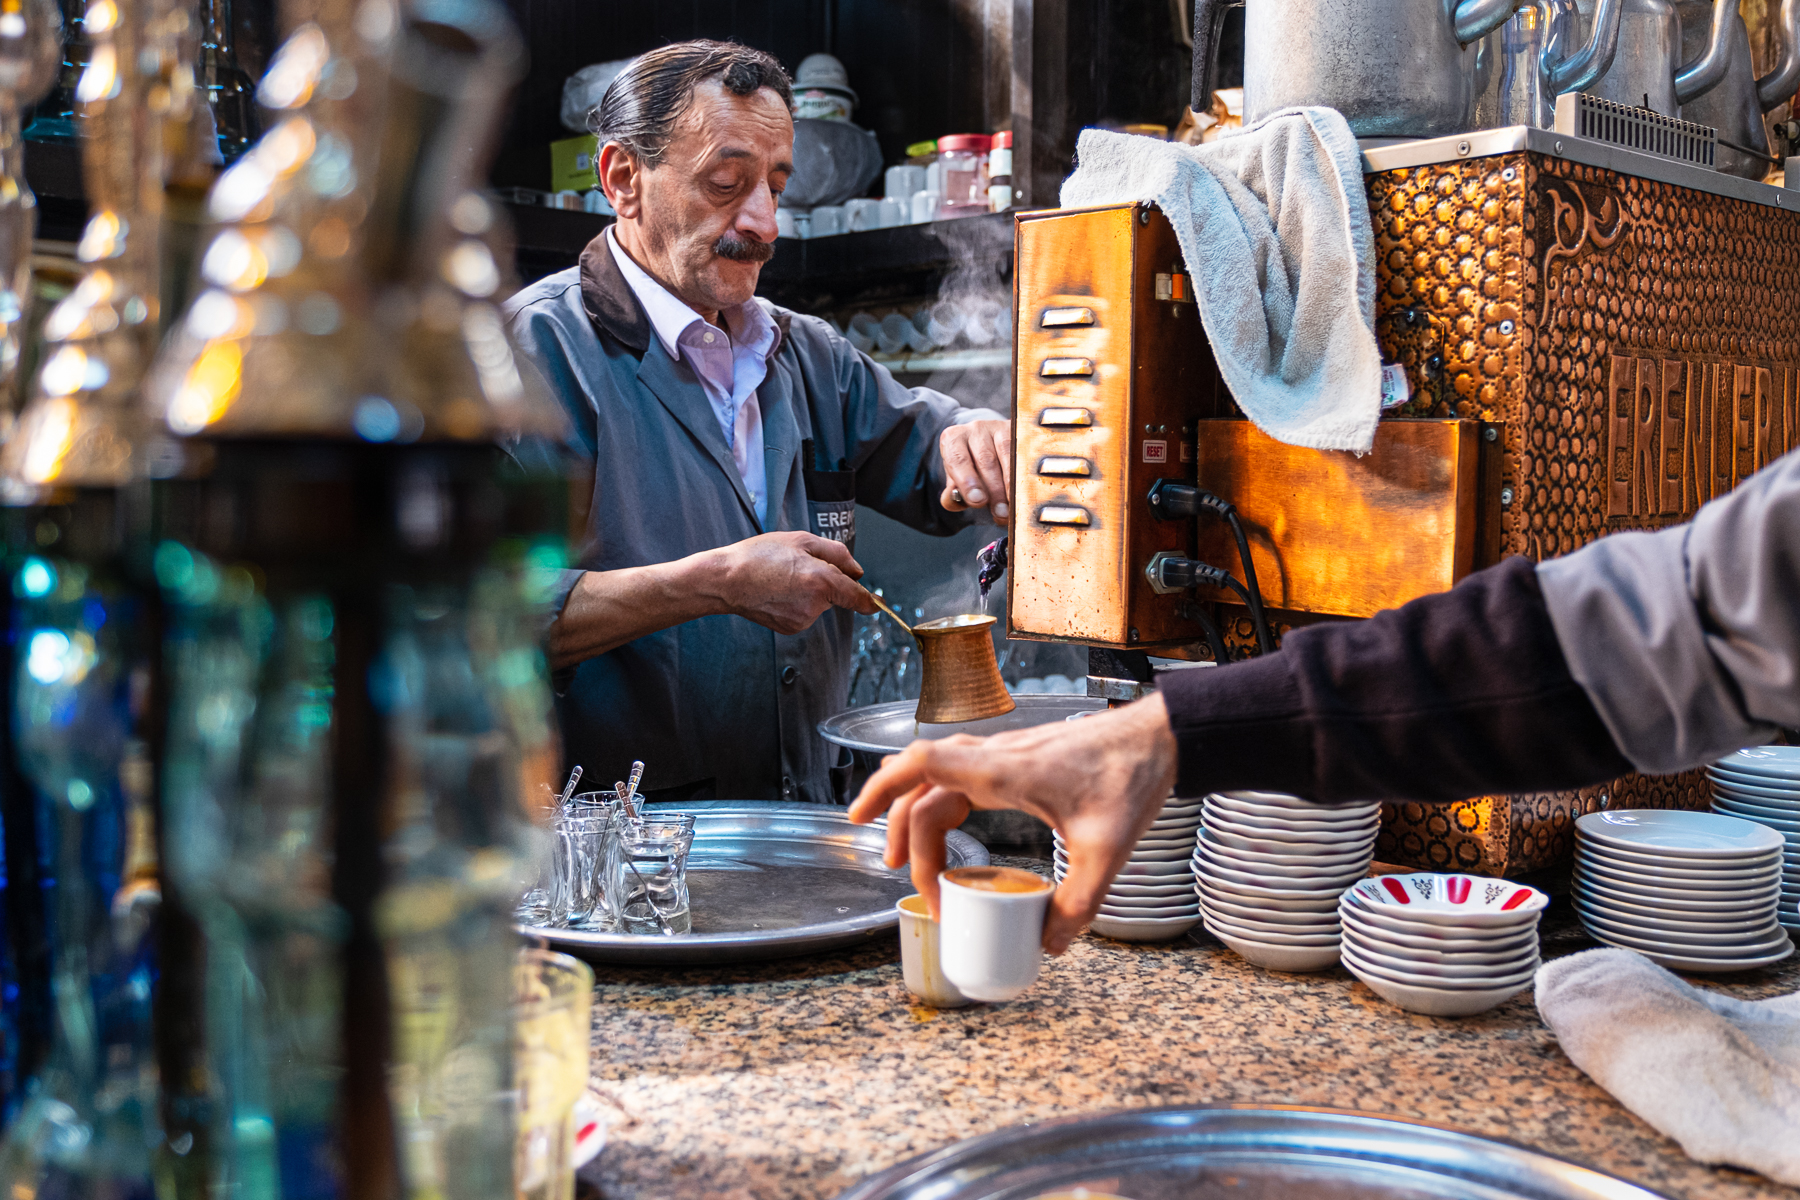
Here’s that image, both before and after:


So, what choices made this image look the way it does?
What decisions both in-camera and in the digital darkroom do you think I made? Guesses are fine. But for each of them, because there’s no magic in specific shutter speeds or focal lengths, the big question remains: Why did I choose that? What does that choice accomplish?
What effect does it have in the image? How would the image be different if I’d made a different choice about shutter speed or aperture, focal length, or my point of view (where I put the camera)? What if I’d used the light differently? What about the darkroom? Can you tell which overall changes I made? Don’t worry about how for now. Is it brighter? More contrast? Saturation? And if so, did I change the saturation everywhere? What about dodging and burning, can you see how I might have gently nudged your eye away from some elements in order to draw it toward others?
I’m going somewhere with this, and on Wednesday, I’ll send you that video I promised and talk more about how this approach can forever change your photography as it has done for me. For now, take a look at the images, and if you want to play along, leave your own thoughts and answers to these questions in the comments below. The winner will be chosen randomly and it’s just for fun, but the prize is a good one—it’s worth about $400. Just be sure to reply before Wednesday because that’s when I’ll announce the winner and the prize.
The best thing about this is there are no secrets. Every image in the world is there to be unpacked and learned from, and I want to teach you how to do that because if you can learn to do it with the photographs of others, you can learn to make those decisions and understand the effect of them when you’re holding your camera and making your own photographs.
See you on Wednesday!
For the Love of the Photograph,
David
Source link


Leave a Reply