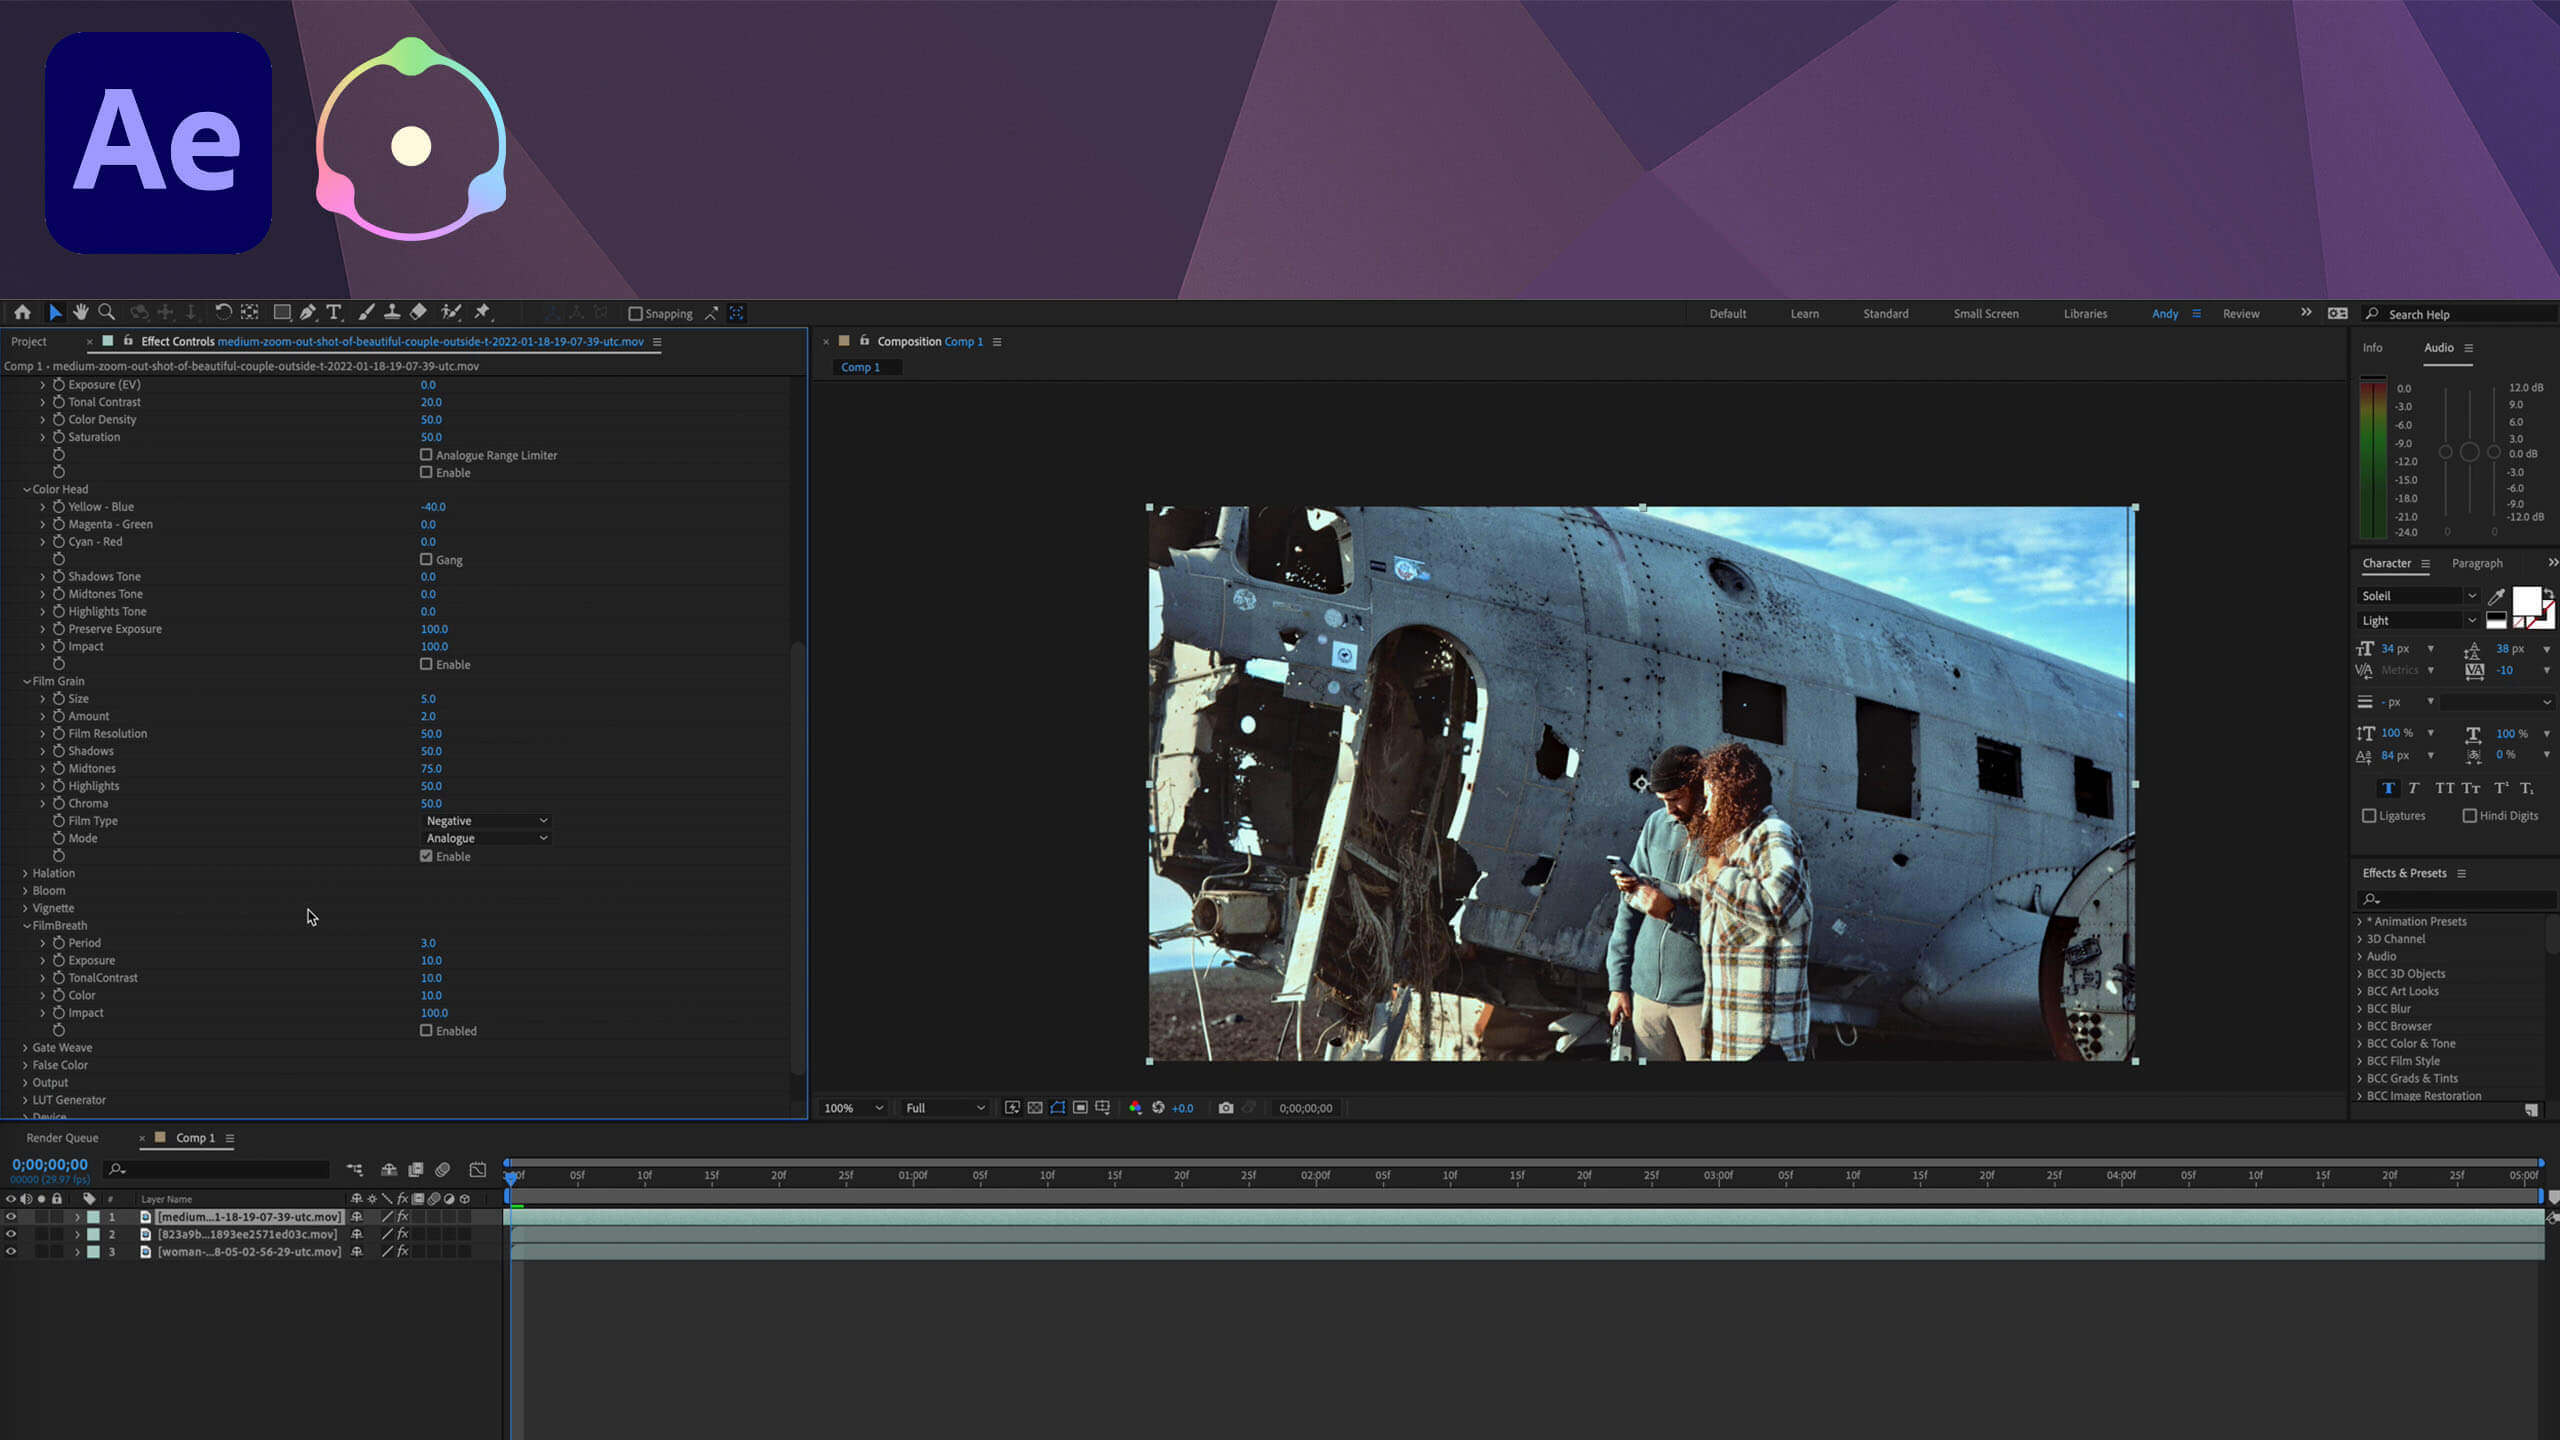
Dehancer is a plugin for film effects and film-like color grading in After Effects. This comprehensive film emulation tool follows the science of analog film making techniques. It builds profiles from real analog samples combined with non-linear image processing and mathematical modeling.
With your footage on the timeline, apply the Dehancer Pro effect found under Film Emulation. Unlike a LUT, Dehancer contains all the characteristics of the film “look and feel” that you are going for.
Input, Film
In most cases, your source will probably by Rec.709. Then, choose a Profile in the Film parameter. There are tons to choose from. Then, adjust the Push/Pull parameter as needed for exposure control. As you lighten or darken the image, realistic color and contrast changes occur. This change is augmented by the film profile selected.
Film Developer
In some cases, you may have certain source characteristics or conditions that affect your overall look. The Film Developer tab can help, and while this example footage doesn’t really need such tweaks, we’ll use it for example purposes. The Contrast Boost parameter emulates the analog contrast development process. Gamma Correction and Color Separation will only have an effect if Contrast Boost is not set to 0. While Color Separation affects the most saturated colors, Color Boost alters overall saturation.
Film Compression
The Film Compression tab emulates the compressed tonal range of film and allows redistribution of the highlights toward the midtones. Shadows are not affected. Raising the Impact value compresses the highlights toward the midtones. The White Point controls the position of the white point within the luminance range. As it defines the clipping threshold, lowering it increases contrast of the compressed range and can clip highlights. Raising it flattens highlights. The Tonal Range parameter adjusts how the width of tonal range is affected, going from no compression to having the highlights and shadows completely affected by compression. Finally, the Color Density parameter controls color intensity, going from low highlight saturation to high saturation.
Expand
The Expand tool works to adjust the profile rather than correct the results of the selected profile. The Black and White Point parameters may have you thinking it functions similarly to the Levels effect, but these Expand adjustments are contrast attributes of the film profile itself. Therefore, it achieves smoothness and isn’t clipped by any post actions performed.
Here you can adjust values in ranges that act like real analog media, such as exposure, tonal contrast, color density, and saturation. Tonal Contrast uses non-linear compression to either soften or punch up an image. If clipping occurs, adjust your Expand white/black points as needed. All the Print values work in the digital contrast range, but by enabling the Analog Range Limiter, you can get a softer image with improved detail in shadows and highlights.
Color Head
Use this section for creative correction, just as you would with similar tools or effects.
Film Grain
This adds realistic film grain simulation. Adjust the size, amount, and impact with respect to highlights, midtones, and shadows.
Halation
Halation occurs around bright lights, usually as an orangy red in overexposed areas. The Source Limiter adjusts the brightness of the light source. A low or dim setting allows for more halation. A high Background Gain allows halation to appear on most backgrounds. Smoothness makes the halos appear softer. Local Diffusion adjusts light spread from the edge (affecting halo size), while Global Diffusion can help with warming skin tones.
Amplify strengthens the effect and orange coloration, and Hue essentially helps adjust the halo from reddish to orangish. Blue Compensation reduces the influence that a cool background has on seeing halation. Finally, Impact acts like an opacity control on the effect.
Bloom
Bloom mimics the vintage lens look of bright light dispersion on the edges of contrasting areas that is distorted and amplified. The Highlights setting controls the threshold of what is in the tonal range of highlights. Details determines the effect seen on certain sized objects. Diffusion controls the radius of the effect along its boundary.
Vignette
The Vignette tool performs a realistic effect by working off the exposure information from the source image but applying itself at the printing stage.
Film Breath and Gate Weave
This mimics the natural blips you see in film with changes in contrast, color, or exposure. The period sets how many frames have this variation. The other settings determine the amount of change.
Gate Weave mimics the swinging motion of a film running through a projector. These slight movements can be added by adjusting the period, amount, and angle of the motion.
False Color
This option helps you get a quick idea of the exposure or lighting distribution of your image.
As you can see, this is only scratching the surface of what Dehancer can do. Please watch the short tutorial video below to see the plugin in action. Interested in using Dehancer plugin to enhance your work? Use the promo code ANDYFORDVIDEO at www.dehancer.com to get 10% OFF.
Source link


Leave a Reply