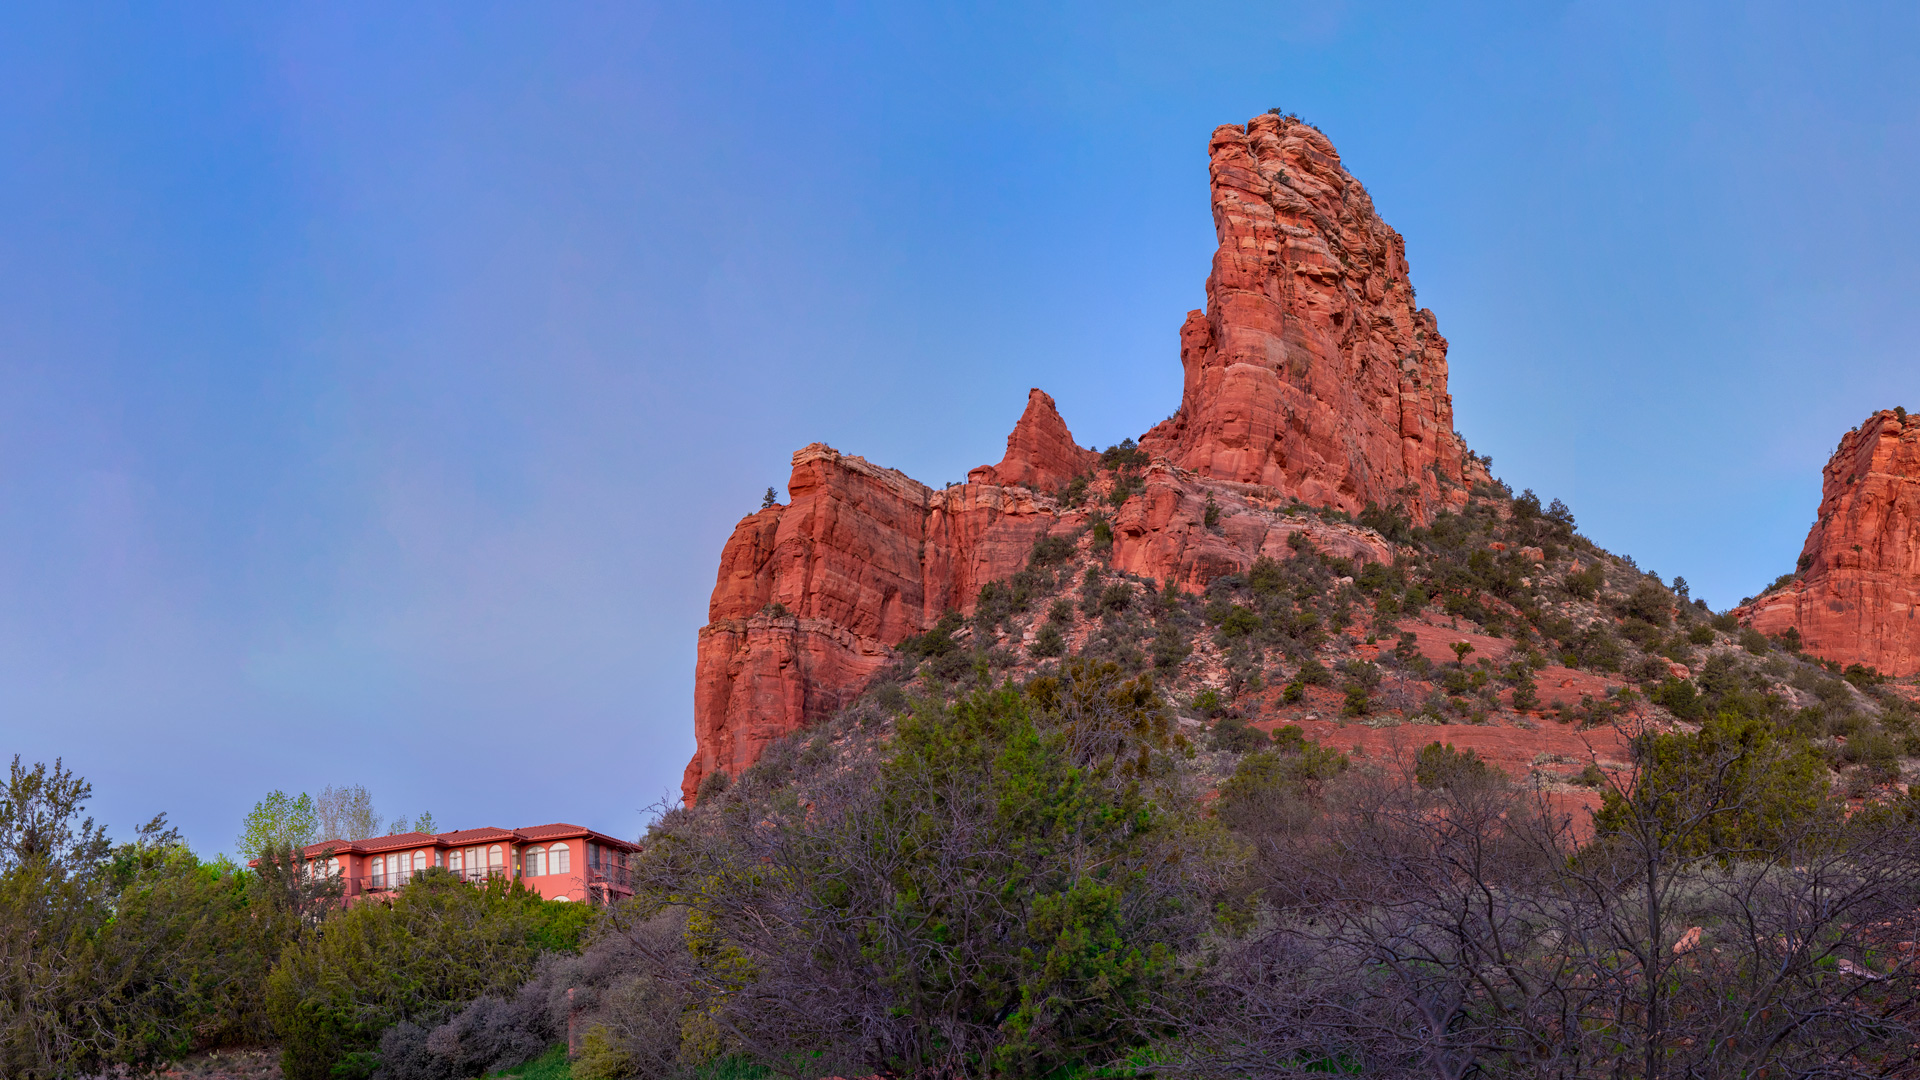
Many photographers feel that they are limited in the final file size by the number of megapixels provided by their cameras. In a way that’s true. In this tutorial, I’ll give you a workaround to create huge, single-image files with the camera you are currently using.
Go big or go home
In another post, I shared getting a different look for your images by making panoramic photos. The idea here is to leverage that concept to the next level so we can have the size and shape photograph we would like, not just a long skinny image. The image illustrating this post can be printed at a 300 dpi resolution almost 8-by-3 feet without resorting to software interpolation to upsize. If we wanted to print at 150 dpi this scene would be over 15 feet with no discernible loss of detail.
Cropped version
You can see the cropped section below that could be printed from 6-12 feet in the header of this post. With an image this size, you can have many options for output. Above see another possibility that can be printed up to the 12-foot size and possibly beyond.
Capture multiple images using a panoramic head
The secret is to use a lens that captures less of your scene. A panoramic head allows the lens to rotate around the nodal point of the lens, which creates less distortion. Less distortion makes matching the details much easier when combining files, as all these files are combined into one large photograph.
In this case, I am using the Lumix G9 with the Leica DG Vario-Elmar 100-400mm f/4-6.3 lens. The camera is mounted on the Neewer Professional Panoramic Gimbal Camera Tripod Ball Head with 360 Degree Swivel Panoramic Indexing Rotator. It includes a two-way rail slider and L bracket for a tripod. This is the entry-level option, perfect if you are only going to do stitching occasionally. If you are going to make this part of your workflow you’ll want to have gear that is a bit tighter in tolerances and durability such as Nodal Ninja, Really Right Stuff or others that make sense for your use and budget.
Save some headaches
When you are making a stitched image such as this you can save yourself a lot of headaches by working with a panorama head on top of your tripod. Overlap images from 30-50 percent. In this case, I made two rows and the top and bottom row were overlapped 50 percent as well. I started at the top left of the scene and made nine photos dropped down a row and made captured nine more going in the opposite direction. Find panorama image capture and processing tips here.
One thing I didn’t mention when capturing the images for panoramic photos is to use Manual mode for exposures. If you use an automatic mode then when the camera sees different values of light and dark as the light values change.
Images from Adobe Bridge and Photoshop
Do initial light image processing to all your files and process in Adobe Photoshop without opening the files by pushing the Done Button in Adobe Camera Raw. Then in Adobe Bridge highlight all the files from the menu bar and click on Tools > Photoshop > Photomerge. Under Settings, Auto Click with checked buttons — Blend Images Together, Vignette Removal and possibly Content Aware Fill Transparent Areas. Sometimes experimentation can lead to a better result if you don’t get the image you need on the first go.
Resulting image and layers palette
Here’s the Photomerge image after it has done its work. You see that there was one image that didn’t get to play because of no detail and a bit of shifting where the captures did not line up perfectly. That’s where Content Aware Fill can be of some help. A word of caution when using Content Aware Fill either during the initial process or subsequently; some of the rendering can look repetitive and still need a bit of massaging with the Clone Stamp Tool to look right and proper.

Finishing the image
You’ll notice the image coming out of Photomerge was a bit flat. I like to do my color grading of an image after the panorama has been assembled. I process for color and sharpness using the Skylum plugin Luminar 2018 or the new Luminar Flex. But that’s a whole ‘nother post.
Yours in Creative Photography, Bob
Source link


Leave a Reply