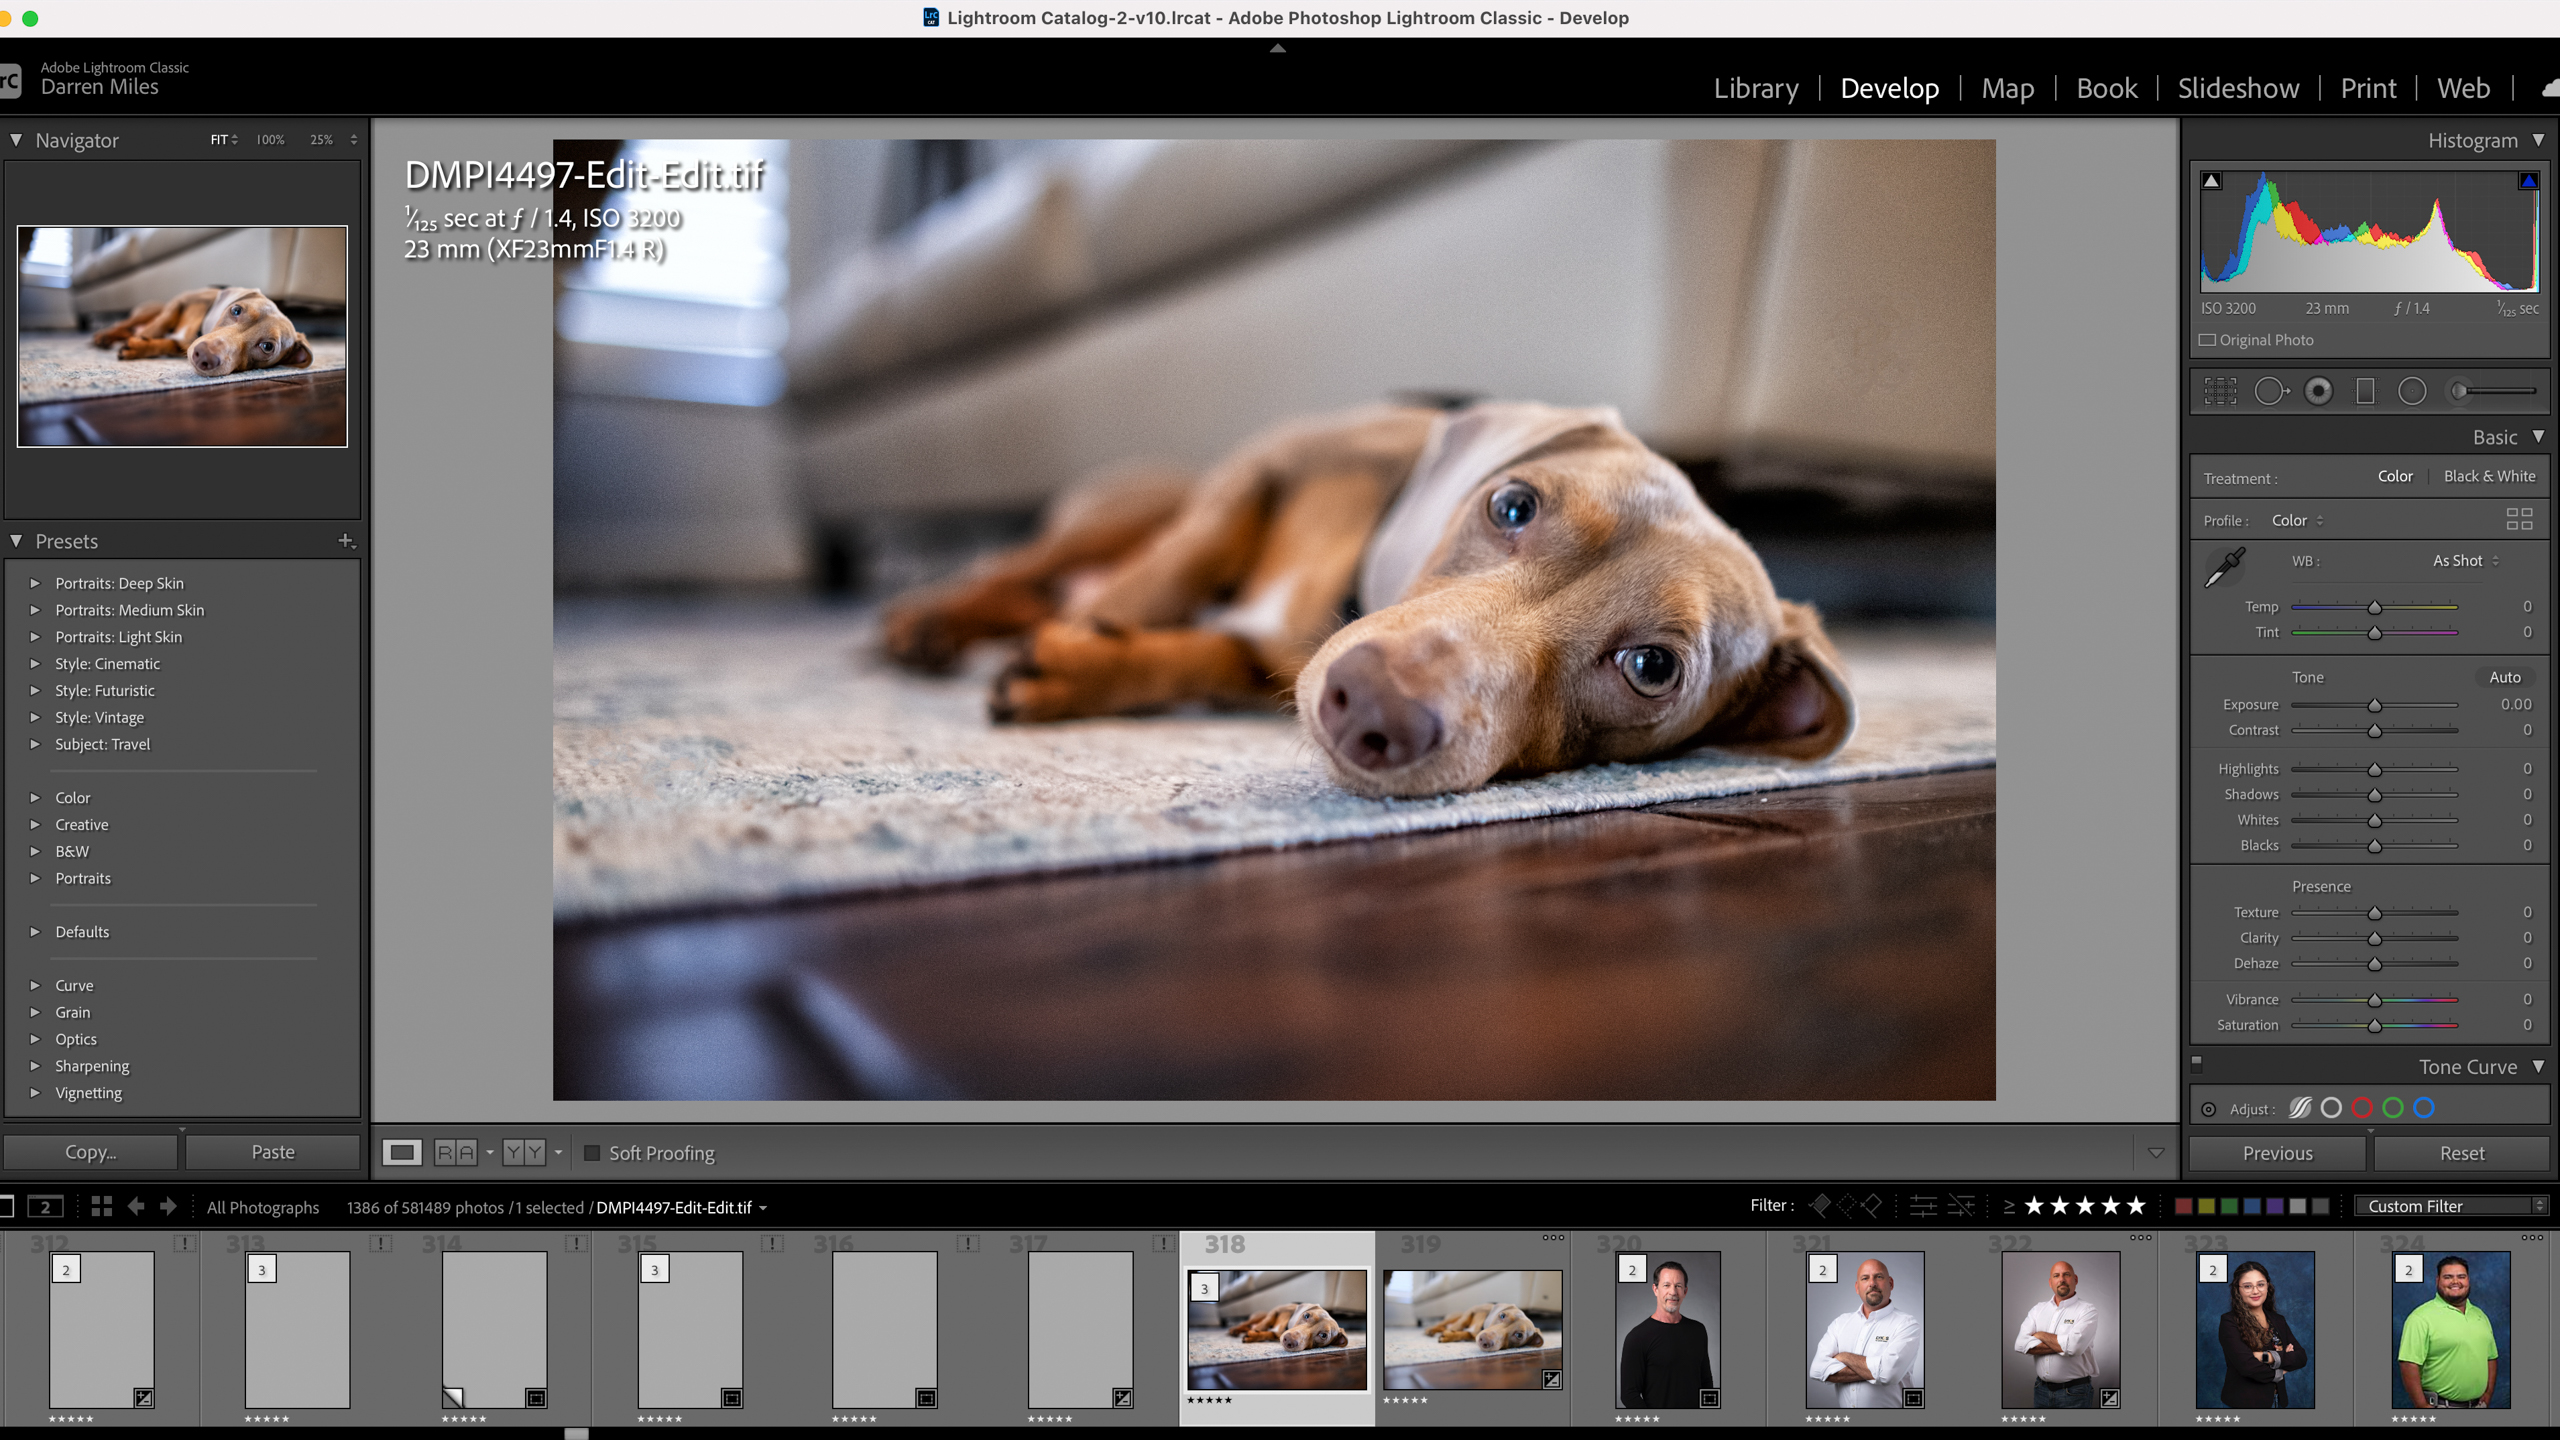
I remember the first time I used Lightroom. Apple’s Aperture had been discontinued and the only real game in town at the time was Adobe Lightroom. I didn’t really care for Camera Raw or Photoshop. Given the dearth of options available at the time, I begrudgingly gave Lightroom a shot.
I found Lightroom to be an intuitive piece of photo software — with a prettier UI — than Camera Raw. Internally, they’re essentially the same program. Using Camera Raw felt like machine language to a novice programmer, whereas Lightroom was like using a Mac.
In spite of its ease of use, most of the automated features in the Develop panel never really got close to the result I needed. A lot of photographers like me who started off using Lightroom in the early days generally disliked or didn’t trust the automated features. As a consequence, we learned how to use all of the levers, brushes and panels instead. We were using Lightroom the way we used our cameras — it was very “manual.”
In fact, the very idea of using “auto” to develop one of my photos sent shutters — see what I did there — through my central nervous system. In some strange way, pressing Auto in Lightroom felt creepily like using auto on my camera to take pictures. It felt … wrong.
The Auto features in the Develop panel have come a long way
Fast forward to Lightroom Classic. Credit Adobe for constantly improving the software and the program’s ability to process RAW files. About three years ago — not too long after Adobe switched to Creative Cloud — I had just photographed a big job. It was an event and many of the images were underexposed. It was late and I needed to process the pictures for a magazine deadline the next morning.
I don’t remember the exact moment, but for some reason, I just decided to press Auto in the Develop panel in the Basic panel and boom! I couldn’t believe how close to the result I wanted the Auto feature to bring me.
Now to be clear, the Auto feature isn’t perfect, but it is an outstanding starting point.


I brought the idea of using Auto in the Develop module to one of my assistants — also a longtime user of Lightroom. She too was reluctant. However, she let me know soon afterward how pleased she was with the Auto feature in Lightroom Classic.

If you’re new to the business of photo editing and Lightroom, try Auto for a great starting point
I know the photography snobs out there will snub their noses at the idea of using Auto in anything photography related. I get it — I was one of them. I’m not saying it’s perfect, but if you want a great starting point in processing your images, give Auto a shot in Lightroom. Sound off in the comments below, I’d love to hear about your experiences.
Source link


Leave a Reply