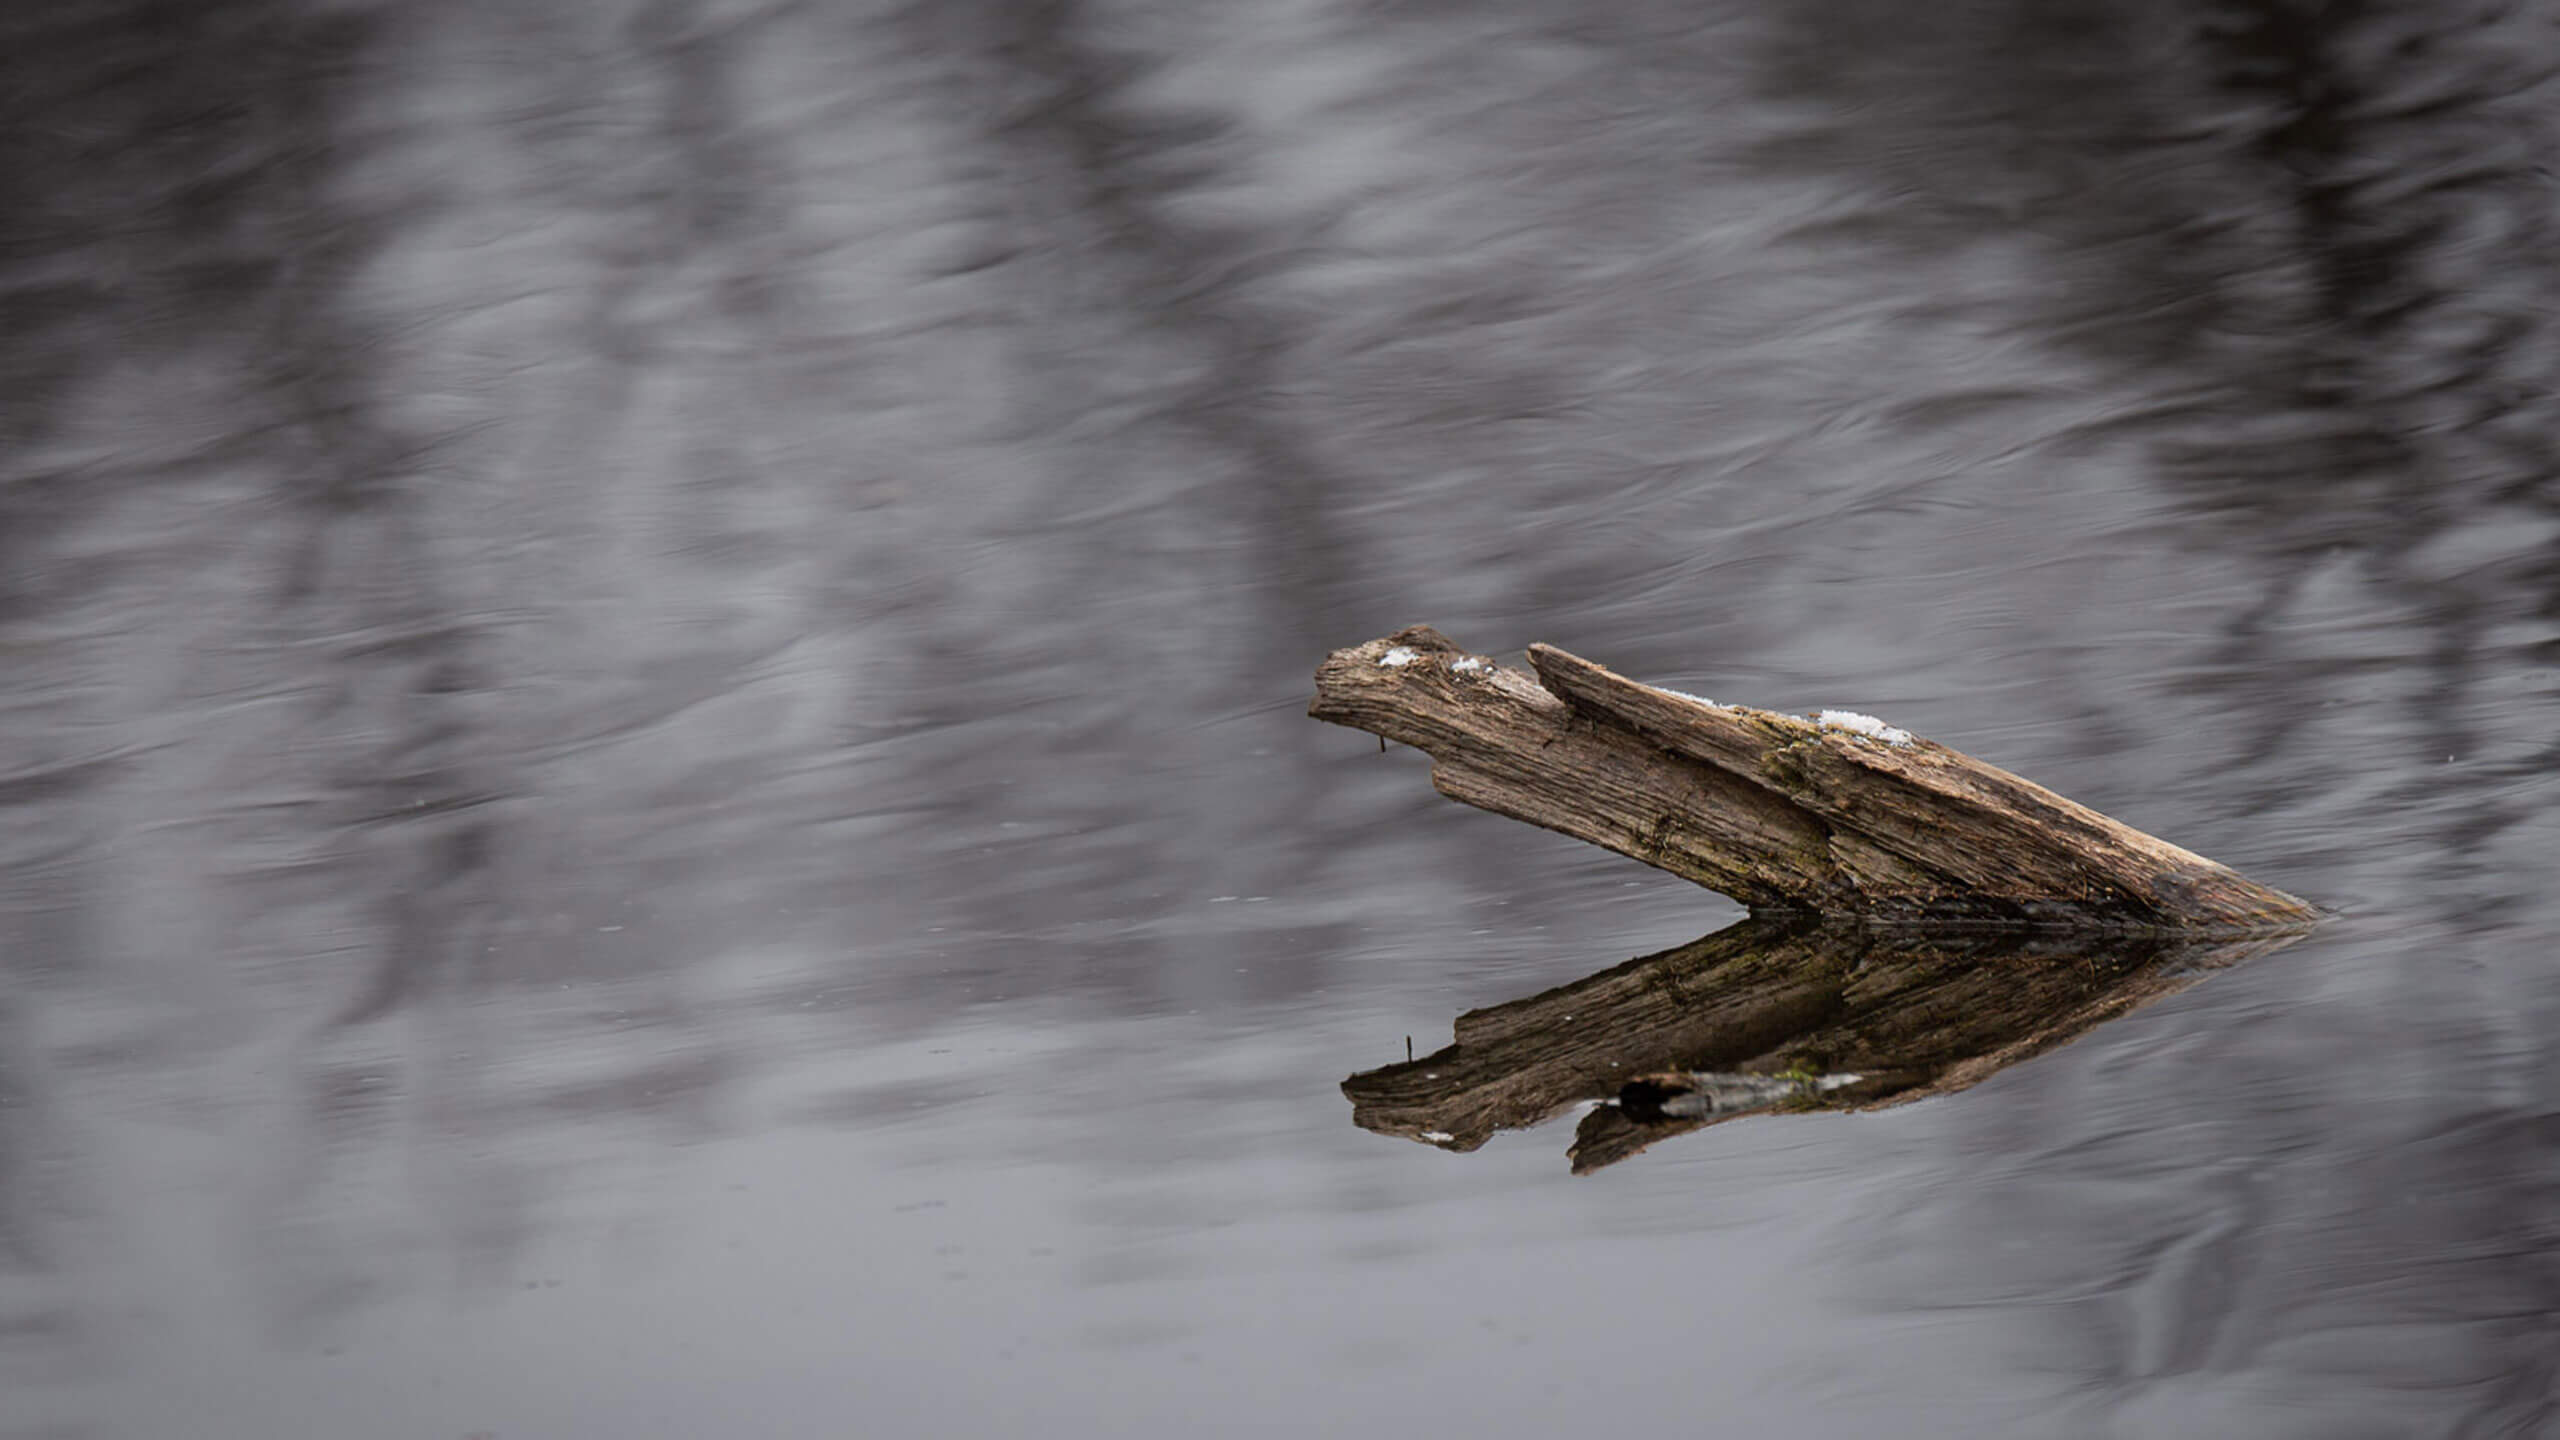
Images don’t always require a great deal of post-processing.
If you’re intimidated by all of the post-processing apps, software and tutorials out there, I get it. I still am even after having used many of them for a good 10 years or more. The thing is, many images don’t really require a whole lot of editing to get them to look good.
Composing the image
I was down at a park along the river near where I live in search of ice. Unfortunately, there wasn’t much ice to be found. But the river was running pretty smoothly and the reflections of the trees along the bank made for some interesting patterns. Being a completely gray day made everything a bit drab but it also created a monochromatic scene.
First things first. If you spend time composing your image before you press that shutter button, you can save yourself some time in post-processing right off the bat.
For this photo, I was using my trusty Tamron 100-400 f/4.5-6.3 Di VC USD. Besides moving myself around to get the composition I wanted, I also tried different focal lengths to see what I liked best. At 100mm there was too much in the frame. Tree branches and other things in the water took away from the main subject here, the branch and the reflection. I ended up photographing this at 400mm, f6.3, 1/320 sec and ISO400.
Bringing it all the way to 400mm gave me a nice clean background and all eyes on that broken branch.
Little adjustments to enhance the photo


It didn’t take much to get this image to where I wanted it. Simple images, simple post-processing techniques. For me and what I prefer anyway. My post-processing for this was done in Adobe Lightroom Classic. The updated masking tools make this easier than ever.
Here is the step-by-step process I used.
Adjustments to the background
I wanted to blur the water out a bit more and make it not quite too bright but still keep the shapes and motion you see.
- Removed any dust spots. Always a reminder that I need to clean my sensor.
- Selected a subject mask and inverted it to select the background. Yes, I could have selected the background but I thought I was going to make edits to the tree and changed my mind.
- Adjusted the blacks to -18
- Brought the shadows down to -9
- Lowered the contrast to -37
- Decreased clarity to -13
Adjustments to the subject
- Using masking I selected the subject.
- Increased exposure by +. 41
- Added texture to +74
- Pushed color temperature to +14
- Increased saturation to +10
I finished the whole image by applying sharpening to only the edges of the broken branch. Using the edge mask hold down the Option key (Mac) or Alt key (PC) while sliding the masking slider under Sharpening and you can see how much and where you are sharpening.
Lastly, a slight vignette was added.
By keeping your images fairly simple in the first place, you won’t need to spend a lot of time with your post-processing. It all depends on what you want to do with your image.
Source link


Leave a Reply