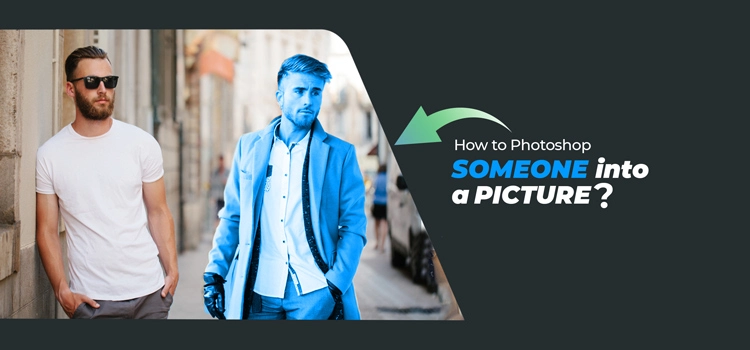
Oftentimes, you take photoshoot with key members missing from those shots. It happens mainly due to the absence of those members on the shooting spot. But many times it becomes crucial that these members show up in those shots.
What to do in such cases? No worries! Photoshop has the solution for you. And of course, Photoshop alone isn’t sufficient. Even a Photoshop expert is required to showcase the solution. Wondering what’s the solution?
Well, with Photoshop, you can add a person from one image to the other easily just following some simple steps. That means all you have to do is take out a digital image of the missing person and then with Photoshop, you can add the person to your crucial photoshoot.
This tutorial will walk you through how to add a person to a photo with Photoshop. Without further ado, let’s get started….
You may also read- How to remove background from image in Photoshop.
How to Photoshop Someone into a Picture
Adding an individual from one picture to another is something that people frequently do with online tools. But these tools often aren’t flawless and affect the quality of images. But with Photoshop, you can do the same job smoothly and flawlessly.
Let’s check it out-
Open the 1st Image:
Right at the inception, open your 1st image on which you want to add a person. Then, unlock the background layer by clicking the lock icon.

Open the 2nd Image:
Then, open your 2nd image with at least one person that you want to add to your 1st image. Like before, unlock its background layer by clicking the lock icon.

Select the Lasso Tool:
As we want to add the person of the 2nd image to the 1st image, we have to copy or cut that person. For that, we need to select that person initially. To do that, select the Lasso tool from the toolbar located on the left.

Draw a Selection around the Person:
Now, it’s time to make a selection around the person you want to add to your 1st image. Start drawing around the person roughly. No need to worry about zigzag selection as you can fix it later on.

Copy and Paste the Person on the 2nd Image:
Once you are done with the selection, copy and paste the selected area into the 1st image. Then, move pasted the area as necessary by using the Move tool. You can select the Move tool from the toolbar or just by simply pressing V, you can select it.

Select “Free Transform”:
At this point, navigate to “Edit” and select “Free Transform” from a list of items from the drop-down. You can also use the keyboard shortcut Ctrl+T to select “Free Transform”.

Adjust the Size of the Pasted Image:
Since the pasted image is a portion from another image, it’s unlikely to match with the existing image size. Hence, Free Transform tool will be handy to adjust the new image with the existing image. Hold “Shift” key to resize your new image with the existing image.

Select the History Brush Tool:
Now, it’s time to brush the edges of the person we pasted into the existing image to eliminate the unwanted background and match it with the existing background. So, select the History Brush tool from the toolbar.

Brush around the Edges:
Before you start brushing the edges, adjust the size and hardness of the brush to bring out flawless output. Now, start brushing around the edges gently and carefully.

However, if you erase any part of the person by mistake, don’t worry. You can always go back to your previous phase by clicking Ctrl+Alt+Z.
How to Photoshop Someone into a Picture-Final Output
Once you are done brushing around the edges, your image will look flawless as if the added person is part of the image originally.
In case any part of the image shows up inconsistent, you can do further edits to fix things up. Otherwise, that’s your final output.

That’s how easy adding a person from one image to another. But definitely, you need to follow the right tutorial like this one to learn this type of exciting Photoshop edit.
Until we come up with another exciting Photoshop tutorial, have a chilling time!
Source link


Leave a Reply