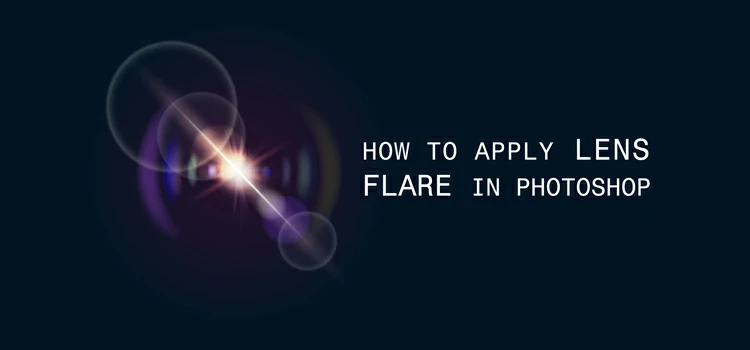
Lens flare is a phenomenon that happens when light is scattered from a bright light source and creates colored circles, rings, starbursts, etc. on the trot. In photography, lens flare can be generated by a bright light entering the camera lens and hitting the camera sensor.
Lens flare has the magic to produce a visual appeal in your images. If you wish to add lens flare to your photography, all you have to do is point and shoot your photos toward the sunlight or any artificial light source like a flashlight. With this method, your photography is likely to boast lens flare.
Lens flare can inject a warm softness to backlit portraits, create exceptional landscape shots, and let you notch up a cinematic or sun-drenched appearance. And you know the best part? Besides bringing out lens flare to your image with a camera, you can even produce it with Adobe Photoshop!
This is exactly what we will walk you through in this tutorial. So, let’s get started…
How to Add Lens Flare in Photoshop (Easy Steps)
Photoshop allows creating lens flare just by following some easy and simple steps. It doesn’t require any craft to apply in order to achieve lens flare in your image.
Open your Image in Photoshop
Before you do anything, open an image with a light source in Photoshop. Then, unlock the background layer followed by creating a new layer. Then, rename the new layer.

Fill the New Layer
Now, navigate to the menu bar and select “Fill” from the list of items. The purpose is to fill the entire layer with black color.

A dialog box will show up immediately on the screen. All you have to do is select “Black” from the drop-down menu and hit the Ok button.

Right after that, the whole layer will turn into black. That means our purpose is achieved.

Choose the Lens Flare
Now, it’s time to apply the lens flare to the image. But for that, you have to move to the “Filter” tab first. Then, select “Render” followed by Lens flare from the menu.

Apply the Lens Flare
A dialog box will appear showing lens flare on a canvas with a number of options. Choose your desired option and hit the Ok button. Lens flare will show up on the image immediately.

Make your Image Visible
The lens flare is showing up but the image is invisible. To make your image visible, go to the Blending mode and select “Screen”. And your image will be visible thereafter along with the lens flare.

Adjust the Color of the Lens Flare
If you want to tweak the color of your lens flare, you can very well do that. Just go to the “Image” tab and select “Adjustments” and then click “Hue and Saturation.”

A dialog box will appear displaying a number of sliders. You can move the sliders right and left to get your desired lens flare color. Once you are happy, hit the “Ok” button.

Adjust the Brightness of the Lens Flare
Not just color, you can even put up or lower the brightness of the lens flare. All you have to do is copy the lens flare layer by pressing Ctrl + J or double-clicking the lens flare layer.
Immediately after that, the brightness of the lens flare will increase. If you think the lens flare looks too bright or shiny, you can reduce the intensity of the lens flare by simply lowering the opacity of the lens flare layer.

Final Output
With that, the final output, that is, the lens flare will show up on the image with balanced intensity as you have adjusted.

So, how was the tutorial? Did you find it as easy as pie? Do let us know as this will motivate us to keep preparing such Photoshop tutorials for you. Up until next time, enjoy your time!
Source link


Leave a Reply