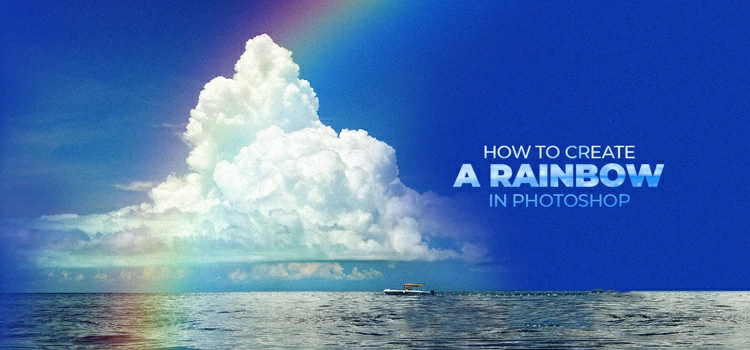
The sky looks enchanting with the presence of a rainbow, doesn’t it? It feels like to keep staring at the sky and feast on the amazing beauty of heaven amidst the rainbow. The arch of colors, blended with the sky produces a mind-blowing view for the onlookers.
But do you know this smashing view you can even create visually in your sky image? Sounds like a fairy tale? Not quite! With the help of Photoshop, you can produce a rainbow in the sky just by following some easy steps.
Without further ado, let’s jump straight to the step-by-step process.
How to Create a Rainbow in Photoshop: Easy Steps
Photoshop has a tool called Gradient Tool and with this tool, you can add a rainbow effect to any image, especially your sky image. And the best part is it’s a walk in the park. Let’s get started…
Step 1: Open your Image and Move to the Gradient Tool
First, open your image in Photoshop to create a rainbow gradient. Click the Lock icon on the background layer to unlock it. Then, create a new layer from the bottom of the Layer panel. Afterward, navigate to the Gradient tool and click it.

Step 2: Click the Gradient Picker
Now, move to the top and click the Gradient picker. With that, a number of gradients will show up. All you have to do is click the gear icon on the right and select “Special Effects” from the list.

Step 3: Append More Gradients
With that, a dialog box will appear on the screen showing a number of options. Just hit “Append” to add more gradients to your existing gradients.

Step 4: Create a Rainbow Effect
Now, select “Russel’s Rainbow” from the list of gradients and select the shape of your rainbow gradient. We will select the “Radial Gradient” shape in this tutorial.
Then, move to the right-bottom area, press and hold Shift to draw a horizontal line toward the position where you want your rainbow effect to appear.

Step 5: Apply Gaussian Blur
The rainbow has shown up but we want to blend it into the sky. For that, you have to blur the rainbow at first. Move to the menu bar and click the Filter tab. Then, navigate to Blur and then select the “Gaussian Blur”.

You may also read- How to Use Gaussian Blur in Photoshop.
Step 6: Adjust the Rainbow Radius
Immediately after that, the rainbow will get blurred and a dialog box will show up. Adjust the radius of the Rainbow and hit the “OK” button.

Step 7: Set the Blending Mode
The next step is to set the blending mode for the rainbow. Move to the Layer panel and click the drop-down under the Layers tab. From the menu, select “Screen” mode to blend the rainbow with the sky.

Step 8: Adjust the Opacity
Instantly after that, the rainbow will show up blending with the sky. But it may not perfectly blend with the sky. In that case, go ahead to adjust the opacity as visible on the Layers panel.

Step 9: Add a Layer Mask
Now, it’s time to fix the positioning of the rainbow. For that, add a layer mask at first. Then, select a “Black and White” gradient from the Gradient Picker. Next, select the “Linear Gradient” located beside the Gradient Picker.

Step 10: Draw a Vertical Line from the Rainbow Bottom
At this point, press and hold “Shift” to draw a vertical line from the bottom of the rainbow to banish the lower part of the rainbow and make it natural-looking.

Step 11: How to Create a Rainbow in Photoshop: Final Output
Finally, the rainbow will appear in the sky softly creating a natural appearance as it’s expected.

This is how you can create a rainbow effect in any sky image and spice up your picture. Hopefully, you found the tutorial a piece of cake and can add a rainbow effect to your sky photo at an ease.
You may also read- How to create a gradient in Photoshop.
Source link


Leave a Reply