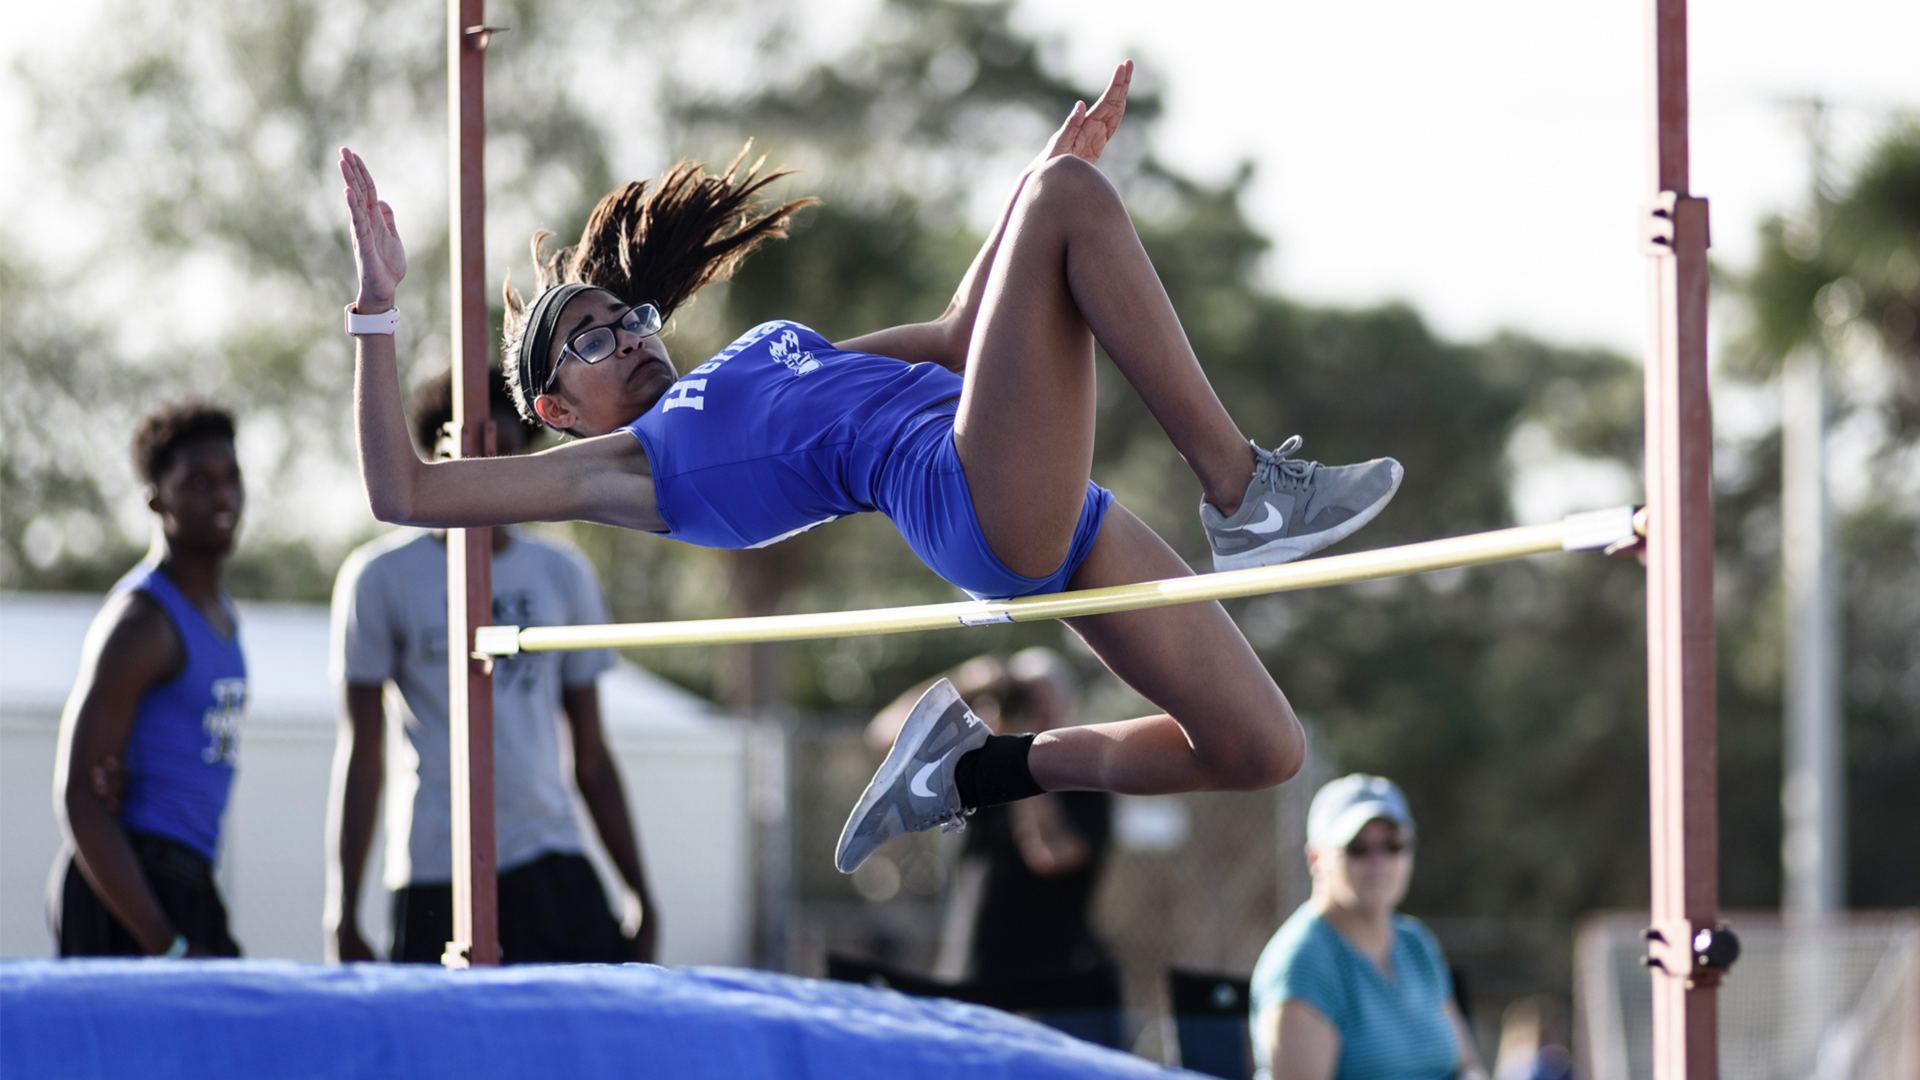
This afternoon we went shooting a track-and-field meet at a local high school. Never been out of your comfort zone? I was!
Let me show you how you can rely on your experience to create cool shots—even when you’re in a situation you’re not 100% confident.
I came in and I was really excited. I love action shots—this is what I strive for—and I was about to add a new discipline to my portfolio. But first, I had to figure out how I would get this done. I knew I needed to learn the movement—in this case high jump—and then apply the rules I always use to create compelling action images. It’s pretty simple!
Understand what you’re about to photograph
Looks pretty obvious, huh? What do the athletes do exactly? What is a high jump? What does a high jumper do during different parts of the execution? Sprint, then turn either to their left or right, jump as high as they can and then land on their backs.
Once I got comfortable with the unknown part, the choices I had to make to create the shots are the rules I already know—I just had to apply them to my situation!
Two cameras, two lenses and a place to stand
I choose different gear depending on the type of sport I’m shooting. For this purpose, my lens choices were a fixed 180mm and a fixed 50mm. Both cameras were the same–Nikon D750s. I like having the same camera so I’m familiar with the settings. When I upgrade, I will upgrade both cameras at the same time. Since the official looked pretty relaxed, I thought I could give it a try and stand real close to the jumping spot (because why not?)
Find the right light
The 3:30 p.m. Florida’s sun was still pretty high and there weren’t many clouds. I chose to shoot backlit to avoid harsh light on the athletes’ faces. I walked around and made test shots to know which sides to shoot from.
How I got the image: Take a knee, get low
I always shoot my sports photography low angle. I feel like I’m more in the moment and the athletes look more powerful. I’m always kneeling or sitting—I wear knee pads when I know I’ll be shooting for an extended period of time. Not very glamorous, but it does the trick not to mention saves my knees.
Anticipate movement
Obviously, I wanted the movement to be dynamic with good timing. During the hurdles, I focused on when the jump or the sprint would be at its peak. Shooting multiple frames per second helps me get the shot I want. Realistically, I know when shooting high school or amateur athletes I may not always get the shot I want, but it’s the best I can get.
Capture great expressions
It’s simple, but it can be a challenge. I need to have a good combination of the movement AND the expression. I often get shots where the movement is great, but the athlete looks like she’s about to die or I get great expressions, but he looks like he hasn’t been able to do the complete extension. Either way, the athlete will NOT be happy with what he/she looks like. The key is to get a combination of both.
How I got the image: Quick editing
Thanks to Vanelli, I fell in love again with Lightroom and its new upgrades. I used Camera Settings—Portrait Standard, desaturated slightly and added a little clarity. Voilà! 🙂
Pour la version en français de cet article, cliquez ici.
Source link


Leave a Reply