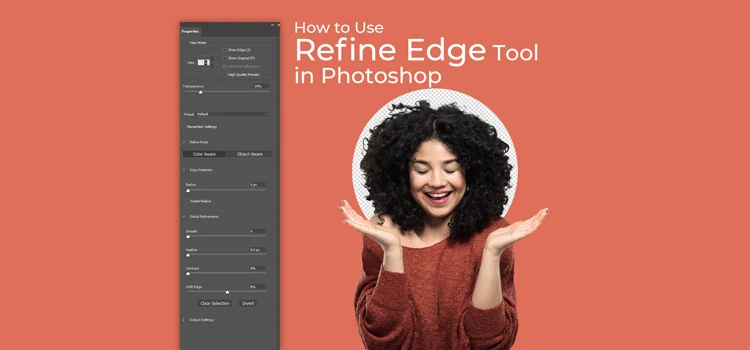
If you are a photo editor, you must have faced scenarios where it’s difficult to make selections on images. Maybe, images contain hairy, feathery, and furry edges that can’t be selected merely with Quick Selection, Magic Wand, Lasso, and Pen tools.
Sometimes, the images may have people staying close to one another and you want to move one individual to a different background. But it’s tricky to select the individual as the other parts of the image may be affected.
In order to resolve this issue, Photoshop has an advanced tool called “Refine Edge”. With this tool, you can detect even the minute details of the edge of any object or individual. It has edge detection feature that can detect the tiny bit of any complex edge.
How to Deploy Refine Edge Tool in Photoshop
Using the Refine Edge tool in Photoshop is a piece of cake. All you have to do is pick an image having complex edges and make a selection around the subject with any of the selection tools. And then you can go ahead to leverage the Refine Edge tool effortlessly.
Let’s take a look at How to Use Refine Edge Tool in Photoshop…
Open your Image in Photoshop:

Firstly, open the image you have on the Photoshop version installed on your computer. Make sure that the image has hairy or feathery edge to apply the Refine Edge tool on it.
Apply Selection on the Image:

Now, unlock the image layer on the Layer panel and then move to the toolbar. From there, select the Quick Selection tool and apply the selection to the image. Just click down and drag it over the edge of the image to roughly apply the selection on the areas of the image.
You can Press “Shift” to add selection and “Alt” to subtract selection in Windows. Besides the Quick selection tool, you can also use other selection tools like the Lasso tool, Magic Wand tool, and Pen tool.
Select the Refine Edge Tool:

At this point, you have to move ahead to select the Refine Edge tool. Navigate to the Refine Edge tool from just below the menu bar as visible in the screenshot underneath.
Select a Background from the View Mode:

Immediately after that, a dialog box will appear showing a number of options, tabs, and parameters. Click the “View Mode” tab select any background from the list that looks fitting with the image.
Adjust the Edge Selection Radius:

Next, activate the “Smart Radius” mode and size up the edge selection radius at your convenience. Then, also resize the Refine Radius brush tool in order to paint edges optimally.
Paint over the Hair Edges:

Now, it’s time to paint over the edges of the curly hair. Right-click on the mouse and brush well to refine the edges to bring out a finer selection.
Decontaminate Colors:

The edges of the hair are already refined but you can better the look further by decontaminating colors. Adjust the amount well and output to “New Layer with Layer Mask. Finally, press “Ok”.
Background Removed:

Instantly after that, the image background will disappear and the subject will show up with a transparent background.
Place the Image on a New Background:

Now, you are free to place the image or the subject on a new background as you deem fit. After placing the subject on a new background, you can adjust the placement and perfect the image effortlessly.
That was all about using the Refine Edge tool in Photoshop. So, how was it? A piece of cake! This is how you can refine any hairy, feathery, furry, or rough edge with the help of a Refine Edge tool.
Source link


Leave a Reply