Are you interested in creating rich but not oversaturated photos instantly? Radiant Photo can do this beautifully. Read on!


What does Radiant Photo do?
Radiant Photo states that it was created by photographers for photographers. It’s an easy-to-use editor that runs as stand-alone as well as a plugin. You simply open an image. Radiant Photo quickly analyzes each image. After that, it suggests edits that it feels is best for each photo. Rather than applying presets, it attempts to bring out color, detail, and light that best suits each individual photo.
Here, I am primarily focusing on the richness of the colors. Let’s see what it does to a relatively dark night photo image.
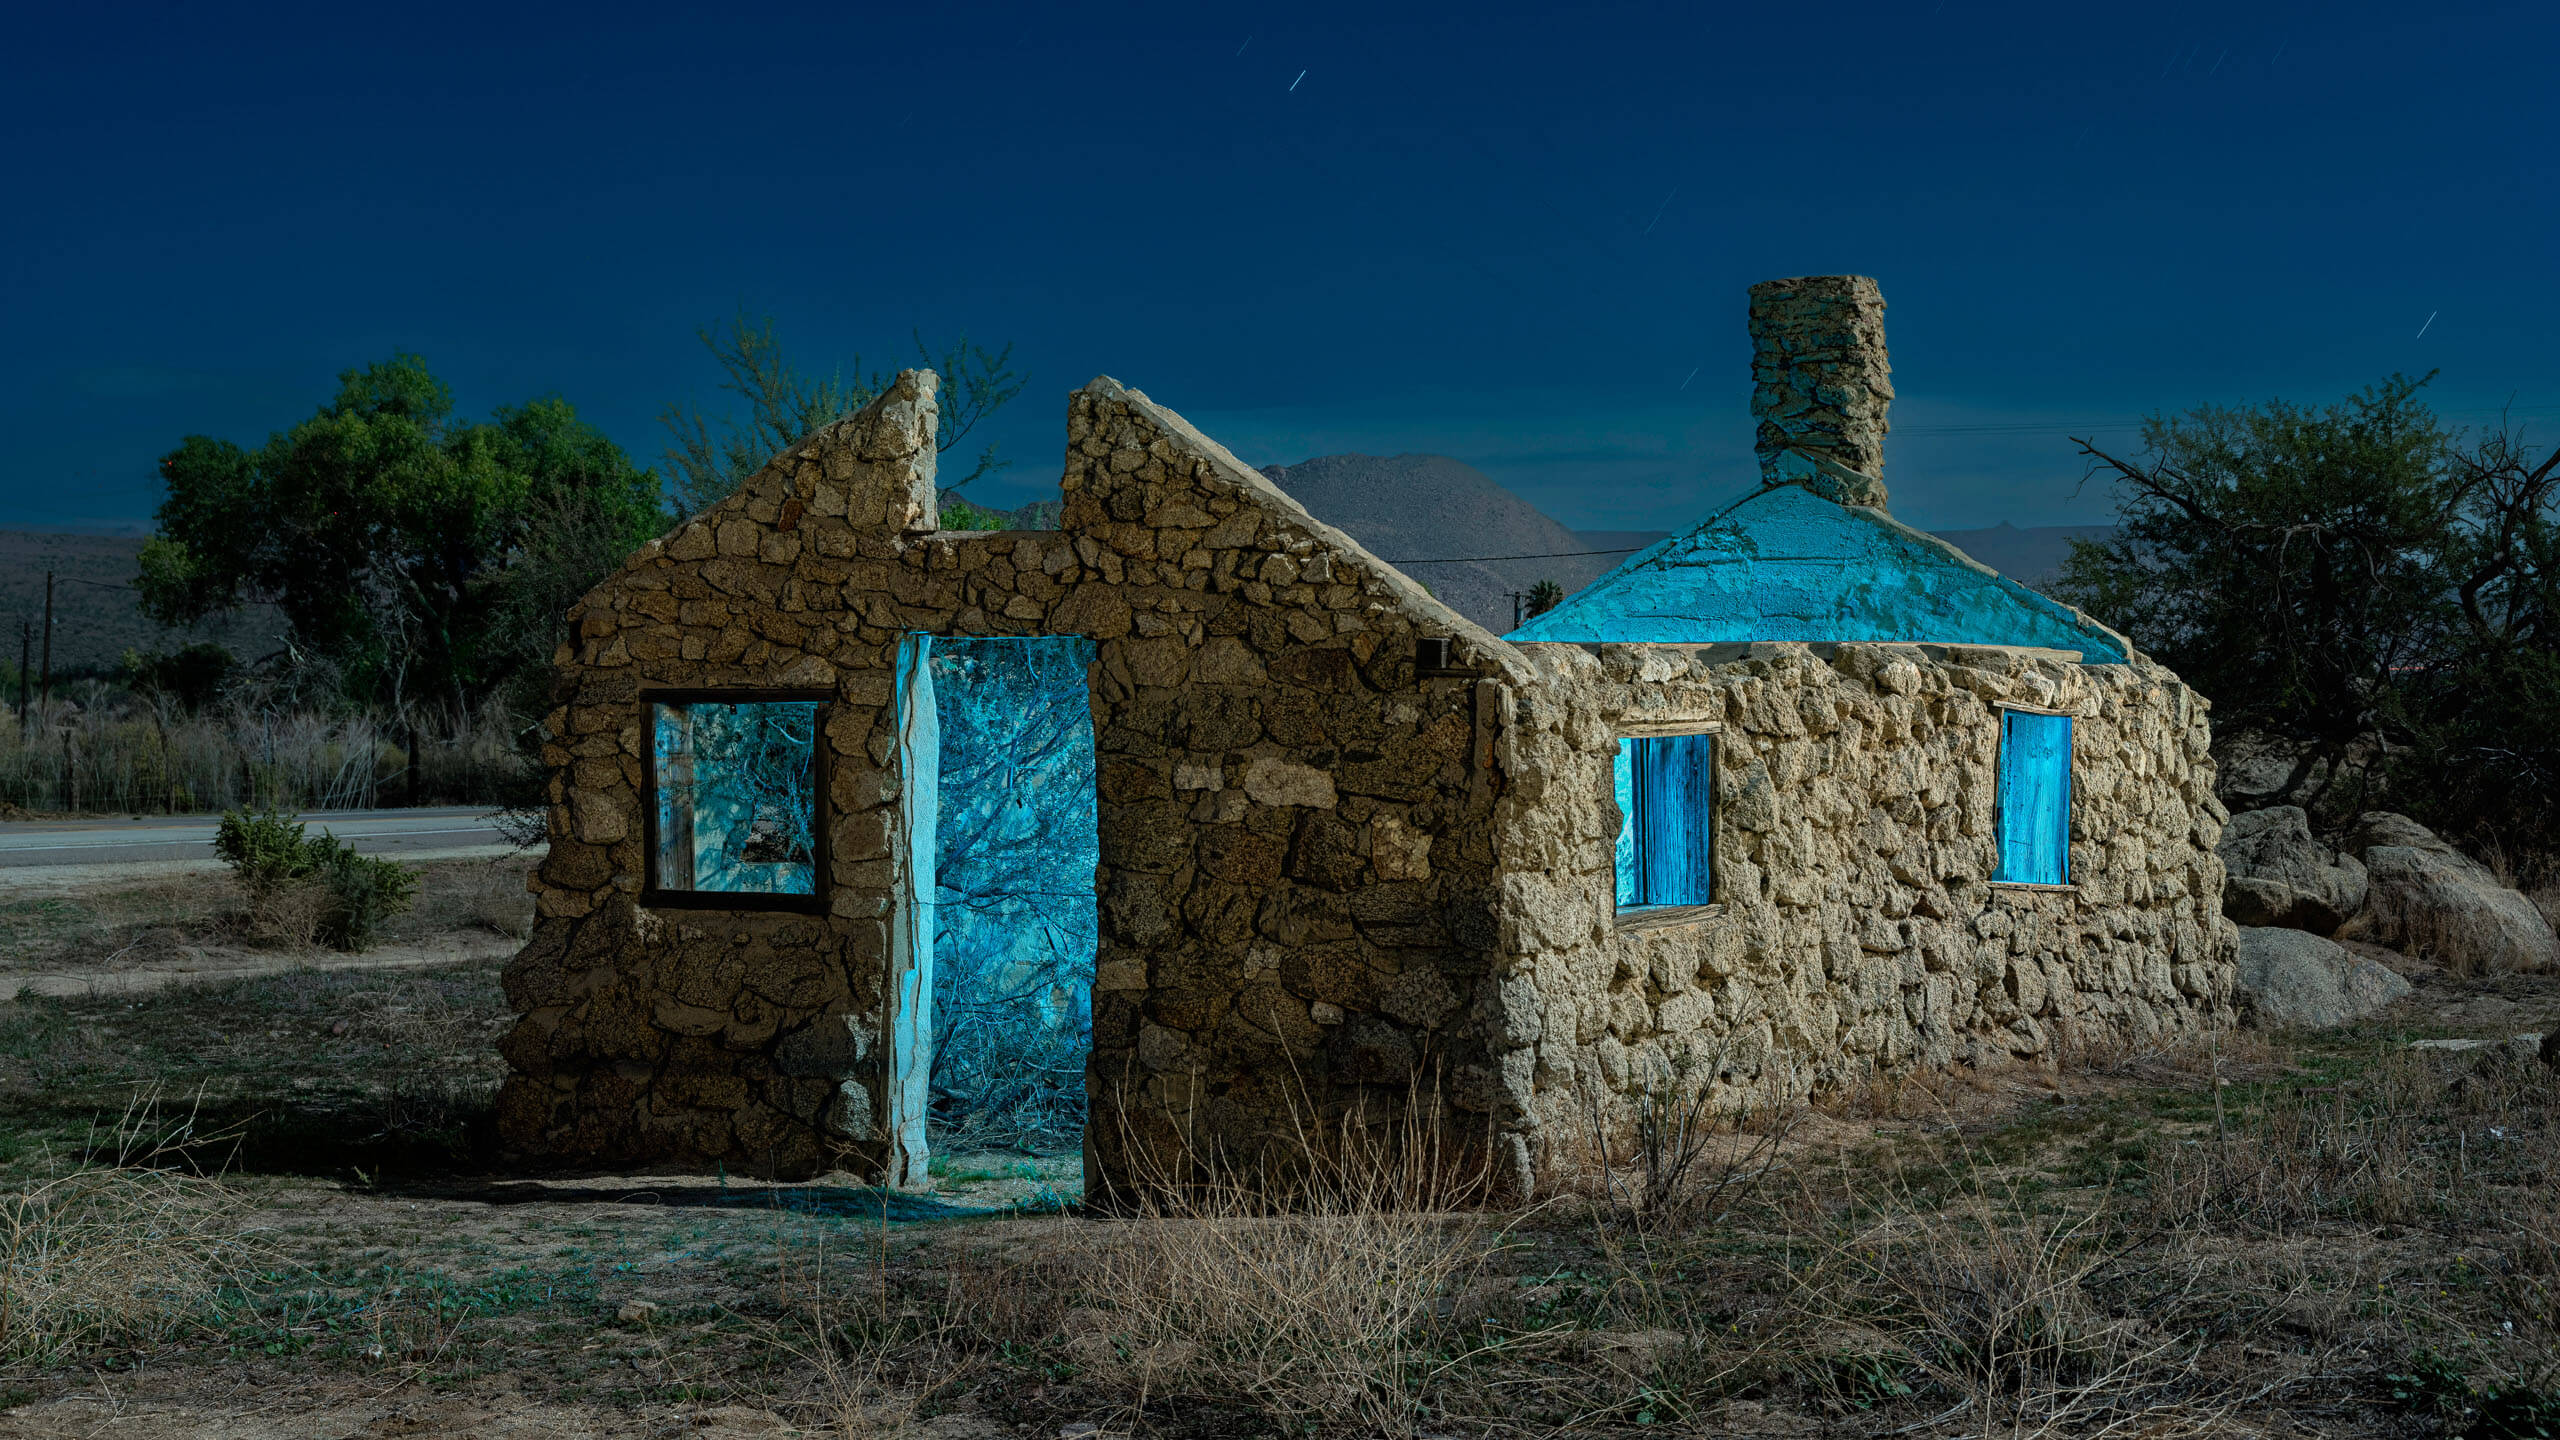
Processing a photo of a historic stone house at night
I used Radiant Photo as a plugin in Photoshop CC. It took about four seconds to analyze the photo on a mid-2017 27″ iMac (i7 chips, 40 G RAM). The photo looked brighter, as is typically the case. I don’t believe I’ve ever had Radiant Photo not brighten a photo, but then again, I am primarily working with night photos.
Radiant Photo Quick Edit

Like some of the other genres of photos I used with Radiant Photo, I found that the initial Quick Edit upon import had already gotten me largely where I wanted to go already. The ability to actually analyze the photo and process it accordingly separates Radiant Photo from many other photo editing software programs.
Going beyond Quick Edit
I loved the initial look. However, I thought this time, I might reduce the effect slightly because it looked a little bluer than I wanted.
Smart Editing Tool
I looked at the Smart Editing Tool on the right. The Strength and Color sliders were both higher. I brought them down a little.
Sky Toning
Sky Toning seems to gradually increase the foreground and earth-bound elements so they match the color and feel of the sky more. To reduce the slight bluishness of the photo, I reduced the Sky Toning from 10 to 7. This was not a huge amount, but it helped.
Turning off edits that are not wanted
It was simple to turn off edits that I felt I did not want. For instance, I felt that the image did not require additional sharpening, especially globally. In the Details Panel, I turned off Sharpening, also turning off Noise. Again, these are global settings. These could be addressed in specific areas if I felt they needed to be addressed later (they didn’t).
I also turned off Color Contrast. The other settings had already created additional color contrast. While Radiant Photo’s Color Contrast setting was low, I felt it was not needed.
30 seconds to richer colors

I was quite pleased overall with how Radiant Photo interpreted the colors for something as “strange” as a night photo with light painting. But of course, like anyone else, I prefer to tailor the image to my individual preferences. Thankfully, Radiant Photo allows a fair amount of this.
Creating your own Presets
I don’t typically like to have global settings such as sharpening or noise reduction on. Consequently, I’ve made my own Presets. You can see these underneath the Presets panel in the bottom left of the screenshot. The Save Preset button is on the bottom right. Radiant Photo makes creating Presets quite easy, and this too can be a timesaver.
I can create colors that are rich, vivid, bold, or yes, radiant very quickly using my own Presets or tweaking some of the adjustments manually. Either way, I can get something going quickly.
Technical bits
Radiant Photo runs on both Windows 10 or 11 and Mac OS 10.9. Minimum RAM is 8 GB.
Windows plugin hosts:
Photoshop CS6 or Photoshop Creative Cloud
Lightroom 6 or Lightroom Classic
Corel PaintShop Pro X6, X7, X8, or X9 V22
MacOS plugin hosts:
Photoshop CS6 or Photoshop Creative Cloud
Lightroom 6 or Lightroom Classic
Source link


Leave a Reply