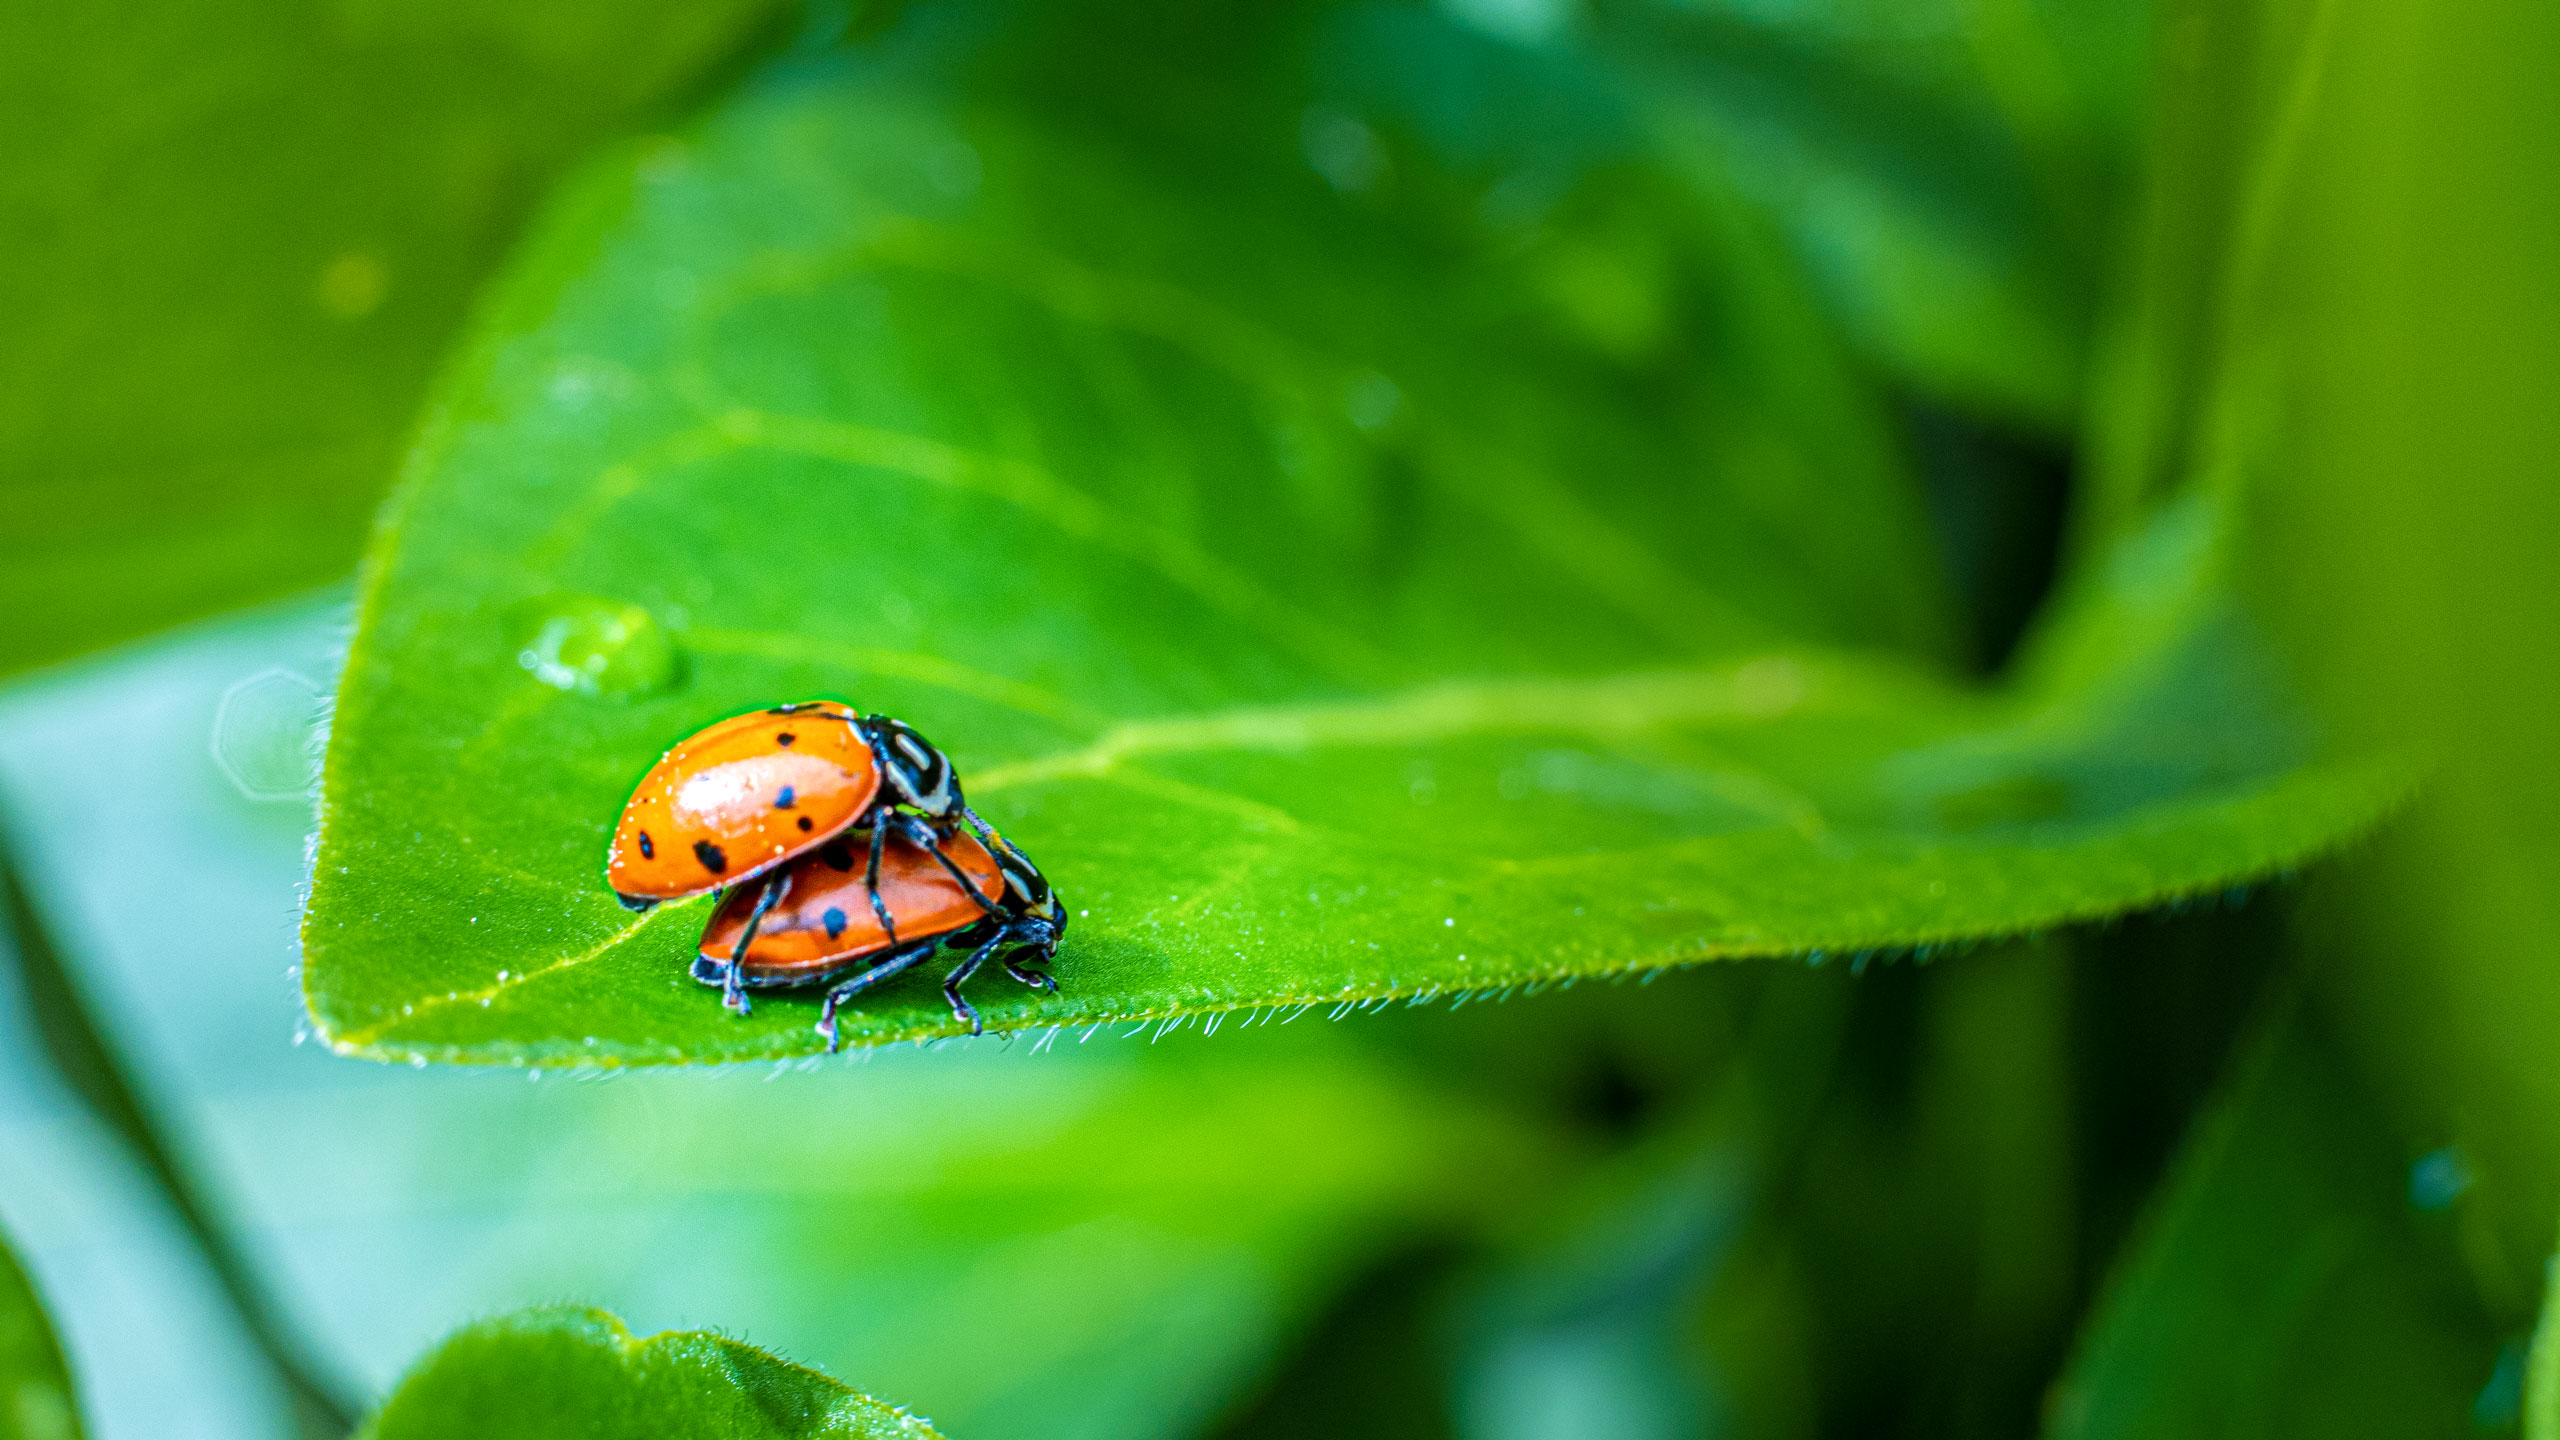
True macro photography is defined as the subject being life-size or larger than the object being photographed. I personally have a slightly looser definition. It means creating an image that can reveal detail more than is visible to the casual naked eye.
Macro lens
A true macro lens can get to be a bit pricey if you aren’t using it a lot, although the quality of most macro lenses is top-notch. When I was using Canon gear I loved my 100mm f/2.8 lens. For my micro four-thirds gear I’ve been using the Panasonic Leica 45mm f/2.8 Macro-Elmarit lens. In this photoshoot, I had the lens mounted on an Olympus OM-D E-M1X, which I currently have on loan.
Why shoot macro?
Let’s think about how the eye works. If you look at someone or something close to you, the area behind your focus is visually out of focus. This is why we like having lenses with large apertures and shallow depth of field. It replicates what the eye sees. Our eyes get around this limitation by changing focus as quickly as we look at a different part of the scene.

Create an image that is in “super focus” showing detail where the eye cannot usually see the viewer is exposed to something they normally can’t view. This adds interest. People often can’t verbalize why they like it. And, in my opinion, that’s a good thing.
What and where to shoot
We always have the opportunity to play and practice. A great place is outside the door in the garden. You’ll find lots of targets from the bug kingdom to pursue.

When to shoot
The best time of day is to shoot early in the morning or late in the afternoon. If you want to extend your shooting time through midday I recommend using a 5-in-1 scrim/reflector. Place the scrim over the scene and chase down your quarry. An overcast day will also extend your shooting time. I often use a very portable 20-inch model and a larger 42-inch depending on the subject.
Who knows? Perhaps you’ll find a little party going on with the Ladybugs as I did.
Yours in Creative Photography, Bob
Source link


Leave a Reply