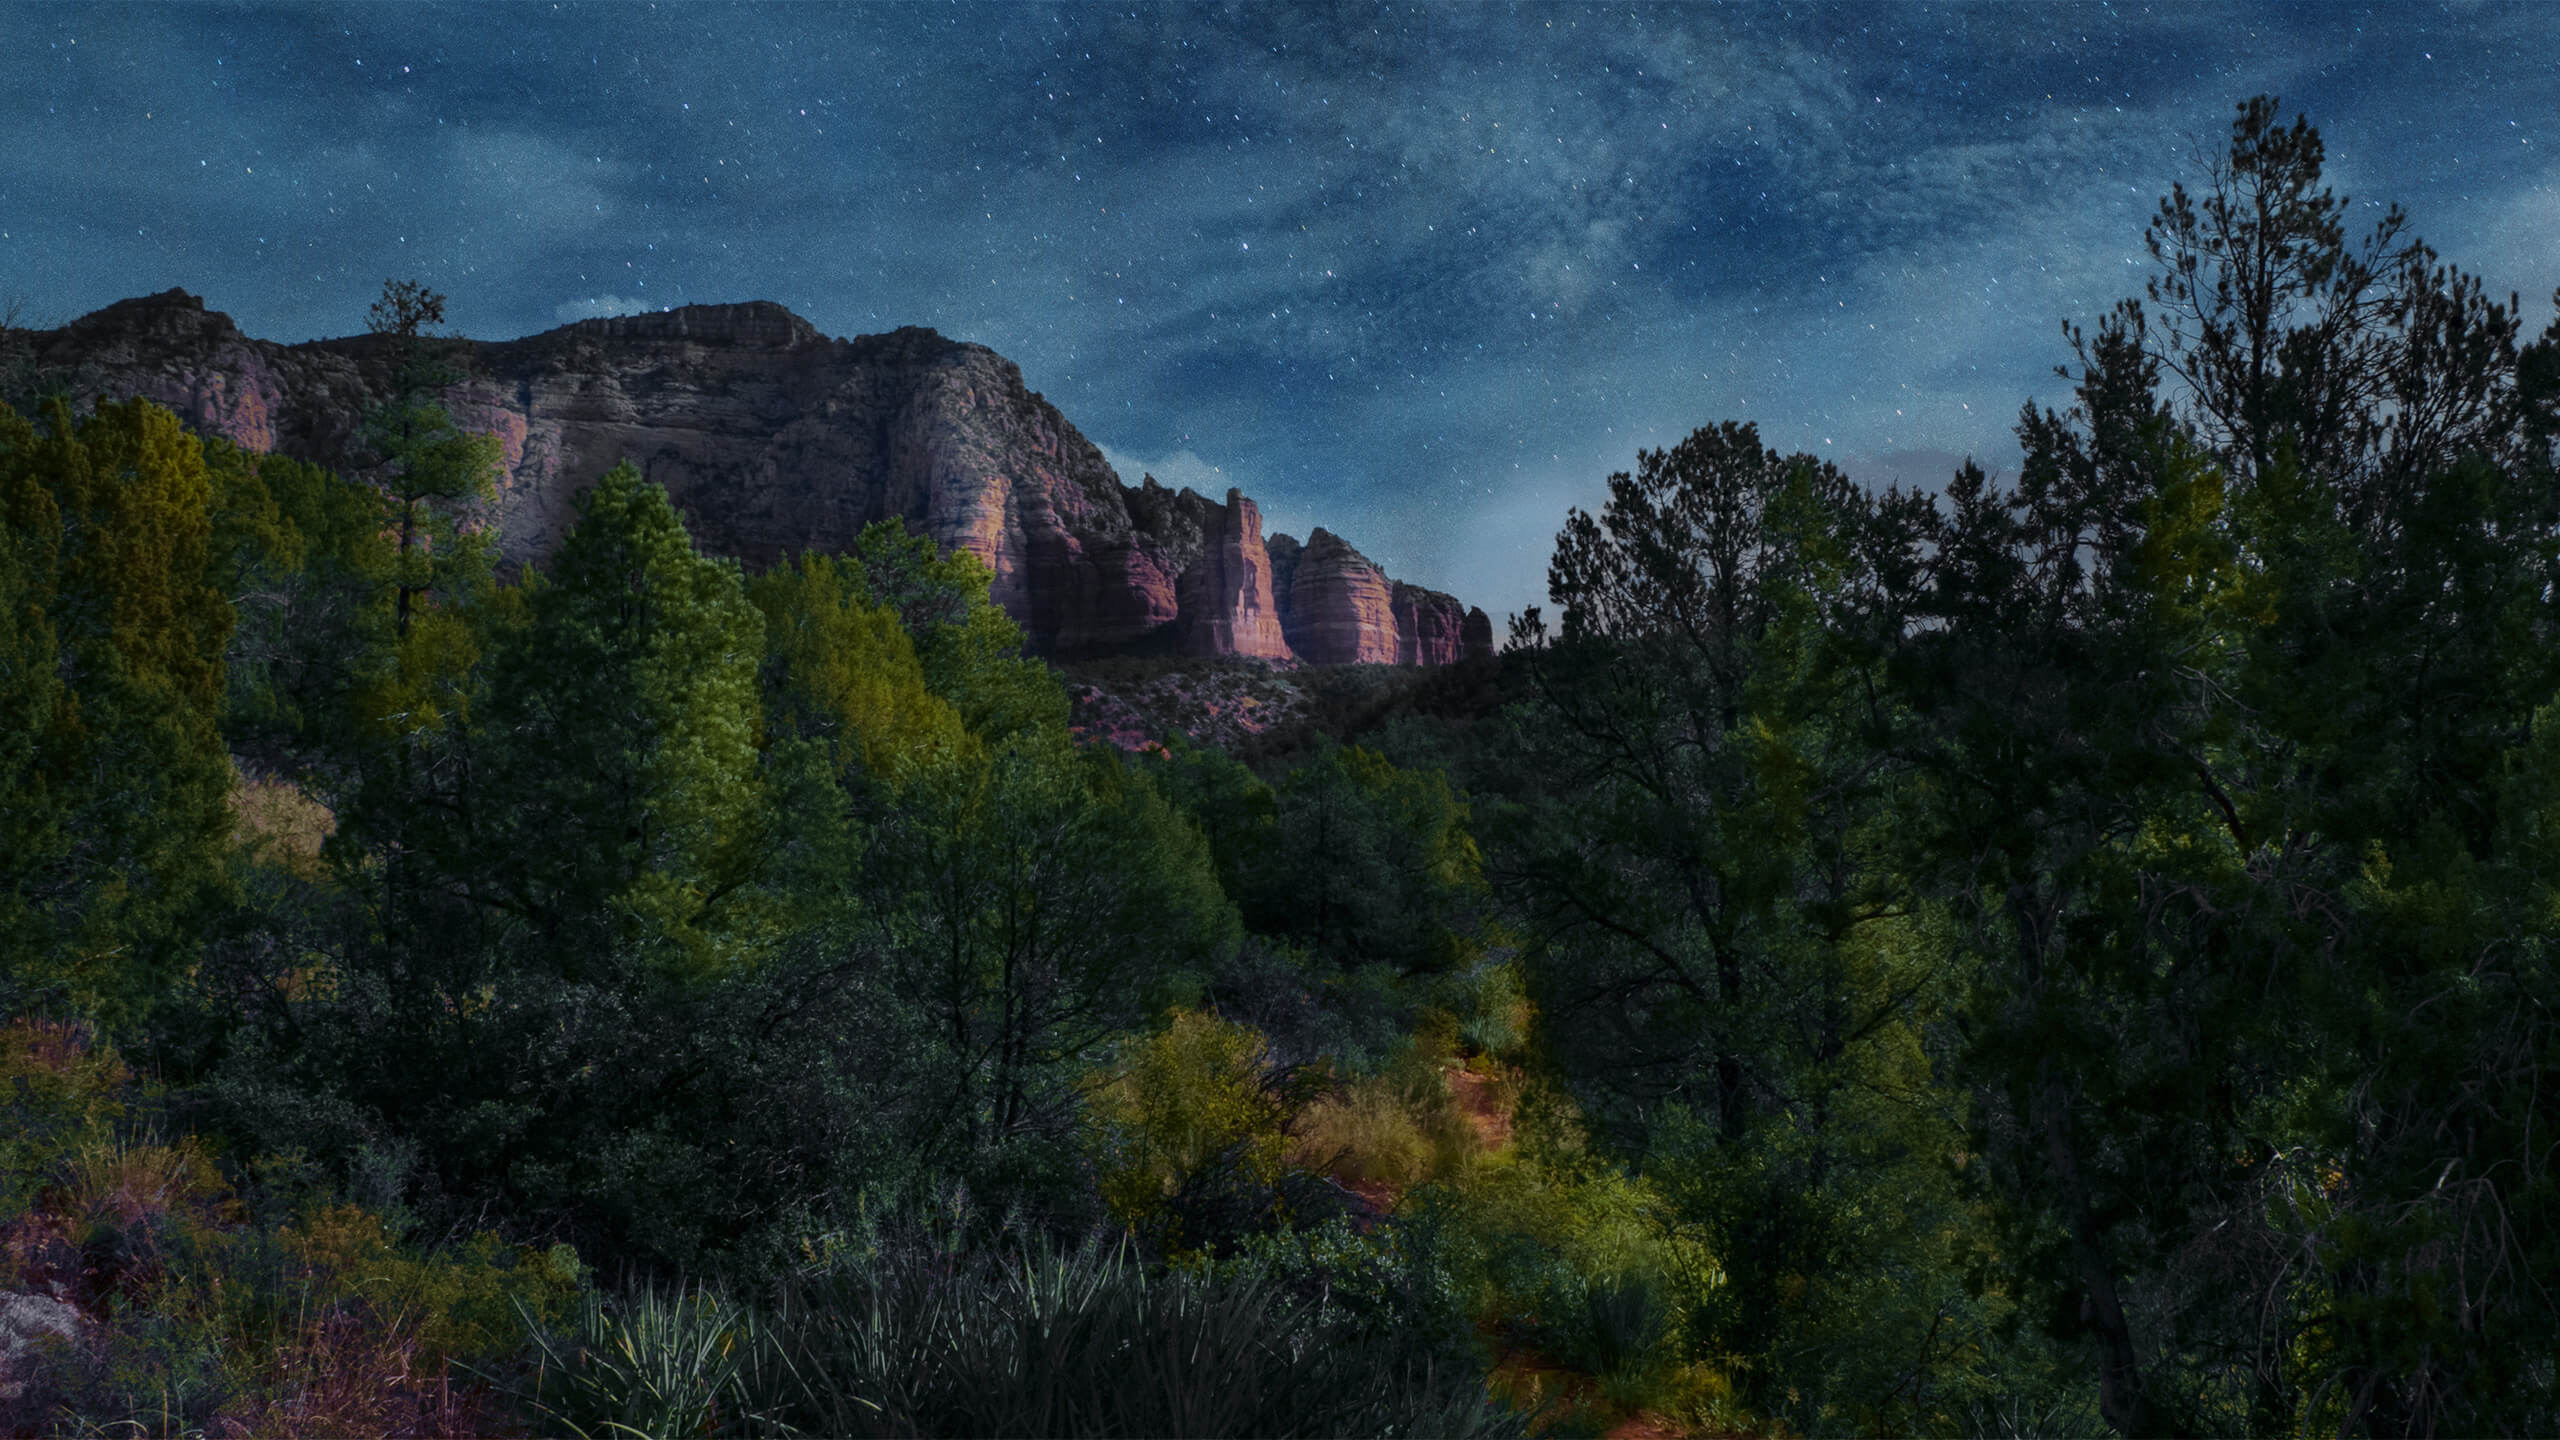
Out hiking one morning, I came across this path leading to the red rocks in the distance. Not a great time of day to capture an image … Unless one is willing to do some post-processing with a software like Photoshop to enhance the vision. This is why I market myself as a ‘Lens Based Artist.’
Vision
I seem to have the ability to see the final image in my brain as I am out and about making photos. As soon as I saw this scene, the feeling of a lit path on a moonlit evening jumped into my head. This called for a set of bracketed photos from under to overexposure. Five stops worked well. Photoshop blend modes made it possible to create a believable reality within the fantasy.

Process
I used Adobe Camera RAW on the two images I selected. First, I processed for highlights and shadows in each capture, knowing I would blend the lighter image into the darker. The lighter image was layered over the darker one. With both images highlighted, I invoked Auto Align under the Edit menu as the sequence was captured hand-held. This ensures the photos will not end up with ghosting edges.

I placed a mask filled with black on the light exposure layer. Next, I used a brush to paint on the mask with white, revealing the lighter pixels. Then, I painted the highlights on the path, through the trees and on the distant red rocks.
Selling the scene
To help sell the idea of a night photo, I went to my files for a generic starry sky. I clipped the sky to the sky selection. An image clipped to the one below will only affect the layer to which it is clipped. Then, I turned the star layer to Screen Mode. This has the effect of making the lighter pixels visible while hiding the darker pixels. I lowered the opacity to 65% to decrease some of the brightness.
Look Up Tables
I used Look Up Tables, AKA LUTS to blend colors overall. A Moonlight LUT in Soft Light Mode lowered the opacity. This made the image a bit too blue for me. Next, I added a second LUT called FallColors. Look for increased saturation in the warmer tones. As with almost all of these LUT’s, the I changed the blend mode and lowered the opacity to taste.

Final tweaks
Finally, I added three Curves layers to control specific tones and finalize the image. One for adjusting the sky alone, another for the foreground. I added the third for overall tone adjustment, and a mask to fine-tune the results, masking small areas from that brightening adjustment.
As always, if you have any questions or thoughts on my process, hop on down to the comments section. Dialog is great!
Yours in Creative Photography, Bob
Source link


Leave a Reply