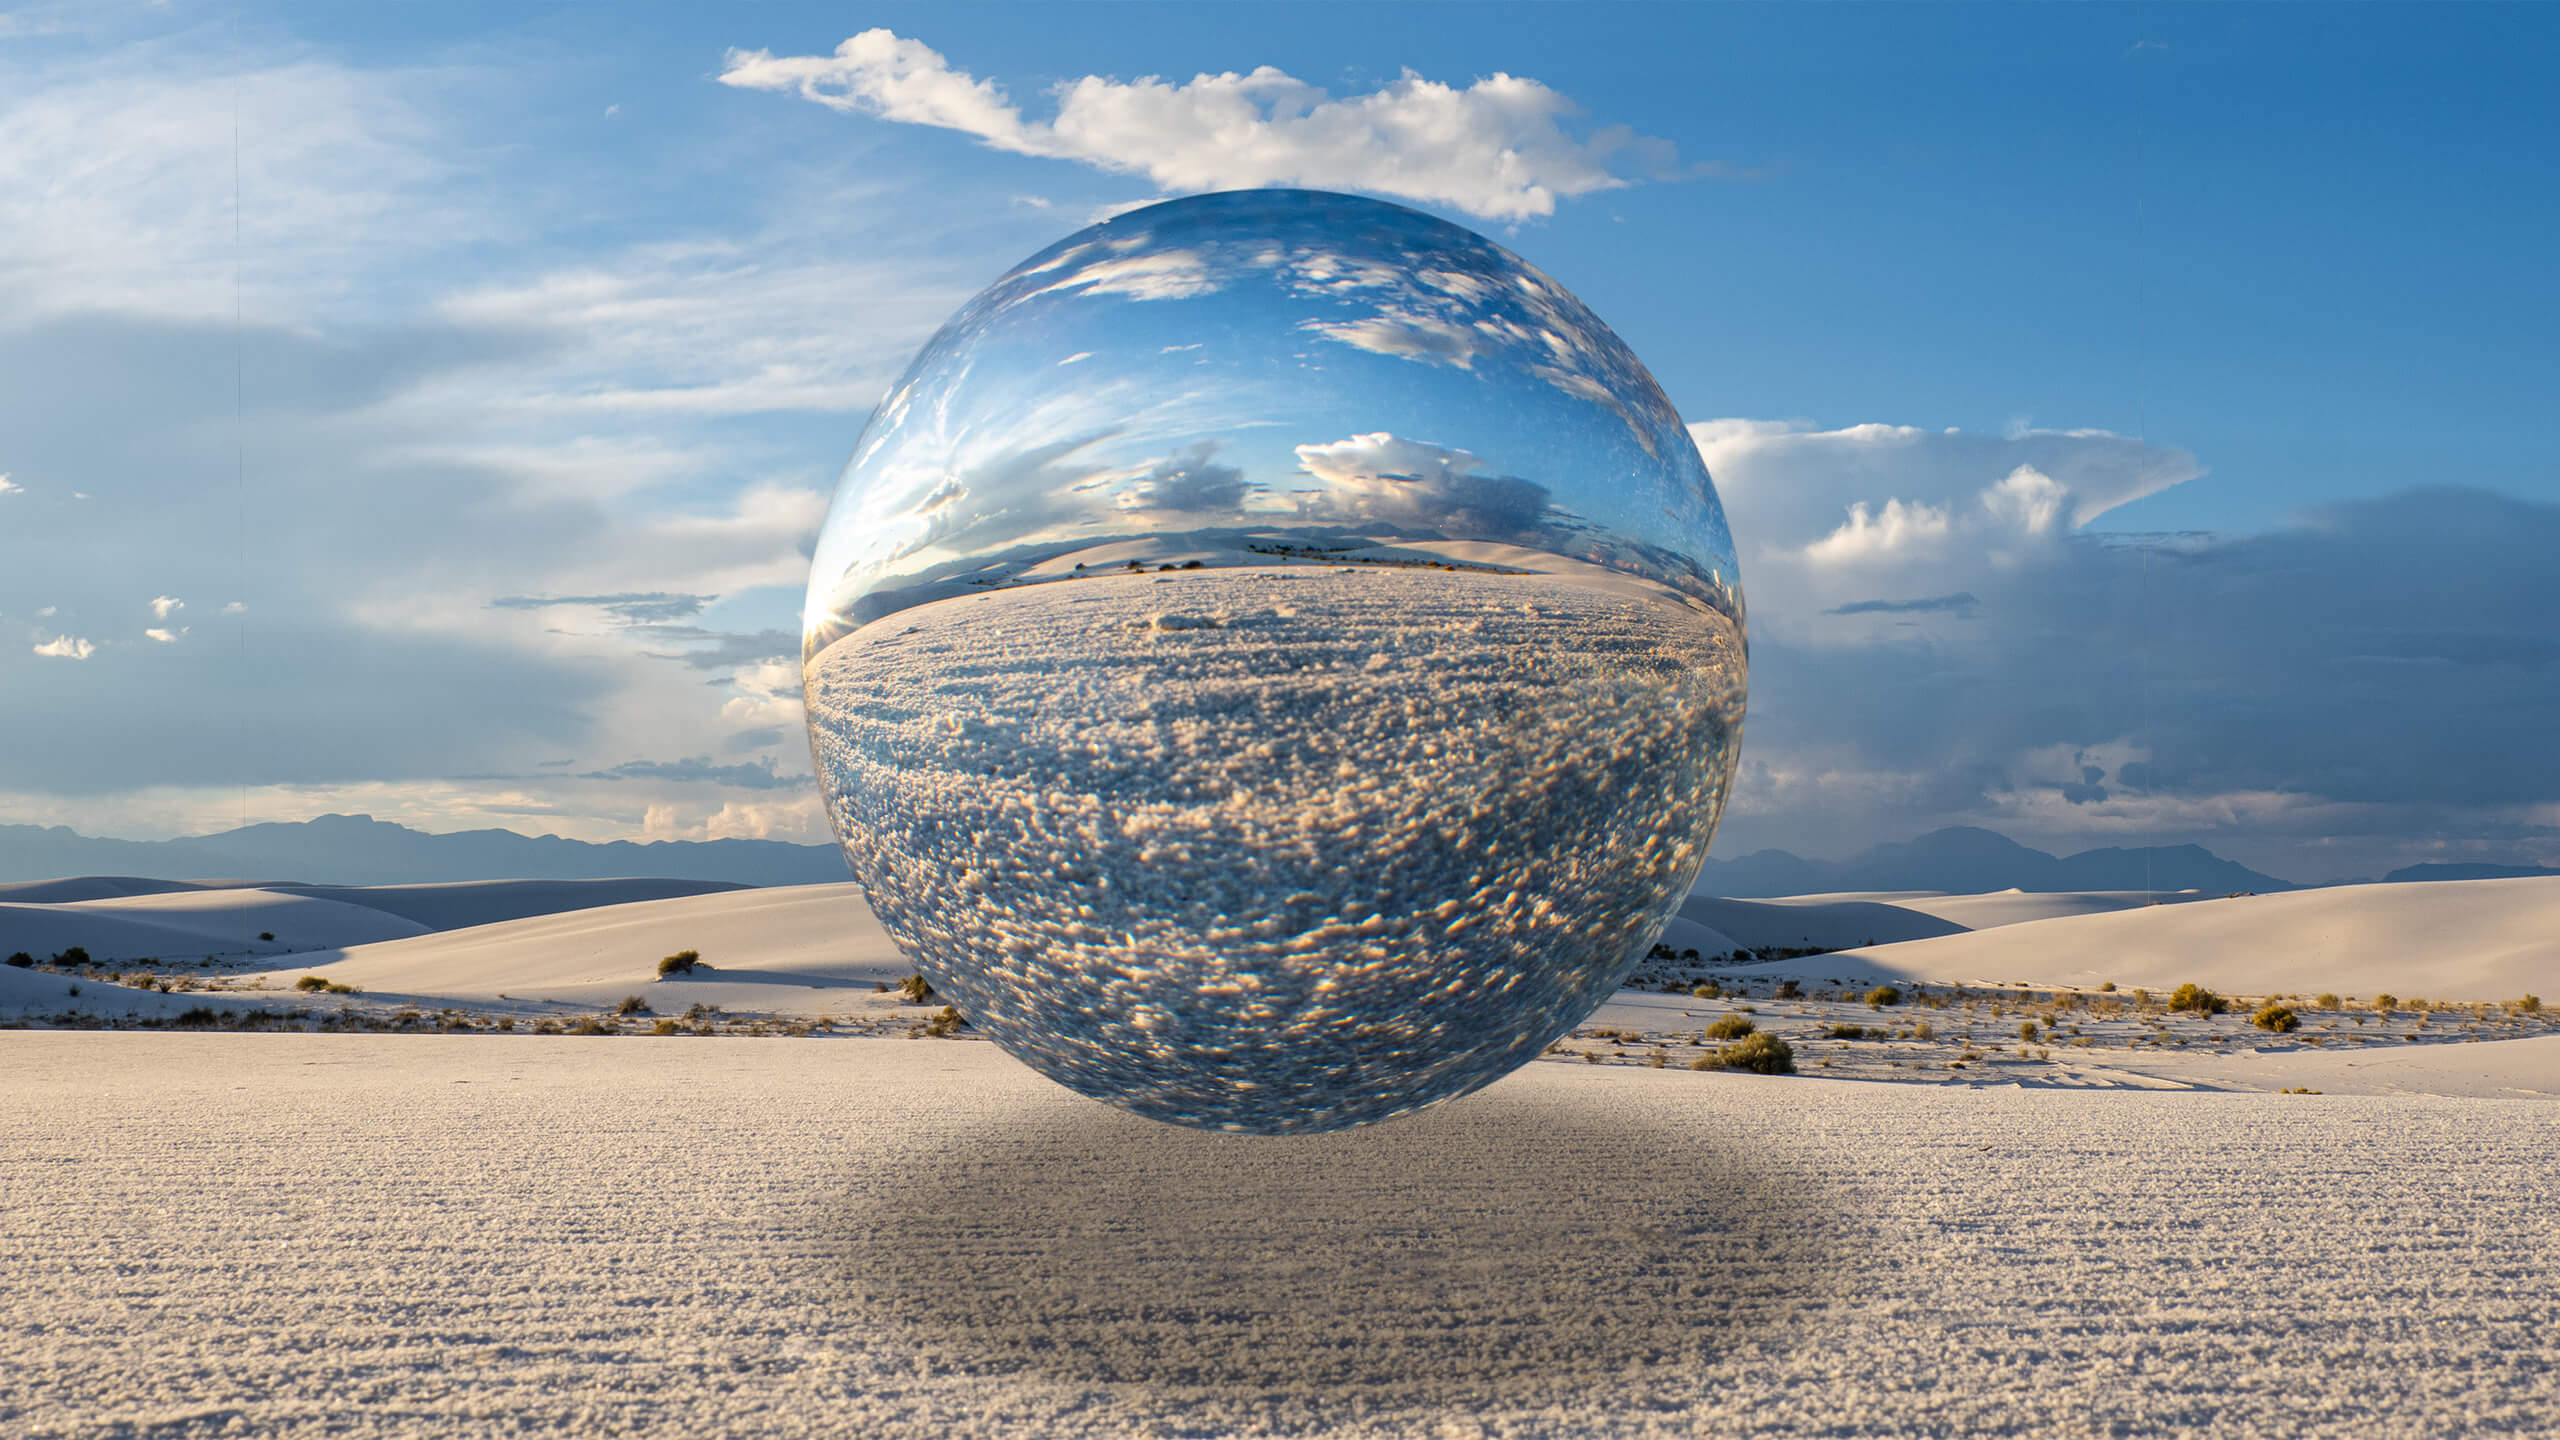
I traveled to White Sands National Park for the first time. Magnificent location! I brought along my crystal ball to make some floating object photography. The crystal ball is perfect for this type of work. Learn how to create this photo below.
White Sands National Park
This gorgeous location showcases gypsum flakes piled in mounds that undulate across the horizon. Making photos there requires opening up your shutter at least one, maybe two stops above what your camera tells you is the “proper” exposure. Your camera meter is easily fooled in this white wonderland. White Sands is a bit of an anomaly in that gypsum which is left behind when water evaporates usually gets washed out through rivers to the sea, as it easily dissolves in water. Enough of the geology lesson. Let me show you how I created this image.

Thoughts on shooting the crystal
A low angle helps in this case and a Platypod eXtreme Plate with a small Benro ball head was just the ticket. I placed the crystal on the small crystal stand that comes with it. Note that you need to focus inside the ball and the subject will appear upside down.
Warning! Be aware that the crystal WILL FOCUS THE SUN! Watch your hands. If you are working in full sun you can get burned. Never leave the crystal uncovered near a window at home, in your camera bag or in your car. It works as a magnifying glass and could start a fire.
Host image and composite
For a composite such as this I photograph the background scene as a separate exposure and leave lots of foreground. After processing the ball image, I extract it. Ensure that the extraction will work seamlessly in your final image by feathering the edges. The ball photo is upside down. The Transform tool is used to rotate it to an upright orientation.
Selling the effect
Post processing helps sell the idea of the floating ball. Watch the edges of the crystal as they reflect what they “see.” In this case, I had to remove the blue of the reflected sky and the brown of the sand after the rotation.
Additionally, I build a drop shadow. One trick is to use Photoshop’s Drop Shadow in the fx menu to create the shadow. Then go to the Layer Menu > Layer Style > Create Layer. The drop shadow, now on its own layer, makes it possible to transform and manipulate for the proper look. Finally, use a Soft Light Layer and subtly paint in the shadow side of the ball to increase the apparent roundness.
Do all of the above, and voila! The ball is floating in the scene.
Gear used
Yours in Creative Photography, Bob
Source link


Leave a Reply