This three-part accessory kit is multi-talented on paper. Consisting of a strong jaw clamp, a smartphone holder, and support arms, it’s meant to help you add extra accessories while in the field. It can even hold up a decently sized mirrorless camera and lens, as Vanguard’s marketing team claims. But can you really trust a pocket-sized clamp and arm combo to hold up your expensive camera without any other support or safety tether? The Vanguard VEO CP-65 kit is a companion that takes some time to trust.
Subscribers get some sweet perks and are automatically entered into contests! Download our app for iOS, iPad, and Android and get no banner ads for $24.99/year.
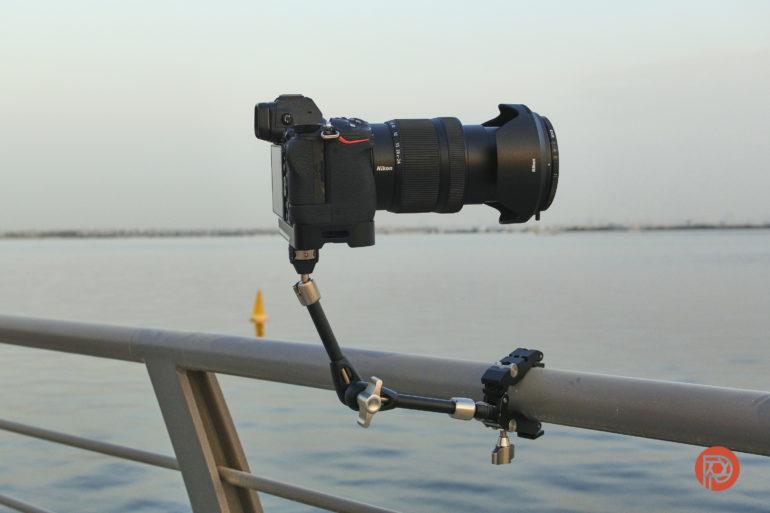
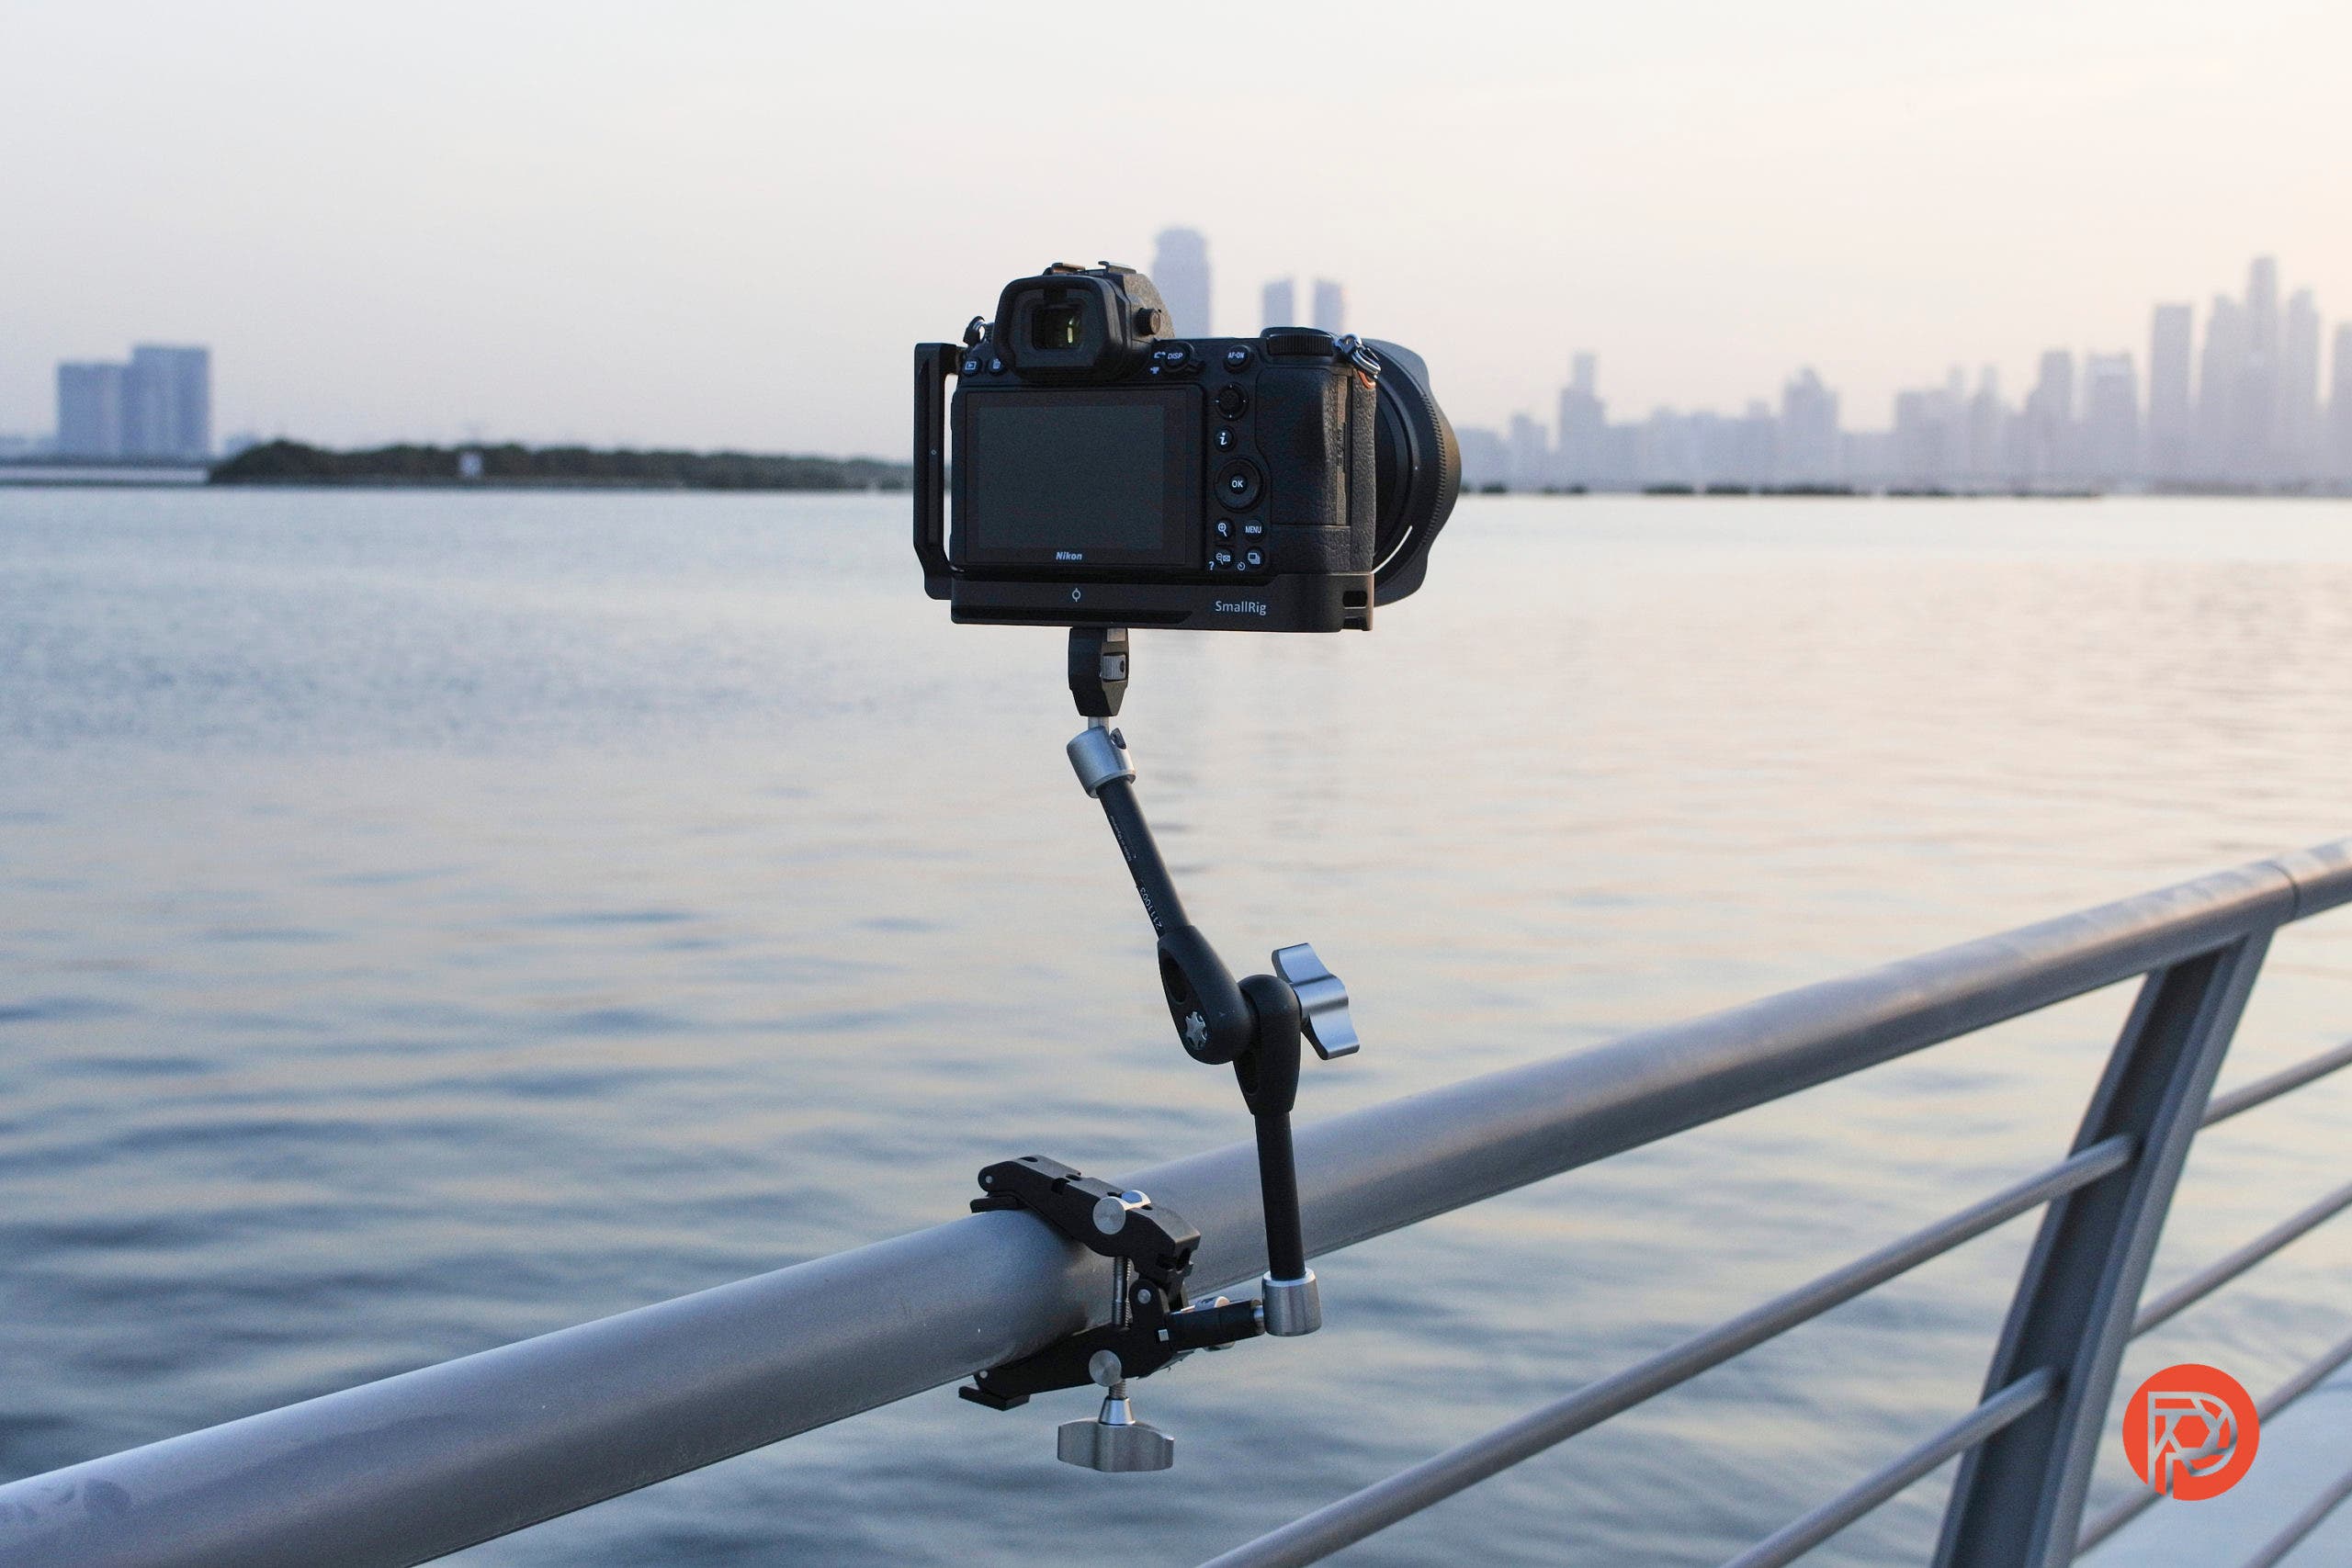
If there’s available protection of any sort for camera gear, chances are I’ve already invested in it. Lens coats/sleeves, protective wraps, rain covers, double lock slings, central column hooks for tripods to add weights, UV filters, and more. So it was with some apprehension and fear that I tried to balance my camera on the Vanguard VEO CP-65 kit by the banks of the Dubai creek. This was because it came without a tethering strap for safety. It was by no means an easy feat to get the support arm to keep the camera level. I often had to re-adjust the clamp from slipping down due to the weight on day one of the review.
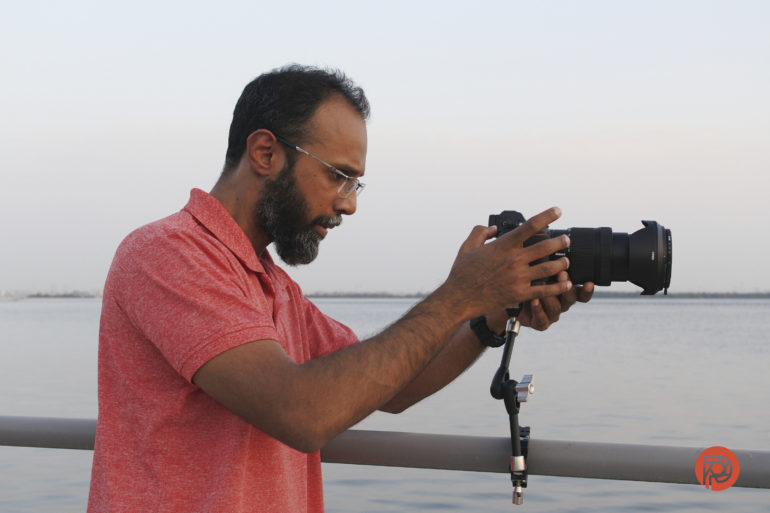
After that tumultuous first evening, I was ready to give up on this kit. It frustrated me a lot, and no matter what I did, the clamp kept slipping down slowly. It wasn’t proving itself to be a product with which I could trust my gear. Then with a refreshed outlook, I decided to give it a second chance after some days. Maybe my approach on the first day wasn’t right, but on day two, the CP-65 kit redeemed itself. It’s not a perfect product, and you must be extremely patient with it to get results. But it can get the job done in locations where you can’t use a tripod and have to make do with railings.
The Big Picture
Pros
- Large mouthed clamp (opens up to 2.6″), with rubber gripped tips
- Clamp has threaded holes (two 1/4″ and one 3/8″) available for attachments/support arms
- Lightweight aluminum support arm weighs a little over half a pound and has ball joints at both ends
- Smartphone holder fits phones between 2.4″ and 3.5″ wide. It has multiple screw holes to add in more accessories.
- Clamp has spots to attach more than one support arm
- The entire kit can easily fit into your camera bag.
Cons
- Any kind of clamp kit like this should ideally come with a tethering strap that acts as a second line of safety.
- It would have been nice if the kit came with a pouch to hold all the items together in your camera bag.
- A single knob controls the tension of all movable points of the support arm. Takes quite a bit of trial and error to get the camera clamped in the exact position you want.
- The smartphone holder does not have a tightening knob for the base plate joint. But you do get a hex key to adjust the tension.
- Expensive
There’s no shortage of products that can help provide a steady mount for your camera in spaces where you can’t use a tripod (or don’t have one). Benro’s Tablepod is one that comes to mind, and another is Joby’s Gorillapod series. These are designed to wrap themselves around poles and railings. The Vanguard VEO CP-65 kit isn’t a wrap-around product though. It consists of their VEO CP Clamp, DLX Support Arm, and Smartphone Holder Kit. Combining these three creatively can help you get the most out of your compact or mirrorless camera gear in places where tripods aren’t an option.
While it can do the job, for the most part, it’s the lack of a safety tether that disappoints me. Whether I’m using it to clamp my camera by the side of the road, or hundreds of feet above the ground on a skyscraper’s rooftop, I wouldn’t feel confident moving away from the kit. I was always worried the clamp might slip. It did on day one of my tests. Leofoto is a brand that makes a tether strap to help you breathe more easily in such scenarios, and I wish Vanguard had included such a strap in the CP-65 kit.

It’s like a new travel companion you go on a road trip with, but takes a long time to get your vibes in sync with. Also quite pricey. I’m giving the Vanguard VEO CP-65 kit three out of five stars. Want one? Check it out on Amazon when you make a purchase.
Gear Used
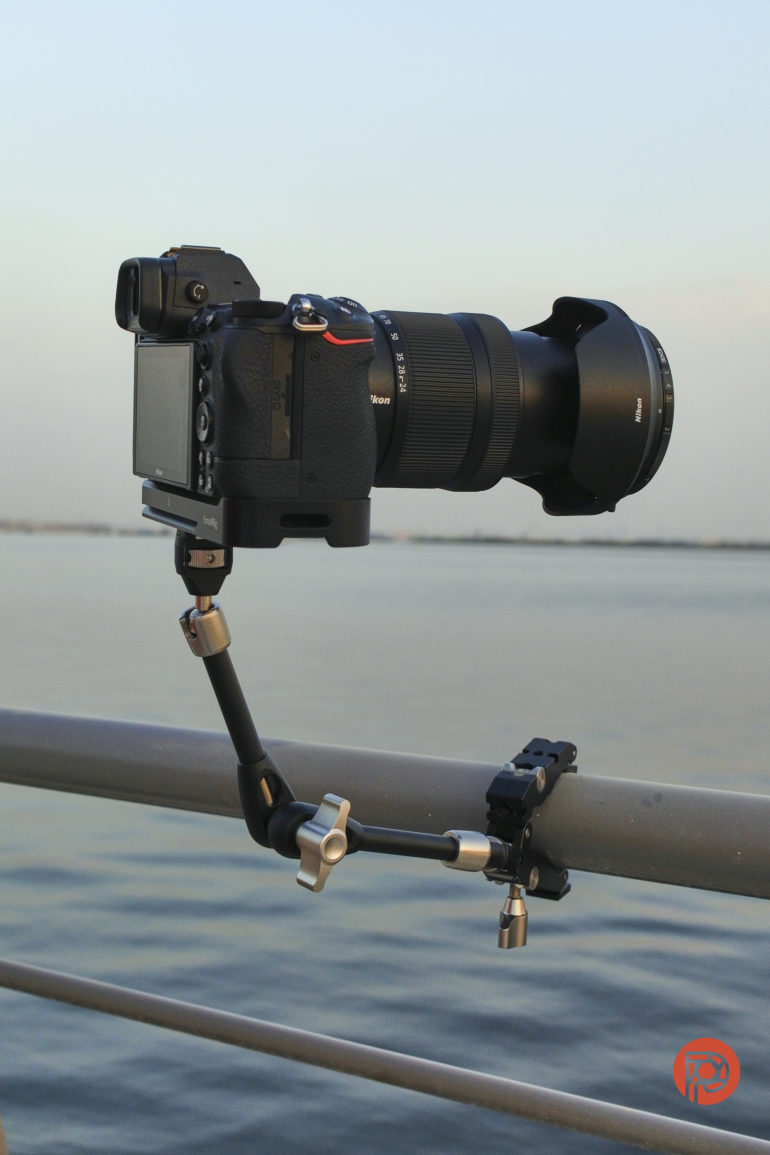
I used the Vanguard VEO CP-65 kit (we got to keep this), with a Nikon Z6II, Nikkor 24-120 f4 S lens, Nikon J5, Smallrig L-bracket, and a Leofoto Mr. Q LQ-284C tripod (all of which I own). The Irix Edge Vari ND 2-5 filter (which I reviewed some months ago) was used for a few images.
Note: We received the individual items that make up the CP-65 kit, as at the time of receiving them, the kit packaging wasn’t available for release. The kit includes the Kit one VEO CP-65 Clamp, one VEO TSA DLX L Tripod Support Arm, and one VEO SPH Smartphone Holder
Innovations
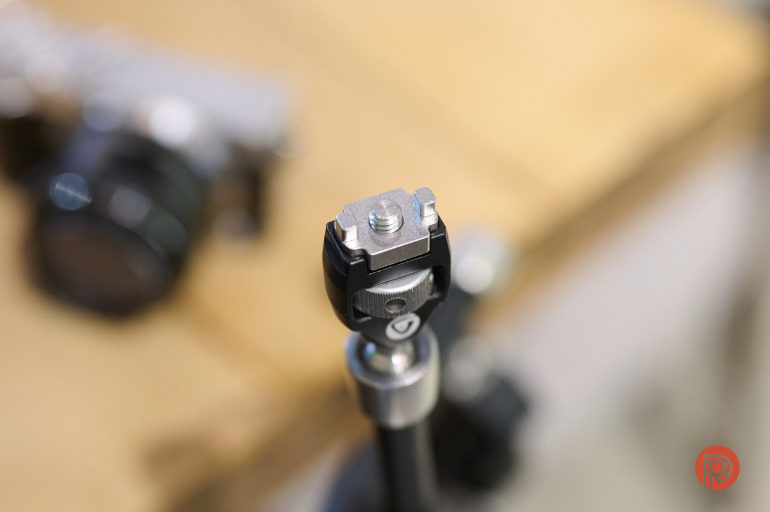
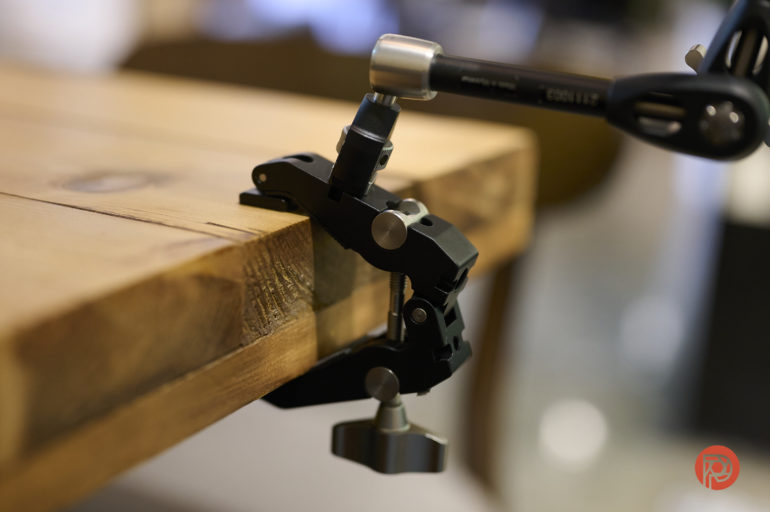
Vanguard deserves credit here for two things. Their VEO TSA DLX L support arm can firmly attach itself to the clamp, thanks to the presence of two teeth besides the screw (see image above). If you’d rather attach this end of the clamp to a camera, just flip over the teeth, and you’ll get a flat surface (as seen below).
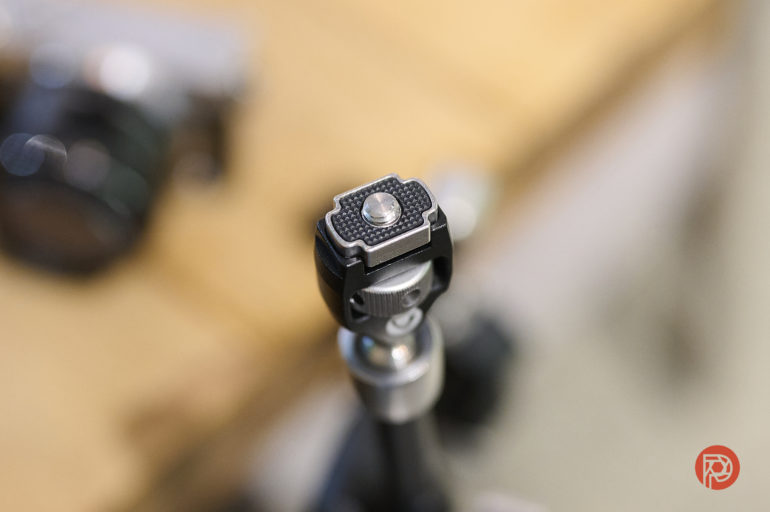
The support arm screws can be inverted to switch between 1/4″ and 3/8″ threaded screw holes.
Build Quality
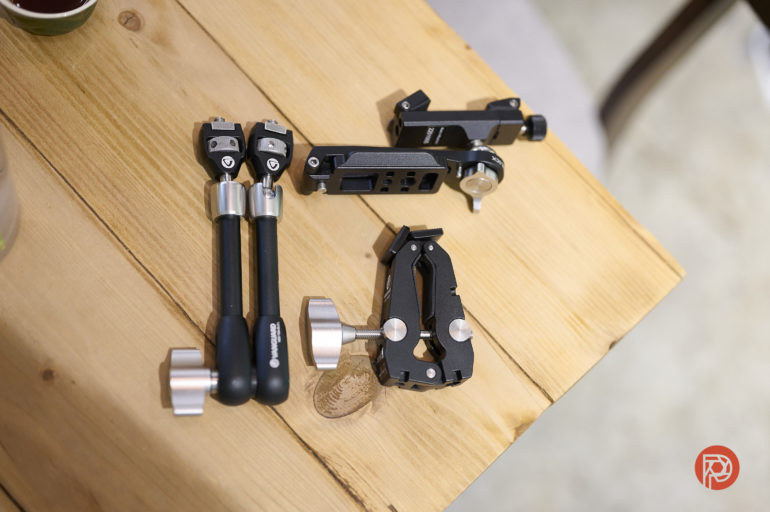
No real complaints in terms of the material used for the construction of the items in this kit. It’s made of CNC-machined aircraft-grade aluminum. You can probably carry the support arm and clamp in your pockets.
I do wish there were a pouch provided to carry all three items together in your camera bag.
Ease Of Use
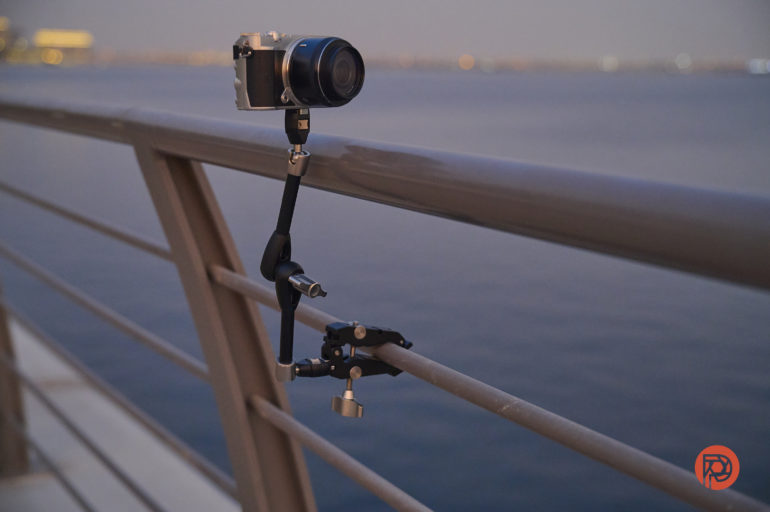
I struggled with setting up my camera on the Vanguard VEO CP-65 kit. More than I thought I would. The clamp is straightforward to use; one knob to tighten or loosen it. It opens up to 65mm in width (thus giving the CP-65 its model number).
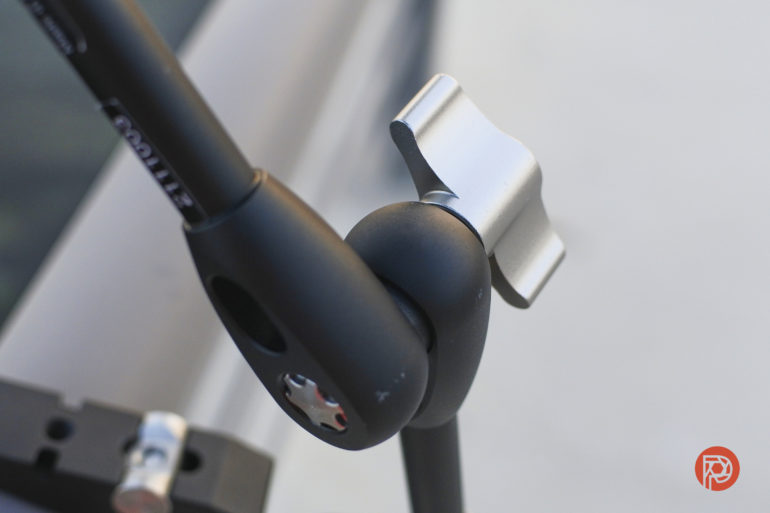
The support arm has just one knob to control three joints. The ball joints at both ends are meant to be attached to the clamp and camera. The joint in the middle articulates the angle and position of the camera and lens.
Day one Of Testing
Prior to receiving the kit, we queried our Vanguard marketing rep on whether it could safely hold a mirrorless camera and lens. He replied with a photograph showing the CP-65 clamp holding a Sony A7 series mirrorless camera, with the Sony FE 24-70mm f2.8 GM lens on one support arm. Another support arm attached to the same clamp held a phone with the smartphone clamp. It looked like it could do the job with ease.
If you attach your camera to one end of the arm and the other to the clamp, you have to hold on to the camera at all times until you completely tighten the arm’s knob. This is particularly tricky because you can’t adjust the level of the camera alone. Any loosening of the knob on the arm means that the arms themselves are likely to move even if you just want to adjust the horizon level of one end. I suppose one way to mitigate this is to use a ballhead below the camera. But you have to factor in the extra weight it’ll add to the load on the clamp and arm.
It’s A Lot Easier With Small Cameras
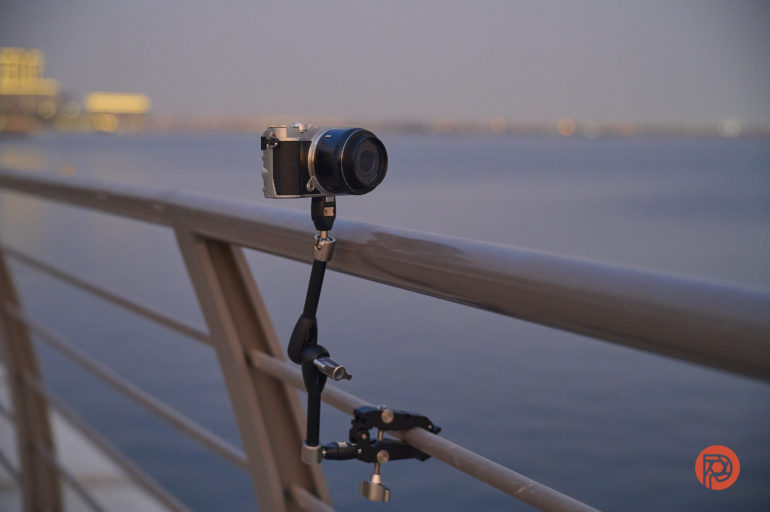
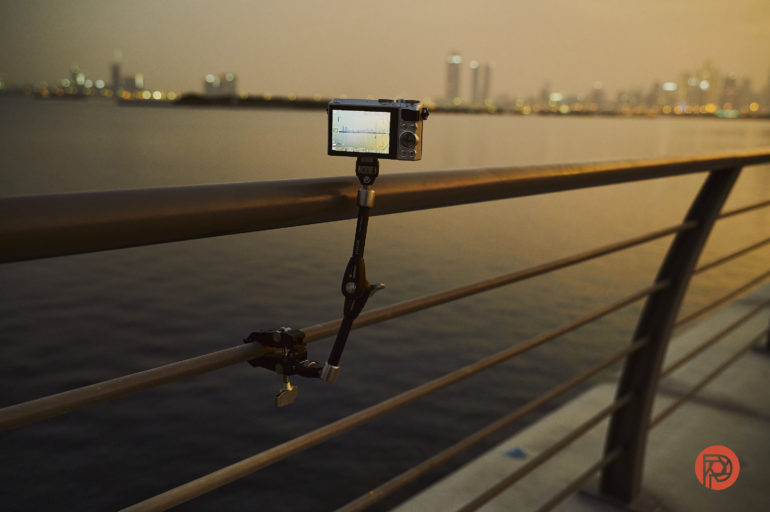
Using the smaller compact Nikon J5 camera was easy. The trouble began when I tried to mount my Z6II and Nikon 24-120 f4 Z mount lens on to the arm and clamp. Try as I may, the clamp kept slipping off due to the weight of the camera. I first thought this was because the setup was clamped to the wider railing at the top. I then moved the clamp to the thinner rail below. No such luck; the weight of the camera still kept pulling down on the arm and clamp. It wouldn’t remain locked for more than 15 to 20 seconds.
Was the setup too heavy? Not in the least. The clamp and support arms are rated to carry up to 22 lbs. The Z6II, battery, lens, and L-bracket in all would come up to a little more than 3lbs, so I couldn’t understand why the setup wasn’t steady. Maybe it was because the arm was extended a bit too much to the side. I then re-adjusted the arms to get the camera almost above the clamp. This didn’t help either, and the clamp still seemed to turn.
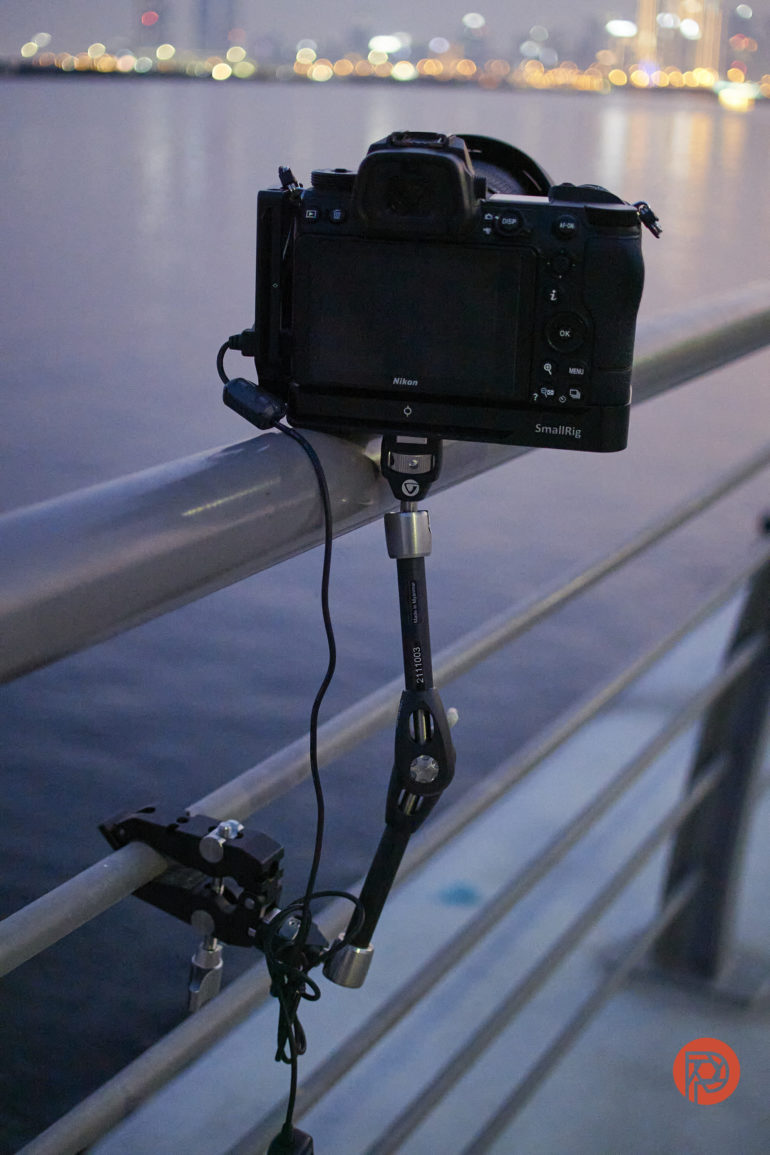
Finally, as seen in the picture above, I had to rest one side of the camera on the top railing for it to stay put. This was far from the ideal scenario I had envisioned for using the CP-65 kit. I was able to get some images up to 30 seconds long this way.


I’d made up my mind that I couldn’t leave my camera on unattended on this kit. It was too risky, especially since it didn’t come with a tether strap. I wasn’t happy with the compromises I had to make to keep my camera steady on the kit. Frankly, I didn’t feel like using it again after that. But some days later, I decided I would give it another go. It was only fair that I tried it again at the same location to see how it performed.
Day two – Giving The Vanguard VEO CP-65 Kit A Second Chance
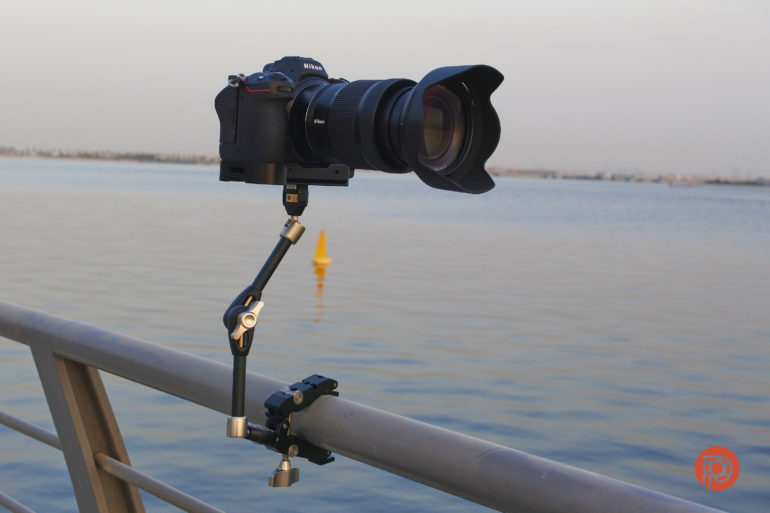
I think the only difference between the two days of testing was that there was less humidity on day two. Not that I wasn’t soaked by the end of the testing on the second day, but the increased humidity could have been a factor for the clamp’s lack of grip on the first day.
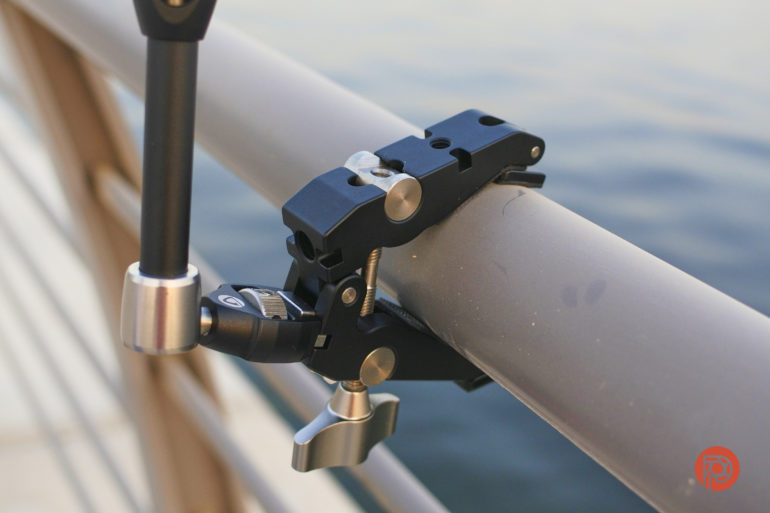
Strangely enough, I was able to use the clamp on the larger railing this time. I kept the arm angled such that the camera remained above the clamp.
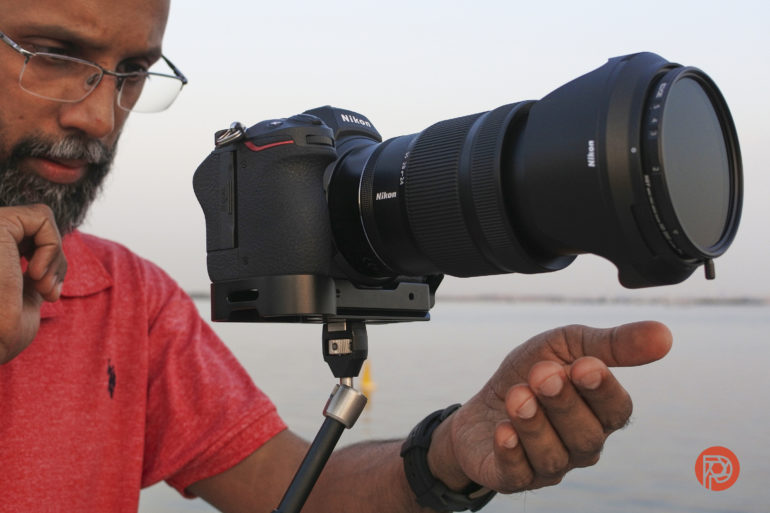
This time around, the clamp seemed to hold better, and I didn’t notice any slipping. I still stayed right next to the setup almost all the time, except for brief moments to take pictures of the setup.
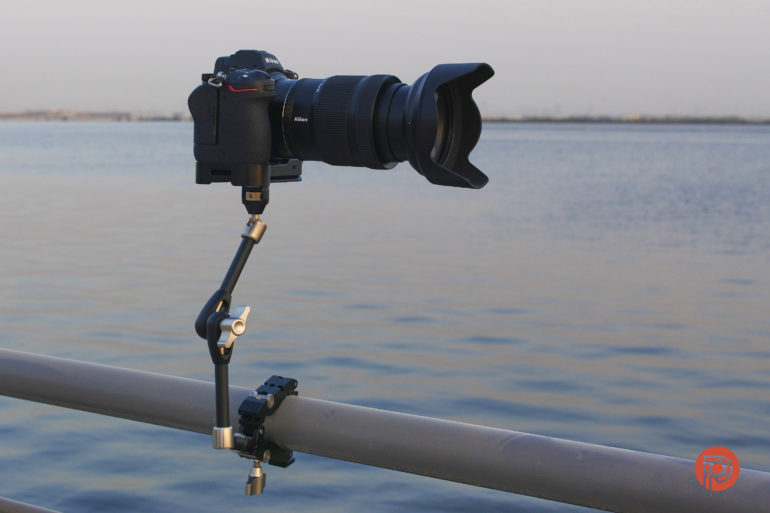
For close to half an hour, I observed the clamp and support arm to see if there was any slipping. Apart from the arm wobbling a bit each time I tried to take a photo, the clamp didn’t really move.



After the second day’s testing came to a close, I was somewhat pleased with the Vanguard VEO CP-65 kit. It takes a while to get the camera in the position you want, but after a while of using it you get a better idea of how to achieve it efficiently. If I do use this in the future, I would probably use a tethering strap for extra safety.
Smartphone Holder
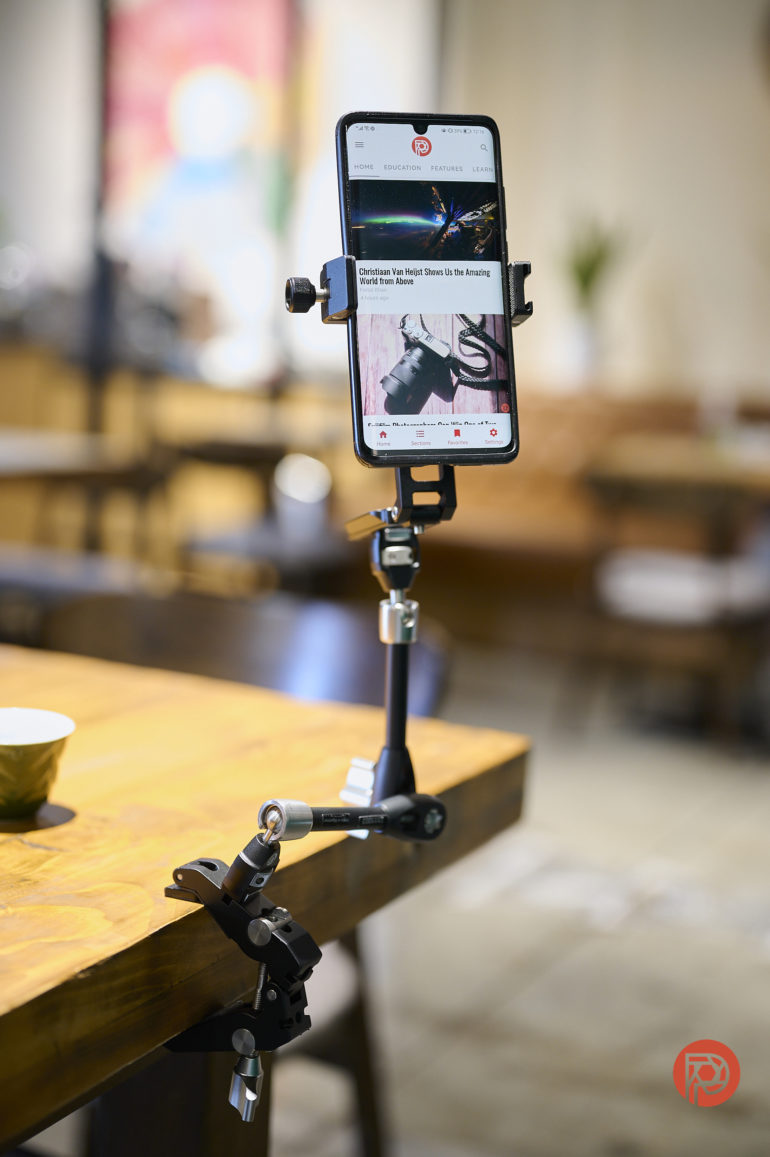
If you’re someone who likes to take videos or time-lapses on your smartphone while you’re taking photos outdoors, this holder will appeal to you greatly.
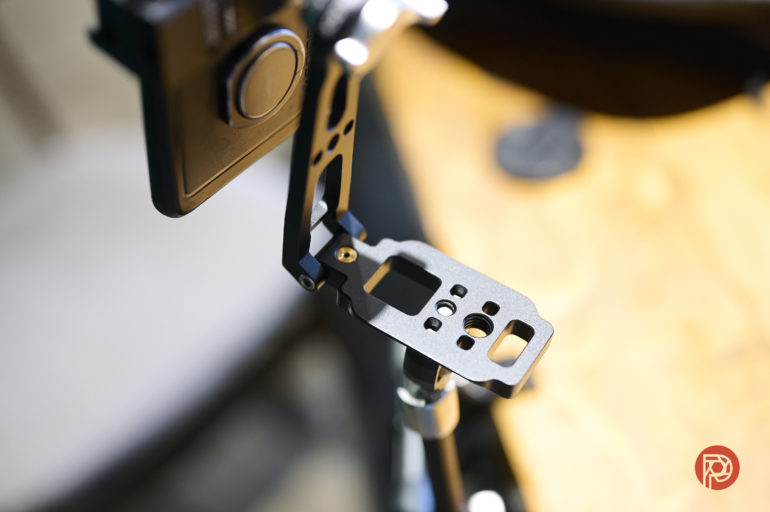
You can use it in tandem with the clamp and support arm…
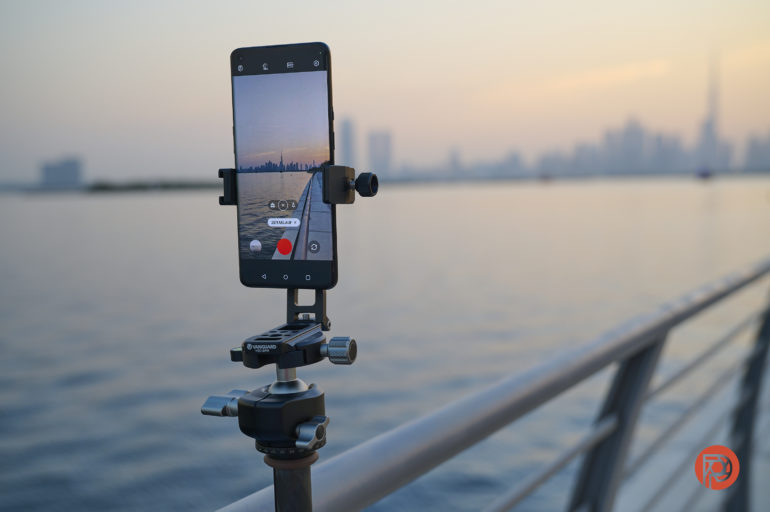
or just attach it directly to an Arca plate compatible ballhead.
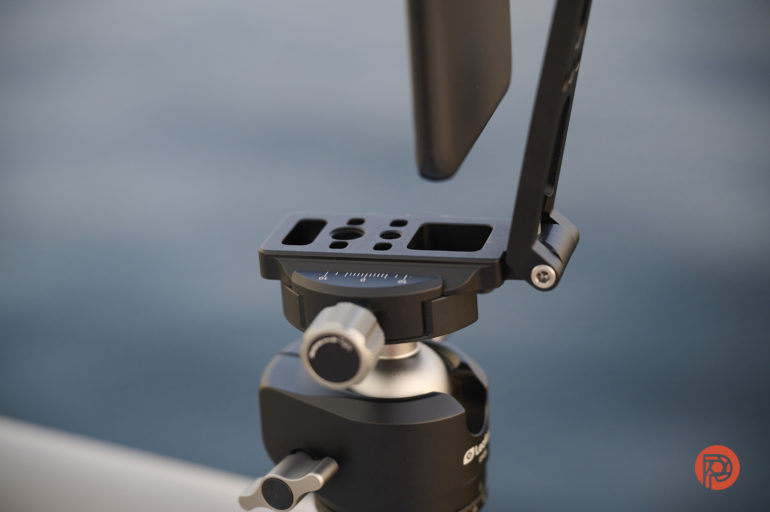
The joint at the base of the smartphone holder doesn’t have any inbuilt tightening mechanism, so you have to balance the weight of the smartphone carefully before using it. If you need extra tension, there’s a hex key that comes with the kit. But I didn’t have this with me outdoors.
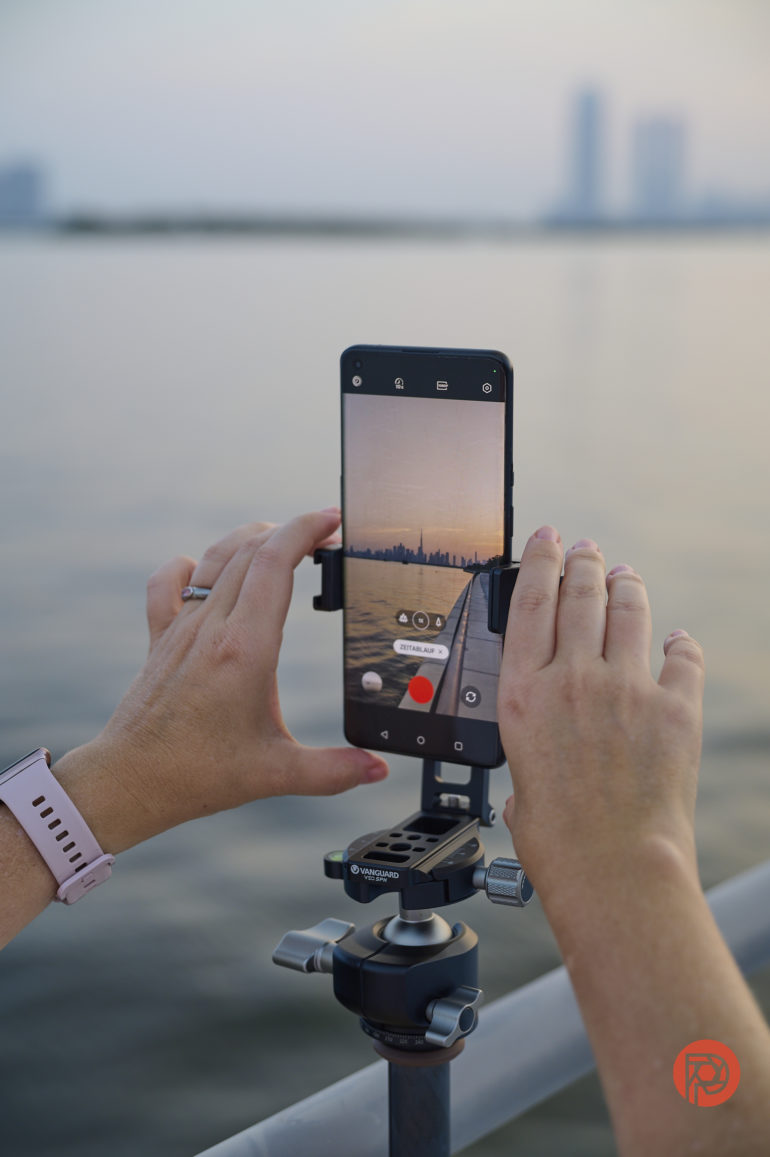
There is a ball joint at the top, so you can use your phone in landscape mode if you wish.
The VEO TSA DLX support arm can also be directly attached to compatible tripods by Vanguard.
Who Should Buy The Vanguard VEO CP-65 Kit?
If you live in a place where tripod usage in public is frowned upon, but you can get away with using a clamp attached to railings, this would be a really good addition to your camera kit. It’s not perfect, and Vanguard should consider adding a tethering safety cable to the package. I would also advise testing the clamp in advance on the surface you wish to use it on. You don’t want to get there in the hopes of getting good photos, only to find the clamp isn’t holding up.
The VEO CP-65 Clamp, VEO TSA DLX L Tripod Support Arm, and VEO SPH Smartphone Holder are also available to purchase separately.
Tech Specs
Taken from the Vanguard VEO CP-65 Kit product page:
- Kit includes (1) VEO CP-65 Clamp, (1) VEO TSA DLX L Tripod Support Arm & (1) VEO SPH Smartphone Holder
- VEO CP-65 Clamp opens up to 2.6″ with molded rubber grips to attach to a wide variety of surfaces
- Clamp features three threaded holes (two 1/4″ and one 3/8″) available for attachments/support arms
- Easy-grip locking knobs
- VEO TSA DLX L support arm has ball joints at both ends giving you maximum flexibility
- Made with CNC-machined aircraft-grade aluminum
- Support arm folds to about 6.6″ and extends to 11.4″, and it weighs just over a half-pound
- VEO SPH Smartphone Holder fits devices between 2.4″ and 3.5″ wide, and its cold shoe mount lets you neatly attach a microphone, wireless receiver, or other accessories
The Phoblographer may receive affiliate compensation for products purchased using links in this blog post.


Leave a Reply