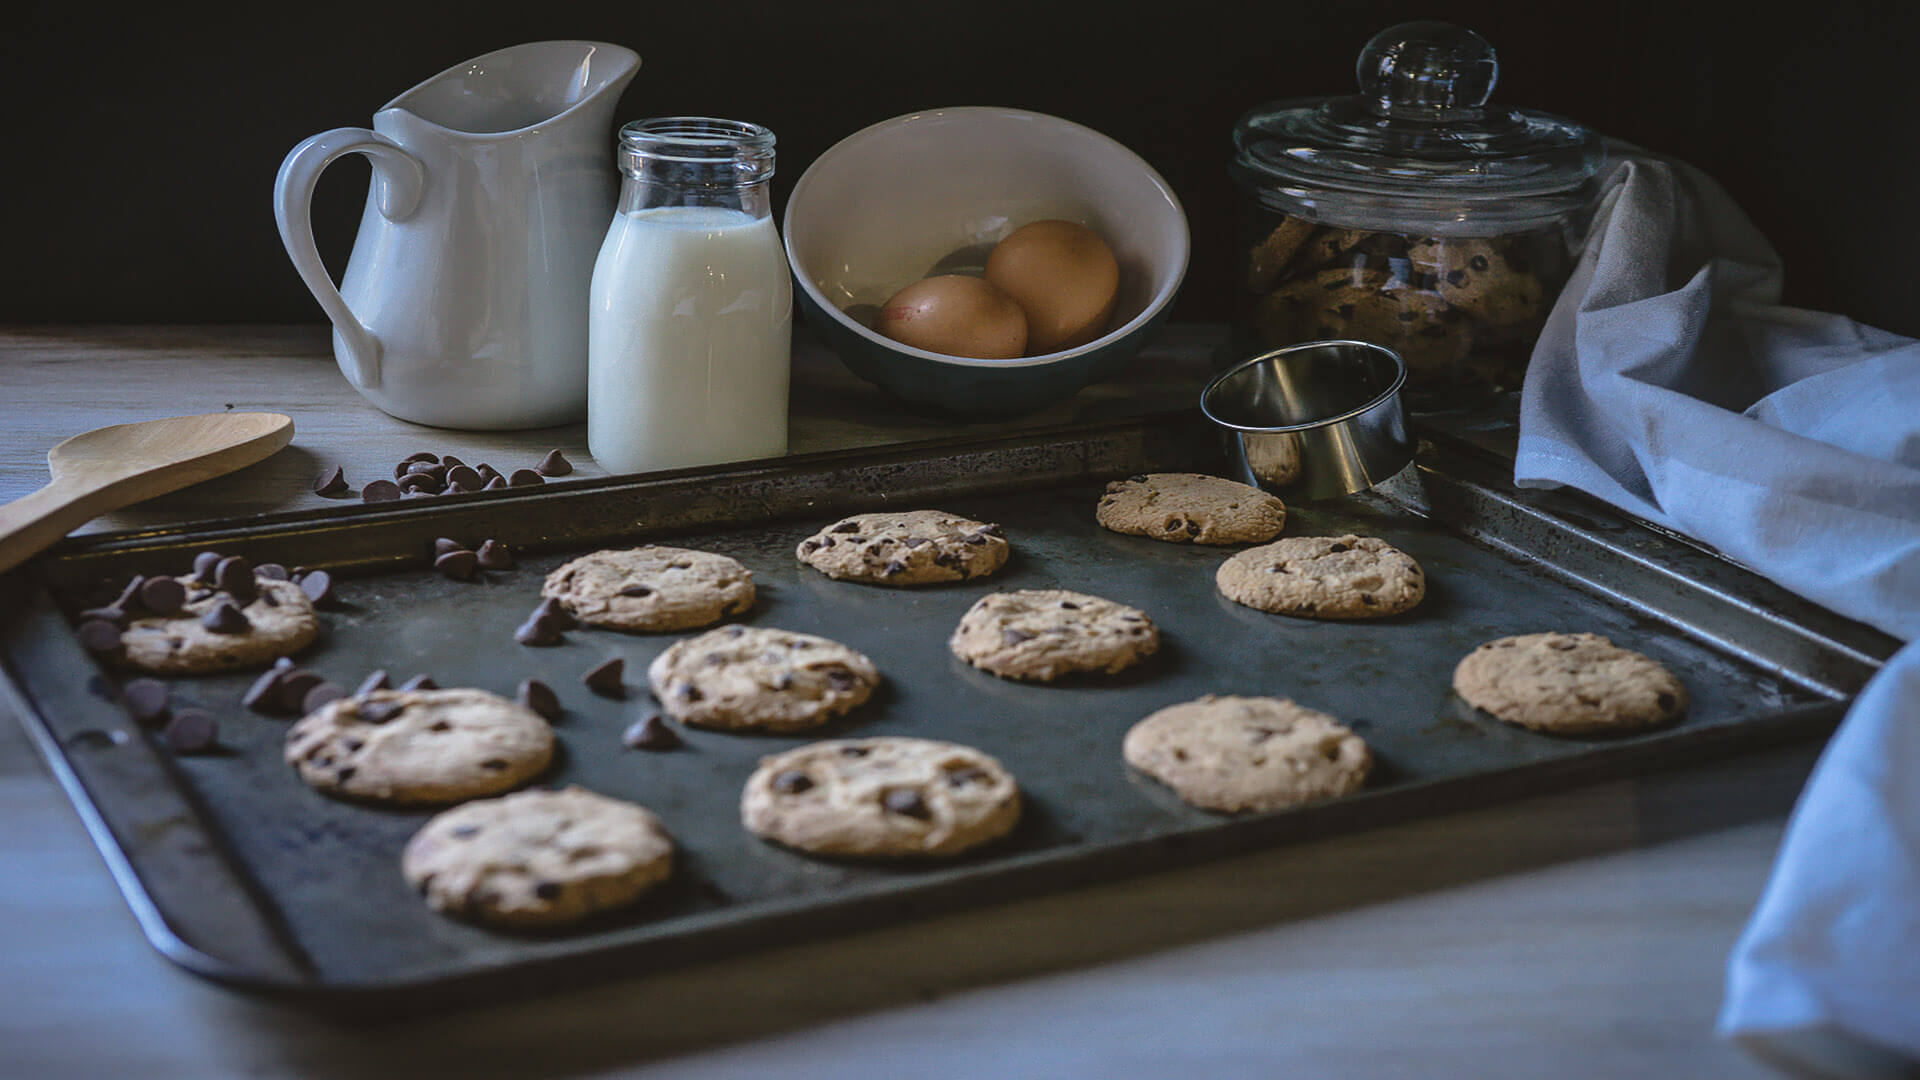
I love hunting for props and backgrounds to put in my images. Using color in props is my personal favorite, but was also my first big mistake when I was starting out. It’s great to have props that are colorful, but if you’re not careful that colorful prop can easily upstage your main subject and grab all the attention, and too many colors can confuse the viewer and turn them off.
When it comes to still life and food photography, often the biggest problem most stylists and photographers have is props … or lack of them. This week we are going to delve a little further into my own prop stash, I’ll show you my 10 favorite and most used props with food photography. You do not need a lot, in fact, just a few of these are perfect to get you started and you may already have them in your own home.
Backgrounds
I like a more vintage-styled shoot and love my old grungy timber work table, but I also use some high-resolution images printed onto Tyvek. I have a collection of vintage table tops, and old plaster or paneled walls that serve as my backgrounds. Alternatively, I used a plain white or black background, to not overburden an image. A plain white tablecloth over a small table against a plain white door works well.
Cutting boards to add interest
I love a good timber cutting board, but marble or slate can be very effective as well. I have a collection of different sizes and tones that I use. But one really nice one is a great place to start.
White or neutral-colored linen
This includes dish towels, tablecloths and napkins. I am partial to grays and off-whites when it comes to my linens. I also adore cheesecloth and hessian for a very natural feel.
Variety of bowls and plates
Different sizes, heights, colors and styles. As much as I love a good color pop, don’t let your serving dish upstage your subject. Keeping most serving dishes in a variety of neutral tones is good, but having a few key pieces with some color is great too. I have mostly white serving dishes with a few key colorful pieces. I also have a small selection of black serving dishes and mugs. Vintage is fantastic too … if that’s your thing.
Variety of utensils
A great variety of utensils, from cutlery to serving spoons and cooking equipment. These can be vintage, rustic or modern, depending on your shooting style.
Baking trays make the best props
Baking trays, cookie & muffin trays, cake tins and such are excellent to convey a cooking-themed shoot. If you have some beaten-up, well-used ones they can really add a sense of story to a shoot.
Fresh ingredients
When shooting your subject try to keep some interest in the foreground and background. Use these empty spaces to tell more of your story. For instance, surround your dish with ingredients that relate to the food. Ingredients, sauces, oils and cooking utensils could indicate how the dish was made or even where it originates from. Fresh ingredients and garnishes can really elevate your food as well.
Look at pretty much any magazine or cookbook and you’ll see all the dishes are garnished. Even if you visit a restaurant (not fast food, but a real restaurant), more often than not the dish is well prepared and garnished, when it is brought out to you. Looking good always gets our taste-buds jumping for joy.
Crates, baskets and wire racks
These are fabulous for adding depth or creating shadows. Whether a wire basket for eggs or fruit, a wicker basket for flowers or bread, all add a certain feel to an image.
Cleaning cloths and paper towels
Keep dishes clean, I must confess I am a bit of a mess and need to clean the edges of plates and bowls and run a cloth around the edge to clean up any spots, splashes or splatters. However in saying that a little bit of mess when preparing cooking images can also add to the story.
A little mess!
Sprinkle a little bit of flour, salt, pepper or icing sugar on your surface, perhaps some bread or cookie crumbs on a plate. Water sprayed on fresh fruit and veg, looks ‘just picked’ and super fresh — those water droplets are divine.
Don’t overwhelm your hero or the viewer. Take out stuff you don’t need. Take out things from the table or scene that are distracting and pare them down to just one main focal point. If the scene is too cluttered you will lose the viewer’s interest. When first starting out try to limit items in the scene to perhaps three props or layers that will convey depth and story.
There is a time and place for clutter, but it needs to be done right. Layer your story and only put in elements required to convey that story. As in color, do not overburden the image with too many items, colors and tones. When you are starting out try white plates and bowls, and plain silverware, there is time for color and experimentation, but do not overwhelm yourself at first. You only need a few things to start with.
Try to keep props simple, whether it is plates, vessels, glasses, crates, baskets and boxes. Another thing to remember is when grouping food, use odd numbers. For instance, three, five or seven eggs or apples. When items are kept to odd numbers it is more visually pleasing. You rarely find things occurring in perfectly even quantities in nature. Start with your hero and then gradually add props to build or enhance your image. Take a photo at each stage — digital is cheap you can always delete what you do not like later. Add visual depth with layers and textures, but remember they need to work with your hero and define the style, not overcomplicate it.
Source link


Leave a Reply